> ## Documentation Index
> Fetch the complete documentation index at: https://docs.upsolve.ai/llms.txt
> Use this file to discover all available pages before exploring further.
# Applications & Spaces
> Build dashboard templates and deploy them to customer spaces.
## What is an Application?
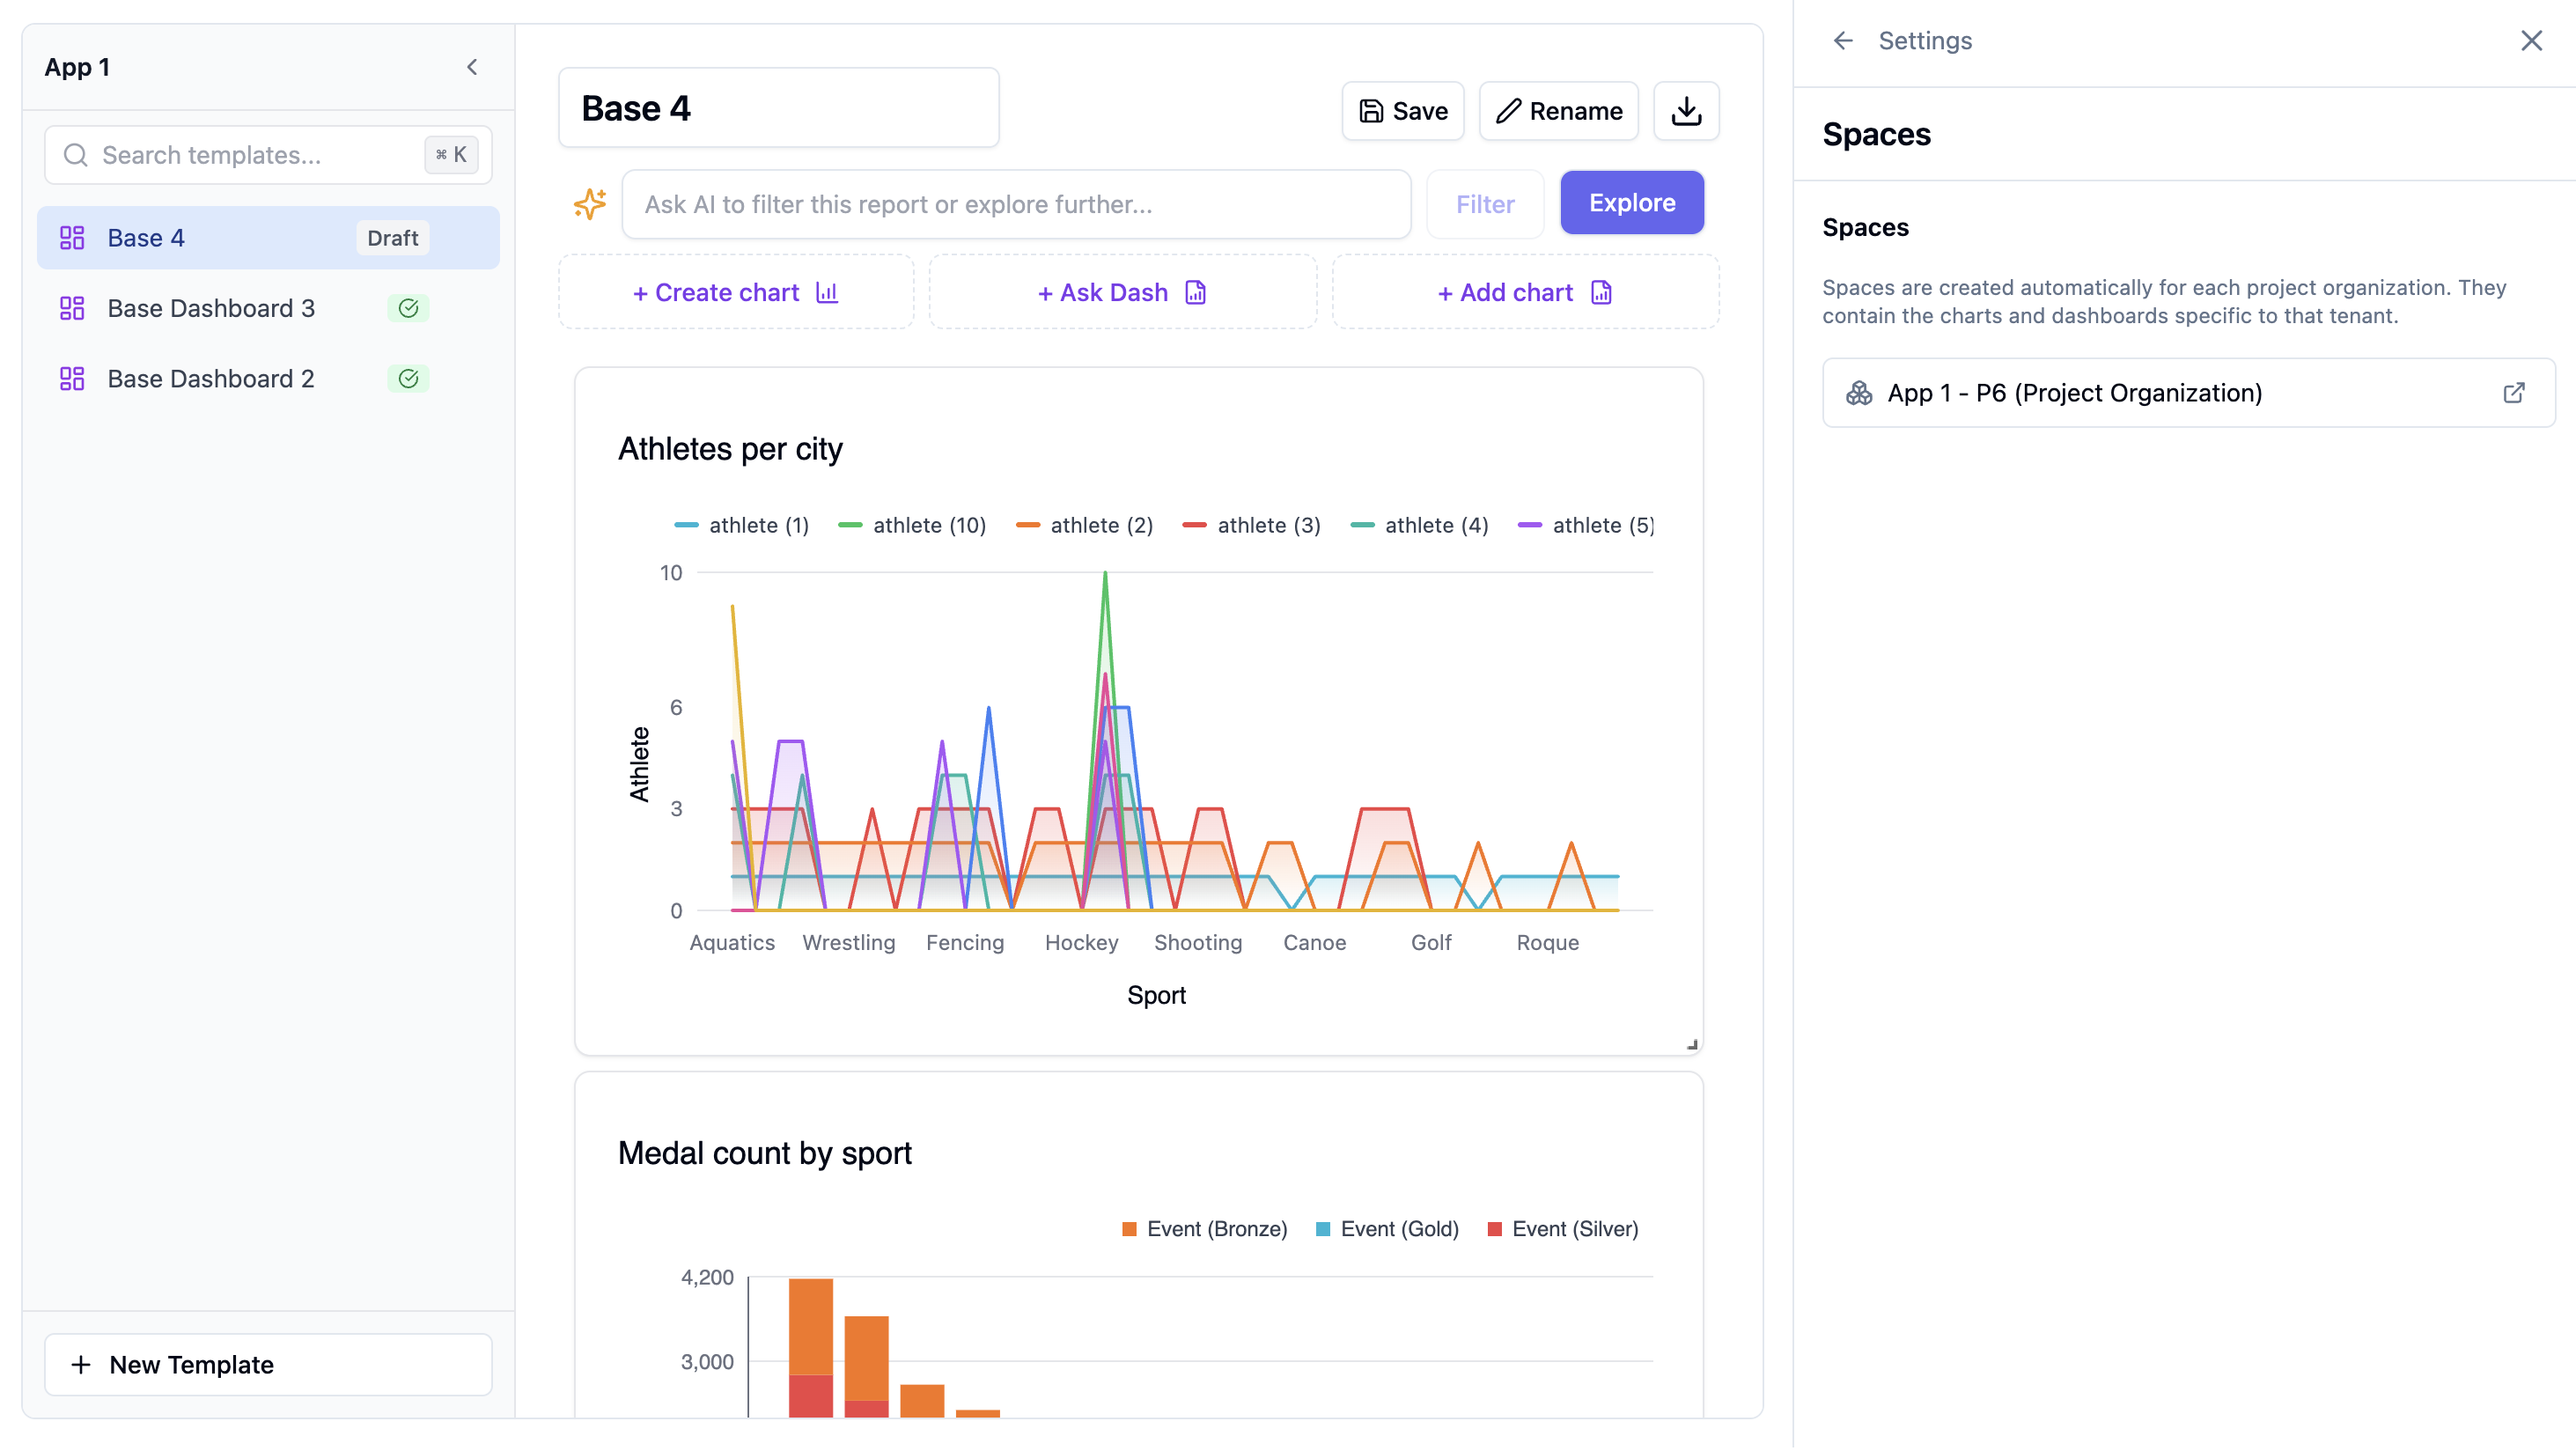
An Application is a container for dashboard templates that you deploy to your customers. It includes:
* **Chart Templates** - Reusable chart configurations
* **Dashboard Templates** - Layouts combining multiple charts
* **Spaces** - Customer-specific instances of your templates
* **Default Settings** - Language, timezone, export options
 ## How Applications and Spaces Work
```mermaid theme={null}
flowchart TD
A[Application] --> B[Chart Templates]
A --> C[Dashboard Templates]
A --> D[Spaces]
D --> E[Space for Org 1]
D --> F[Space for Org 2]
D --> G[Space for Org 3]
```
Each space receives its own private copies of your published templates.
When you publish a template:
1. It becomes available to all spaces
2. Each space gets its own private copy
3. Users can customize their copies without affecting others
## Creating an Application
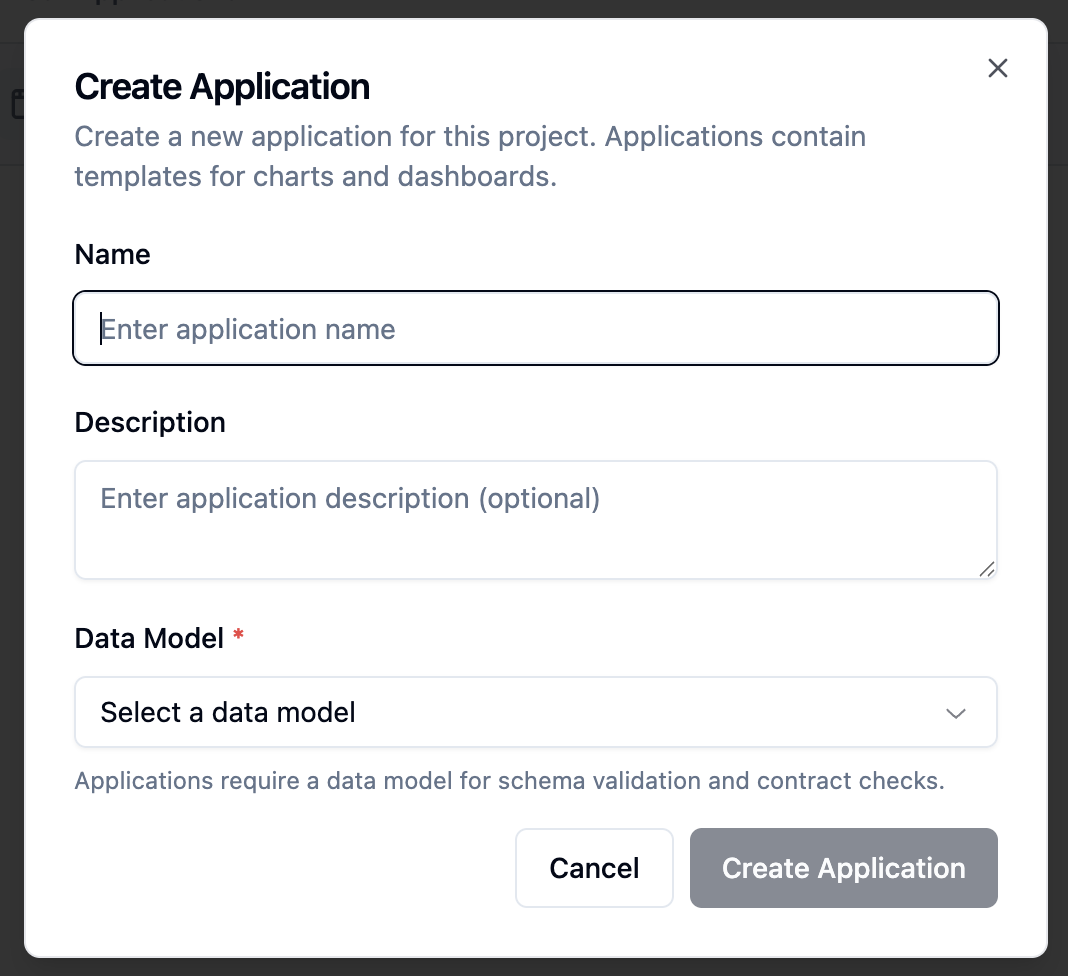
1. Navigate to your project's **Applications** tab
2. Click **Create Application**
3. Enter a name
4. Select a data model
5. Click **Create**
## How Applications and Spaces Work
```mermaid theme={null}
flowchart TD
A[Application] --> B[Chart Templates]
A --> C[Dashboard Templates]
A --> D[Spaces]
D --> E[Space for Org 1]
D --> F[Space for Org 2]
D --> G[Space for Org 3]
```
Each space receives its own private copies of your published templates.
When you publish a template:
1. It becomes available to all spaces
2. Each space gets its own private copy
3. Users can customize their copies without affecting others
## Creating an Application
1. Navigate to your project's **Applications** tab
2. Click **Create Application**
3. Enter a name
4. Select a data model
5. Click **Create**
 ## Building Templates
### Creating a Chart Template
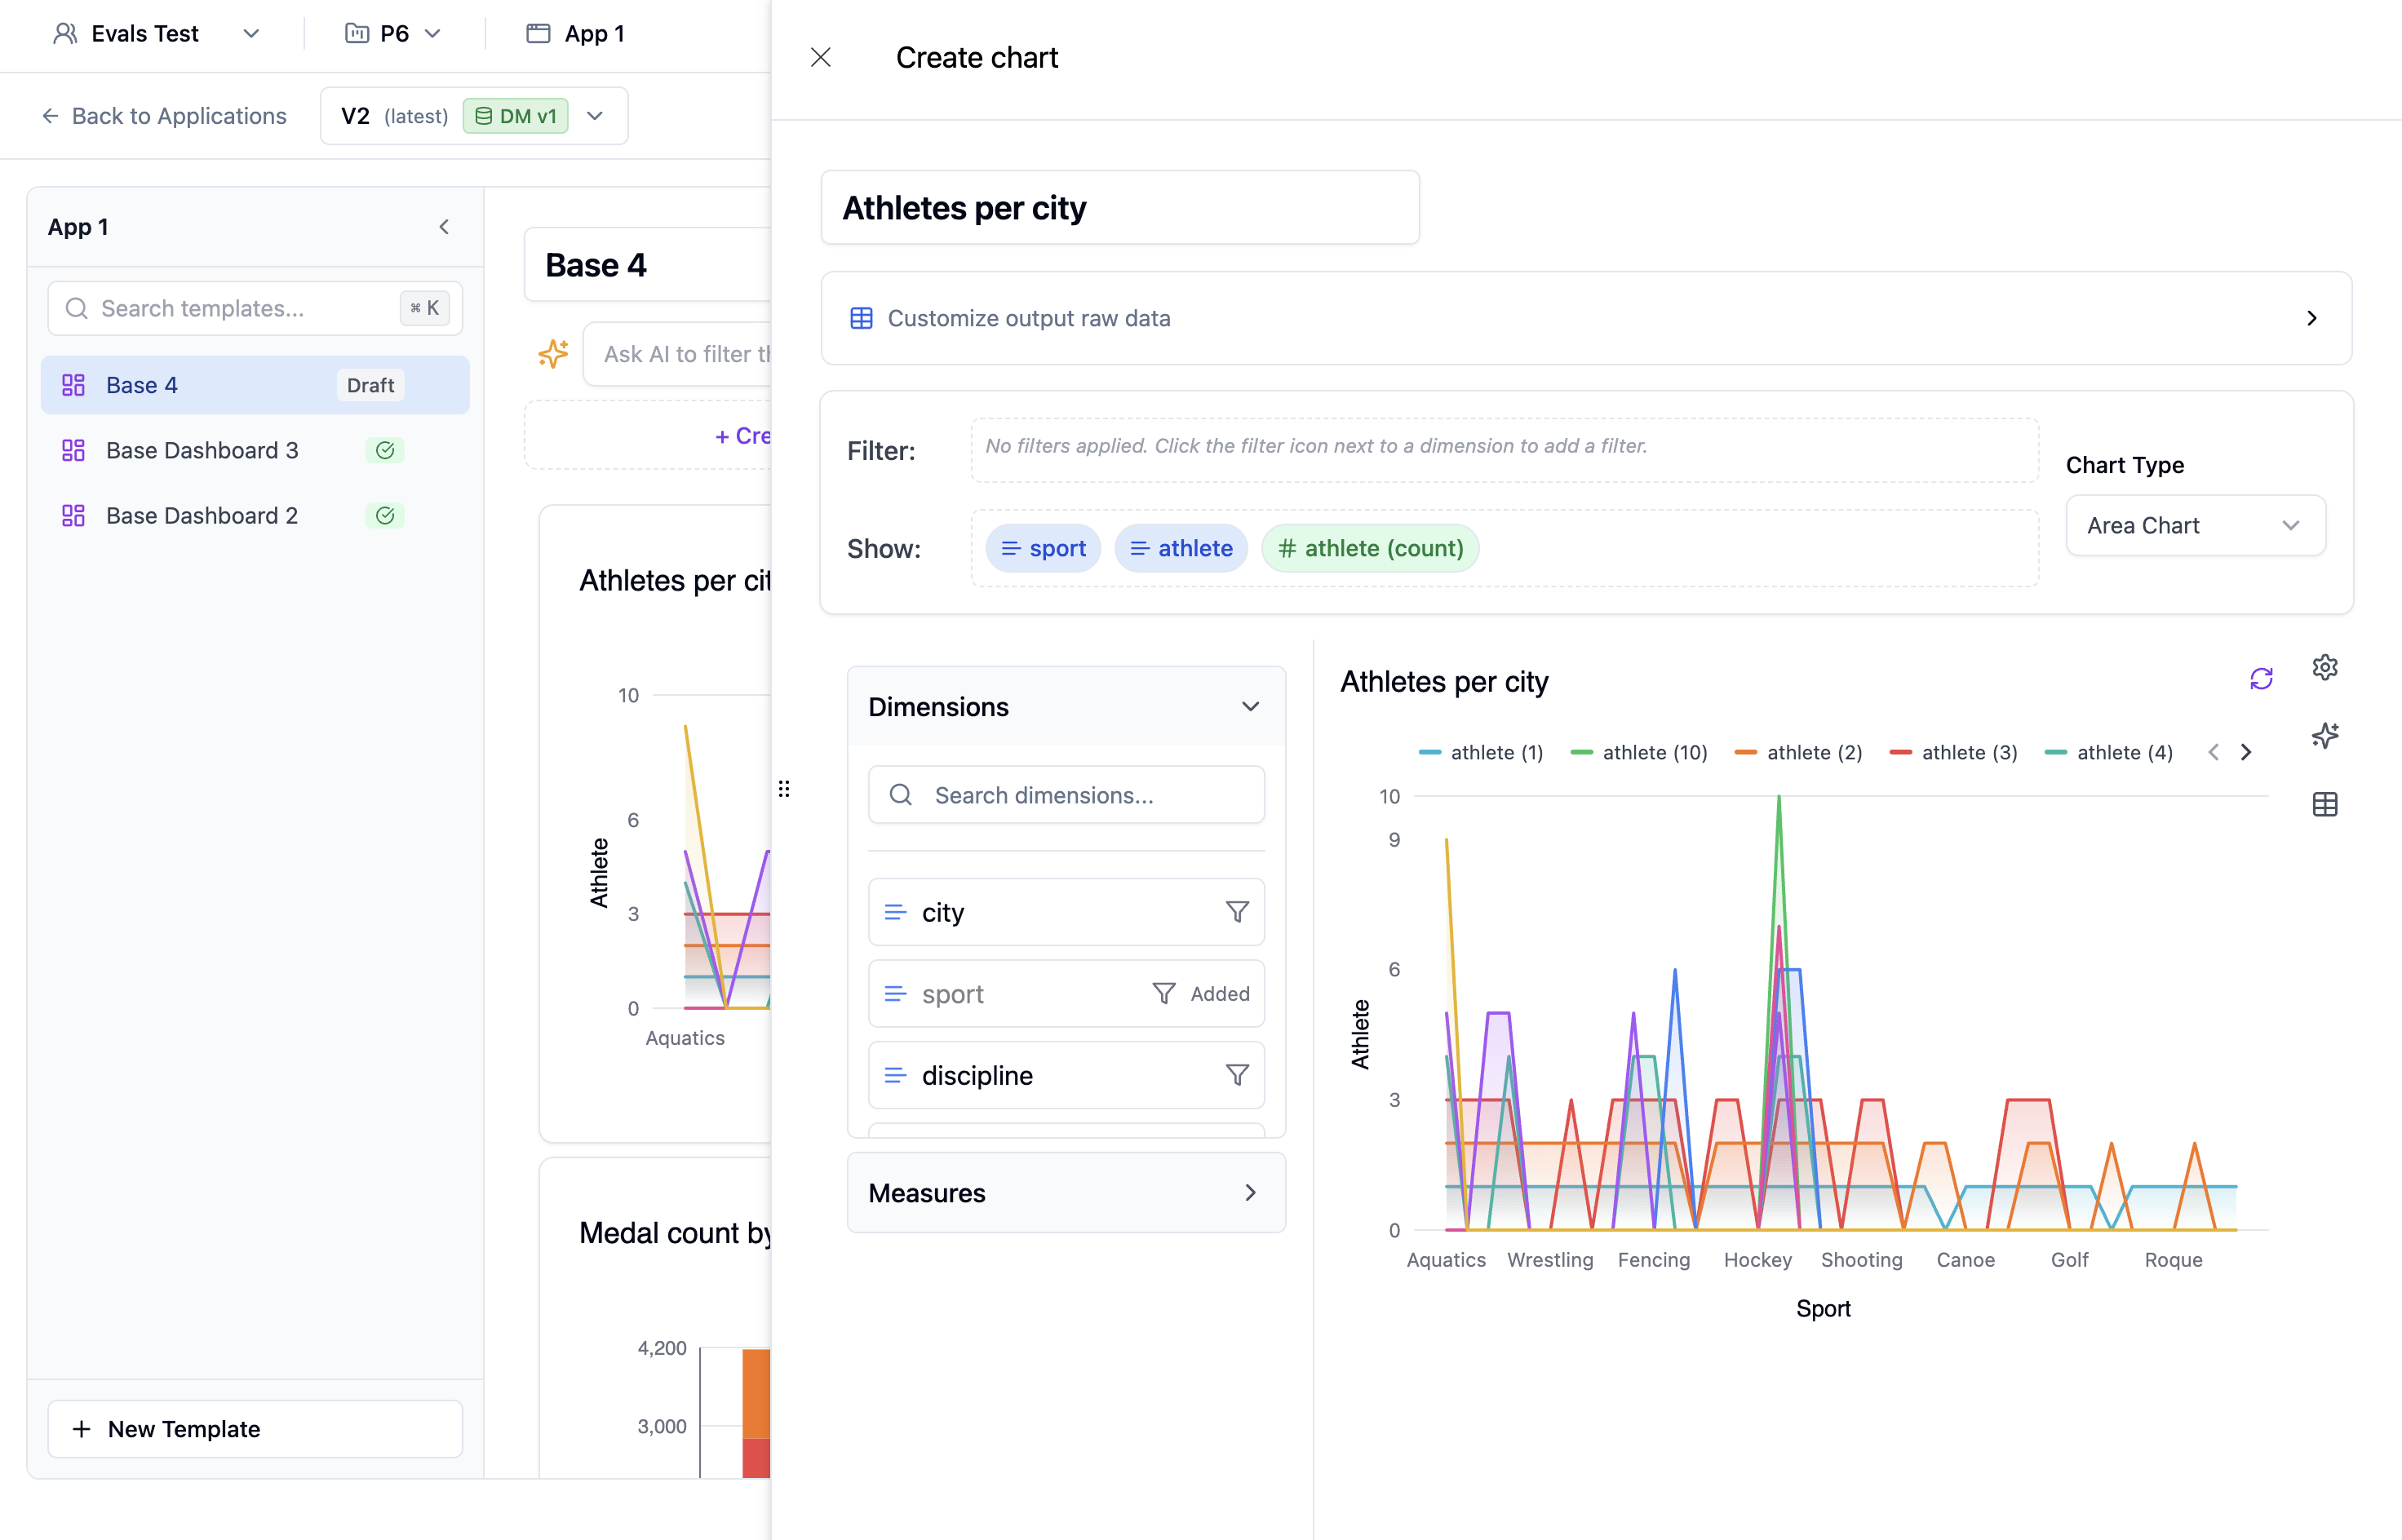
1. Open your application
2. Click **Add Chart**
3. Choose a chart type
4. Configure the data and visualization
5. Click **Save**
## Building Templates
### Creating a Chart Template
1. Open your application
2. Click **Add Chart**
3. Choose a chart type
4. Configure the data and visualization
5. Click **Save**
 ### Creating a Dashboard Template
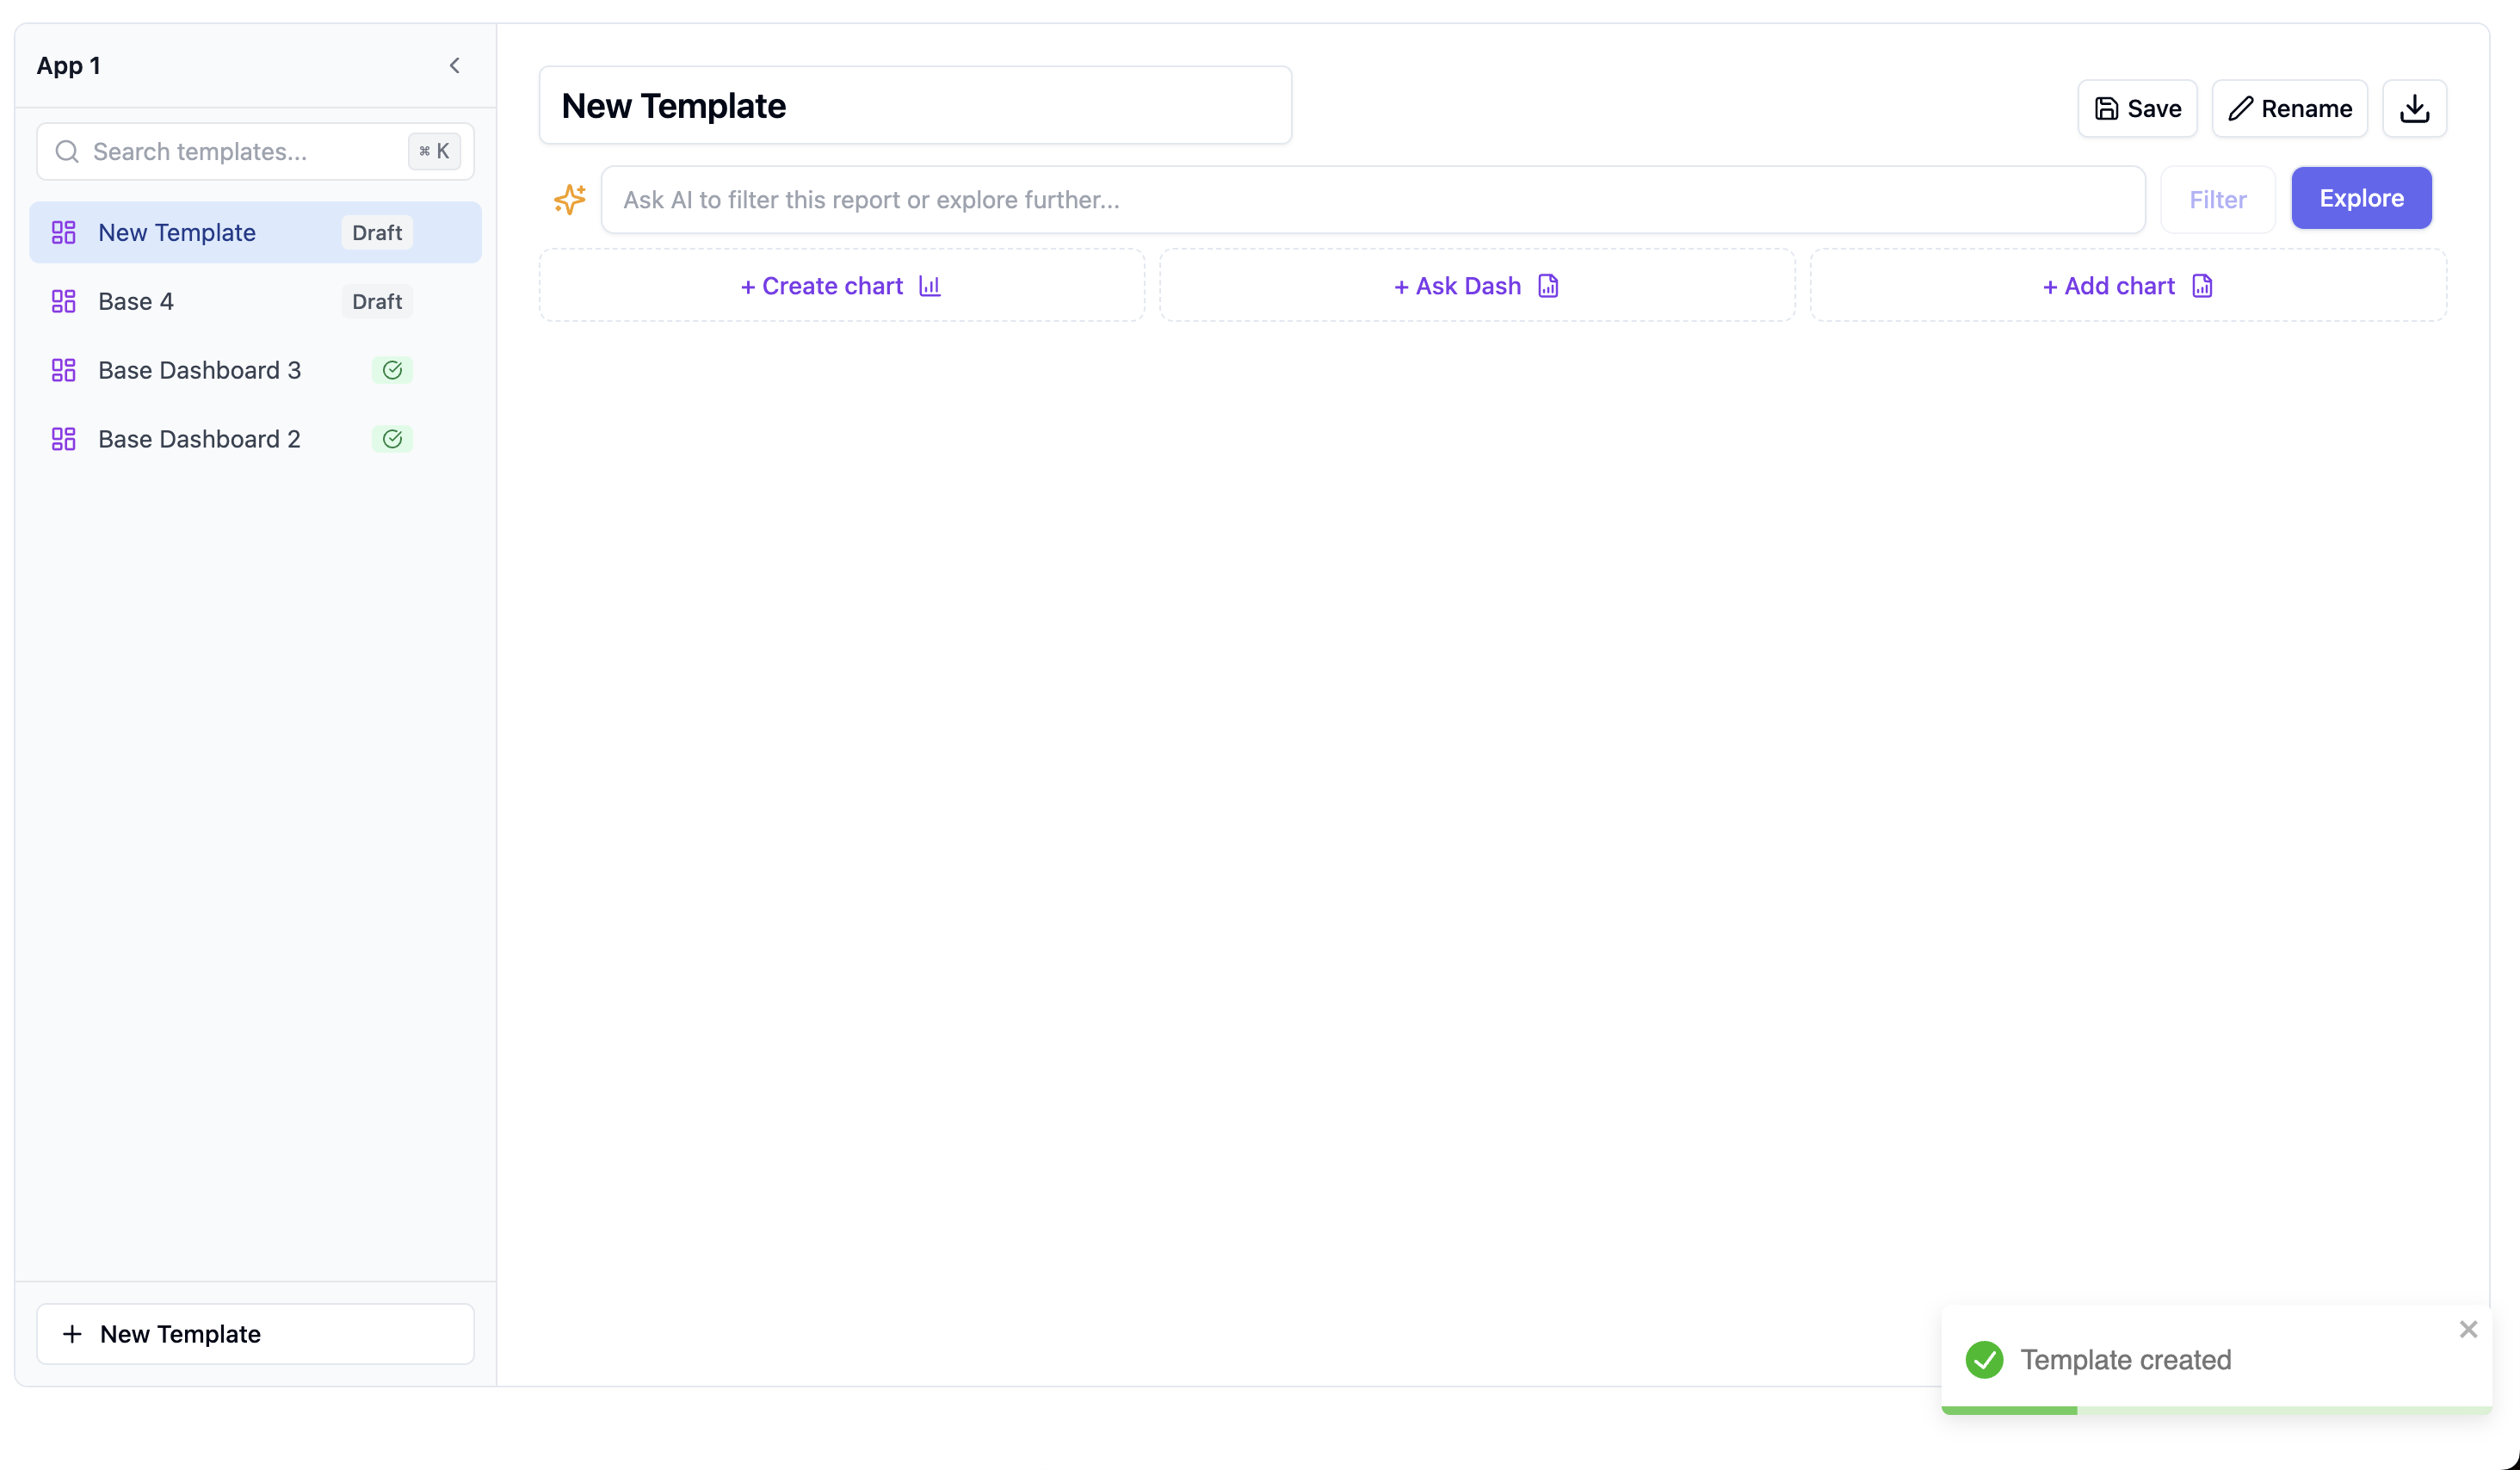
1. Open your application
2. Click **Add Dashboard**
3. Drag and drop charts onto the canvas
4. Arrange the layout
5. Add filters if needed
6. Click **Save**
### Creating a Dashboard Template
1. Open your application
2. Click **Add Dashboard**
3. Drag and drop charts onto the canvas
4. Arrange the layout
5. Add filters if needed
6. Click **Save**
 ## Viewing as a User
While building templates, you see them as an admin. To see what users will see:
1. Select a project user from the dropdown
2. The view switches to their perspective
3. Data is filtered by their RLS rules
4. Check that the template works for different users
## Viewing as a User
While building templates, you see them as an admin. To see what users will see:
1. Select a project user from the dropdown
2. The view switches to their perspective
3. Data is filtered by their RLS rules
4. Check that the template works for different users
 ## Publishing Templates
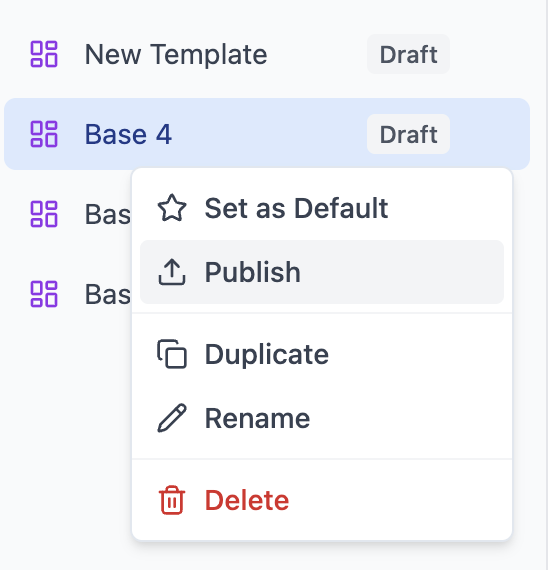
Templates start in "draft" mode. To make them available to users:
1. Open the template
2. Click **Publish**
3. The template propagates to all spaces
## Publishing Templates
Templates start in "draft" mode. To make them available to users:
1. Open the template
2. Click **Publish**
3. The template propagates to all spaces
 ### What Happens When You Publish
1. Template status changes to "published"
2. Each space gets a copy of the dashboard
3. Users can now see and interact with it
4. Future updates require re-publishing
## Understanding Spaces
Each project organization automatically gets a Space for each application.
### What's in a Space?
* **Template Copies** - Private instances of published templates
* **User Dashboards** - Dashboards users create themselves
* **User Charts** - Charts users create themselves
### Viewing Spaces
1. Open your application
2. Go to the **Spaces** tab in the sidebar
3. See all spaces (one per organization)
4. Click to preview any space
### What Happens When You Publish
1. Template status changes to "published"
2. Each space gets a copy of the dashboard
3. Users can now see and interact with it
4. Future updates require re-publishing
## Understanding Spaces
Each project organization automatically gets a Space for each application.
### What's in a Space?
* **Template Copies** - Private instances of published templates
* **User Dashboards** - Dashboards users create themselves
* **User Charts** - Charts users create themselves
### Viewing Spaces
1. Open your application
2. Go to the **Spaces** tab in the sidebar
3. See all spaces (one per organization)
4. Click to preview any space
 ## Default Views
You can set which dashboard users see first when they open their space.
### Setting an Application Default
1. Open your application
2. Go to the **Templates** tab
3. Click the star icon next to a template
4. This becomes the default for all users
## Default Views
You can set which dashboard users see first when they open their space.
### Setting an Application Default
1. Open your application
2. Go to the **Templates** tab
3. Click the star icon next to a template
4. This becomes the default for all users
 ### User-Specific Defaults
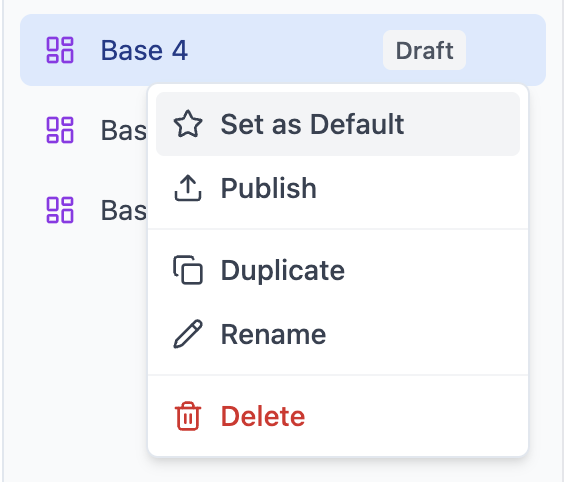
Users can change their own default:
1. Open any dashboard in their space
2. Click **Set as Default**
3. This overrides the application default for them only
## Application Settings
### Default Language
Set the default language for your application:
1. Go to application settings
2. Select default language
3. Users can override in their preferences
### Default Timezone
Configure how dates are displayed:
1. Go to application settings
2. Set the default timezone offset
3. Enable "Use Local Timezone" for auto-detection
### Export Settings
Control whether users can export data:
1. Go to application settings
2. Toggle "Allow Exports"
### User-Specific Defaults
Users can change their own default:
1. Open any dashboard in their space
2. Click **Set as Default**
3. This overrides the application default for them only
## Application Settings
### Default Language
Set the default language for your application:
1. Go to application settings
2. Select default language
3. Users can override in their preferences
### Default Timezone
Configure how dates are displayed:
1. Go to application settings
2. Set the default timezone offset
3. Enable "Use Local Timezone" for auto-detection
### Export Settings
Control whether users can export data:
1. Go to application settings
2. Toggle "Allow Exports"
 ## Production Status
Like data models and agents, applications can be set to production.
### Requirements
1. Application must have a linked data model
2. That data model version must be production
3. All template schemas must fit within the data model
### Setting Production
1. Open your application
2. Go to the **Versions** tab
3. Click **Set as Production**
4. Validation runs automatically
## Connecting Agents and Applications
If an agent and application share the same data model version:
* The agent can generate charts compatible with the application
* Users can save agent-generated charts to their space
* Charts flow seamlessly between AI and dashboards
## Best Practices
### 1. Test with Multiple Users
Always preview templates as different users to ensure RLS works correctly.
### 2. Start with Core Dashboards
Create 2-3 essential dashboards before adding more.
### 3. Use Consistent Naming
Name templates clearly so users understand what they show.
### 4. Document in Descriptions
Add descriptions to dashboards explaining what they display.
## Next Steps
* Follow the [Complete Setup Guide](/ai-agent-builder/setup-guide) for the full workflow
* Learn about [Row-Level Security](/ai-agent-builder/rls) for data filtering
## Production Status
Like data models and agents, applications can be set to production.
### Requirements
1. Application must have a linked data model
2. That data model version must be production
3. All template schemas must fit within the data model
### Setting Production
1. Open your application
2. Go to the **Versions** tab
3. Click **Set as Production**
4. Validation runs automatically
## Connecting Agents and Applications
If an agent and application share the same data model version:
* The agent can generate charts compatible with the application
* Users can save agent-generated charts to their space
* Charts flow seamlessly between AI and dashboards
## Best Practices
### 1. Test with Multiple Users
Always preview templates as different users to ensure RLS works correctly.
### 2. Start with Core Dashboards
Create 2-3 essential dashboards before adding more.
### 3. Use Consistent Naming
Name templates clearly so users understand what they show.
### 4. Document in Descriptions
Add descriptions to dashboards explaining what they display.
## Next Steps
* Follow the [Complete Setup Guide](/ai-agent-builder/setup-guide) for the full workflow
* Learn about [Row-Level Security](/ai-agent-builder/rls) for data filtering