> ## Documentation Index
> Fetch the complete documentation index at: https://docs.upsolve.ai/llms.txt
> Use this file to discover all available pages before exploring further.
# Backend Setup
> Set up user authoization in the backend for dashboard deployment
## User Authorization
The purpose of user authorization set up in the backend is for Upsolve AI to provide appropriate data access based on your user permissioning set up.
In your product's authentication flow, you register users with Upsolve using the [project user registration flow](/embedded-bi/data-permissioning/project-user-registration-flow). This flow separates three concerns:
1. **Register an organization** — once per customer entity, via [`/register-organization`](/api-reference/endpoint/register-project-organization).
2. **Register a user** — once per user account, via [`/register-user`](/api-reference/endpoint/register-project-user).
3. **Fetch a user token** — on every login / dashboard load, via [`/user-token`](/api-reference/endpoint/get-project-user-token).
The `/user-token` endpoint is a "refresh" endpoint that issues a short-lived (one-hour by default) JWT for a registered user. Call it every time you (re-)authorize the user in your app. This JWT is then used to provide your authorized users the appropriate access to the dashboard and underlying data.
To generate your API Key please go to the deploy page.
Here is an example of doing this using [Clerk middleware](https://clerk.com/docs/references/nextjs/auth-middleware#use-after-auth-for-fine-grained-control). On every authenticated request we fetch a fresh user token, registering the user on first sign-in if `/user-token` reports they don't exist yet:
```typescript middleware.ts theme={null}
// This example protects all routes including api/trpc routes
// Please edit this to allow other routes to be public as needed.
// See https://clerk.com/docs/references/nextjs/auth-middleware for more information about configuring your Middleware
const UPSOLVE_API = "https://api.upsolve.ai/v1/api/projects";
const UPSOLVE_API_KEY = "up_admin_3...bL9"; // Make sure this begins with up_admin_
const UPSOLVE_PROJECT_ID = "your-project-uuid";
export default authMiddleware({
async afterAuth(auth, req, evt) {
console.log("Starting login");
// Handle users who aren't authenticated
...
// Register users to Upsolve
if (auth.userId && auth.orgId) {
console.log("Starting Upsolve user token refresh");
const headers = {
"Content-Type": "application/json",
Authorization: `Bearer ${UPSOLVE_API_KEY}`,
};
const fetchToken = () =>
fetch(`${UPSOLVE_API}/user-token`, {
method: "POST",
headers,
body: JSON.stringify({ userId: auth.userId }),
});
let res = await fetchToken();
// First sign-in: register the user (and their org) then retry.
if (res.status === 404) {
await fetch(`${UPSOLVE_API}/register-user`, {
method: "POST",
headers,
body: JSON.stringify({
projectId: UPSOLVE_PROJECT_ID,
projectOrganizationId: auth.orgId, // your internal ID — works as externalId
userRoleId: "your-role-uuid",
name: auth.orgSlug,
userId: auth.userId,
properties: { // Each key is surfaced in RLS rules as {{user.}}, e.g. {{user.organization_id}}
organization_id: auth.orgSlug,
},
}),
});
res = await fetchToken();
}
const upsolveToken = await res
.json()
.then((data) => data?.["data"]?.["token"]); // Extract the JWT from the response
// Save the JWT to the user's public metadata, to be used client side!
await clerkClient.users.updateUser(auth.userId, {
publicMetadata: { upsolveToken },
});
console.log(`Upsolve registration done`);
}
// If the user is logged in and trying to access a protected route, allow them to access route
...
// Allow users visiting public routes to access them
...
},
});
```
## Setup Inspection
You could inspect whether the user authorization is setup successfully. Navigate to the **Deploy** application using the side navigation bar.
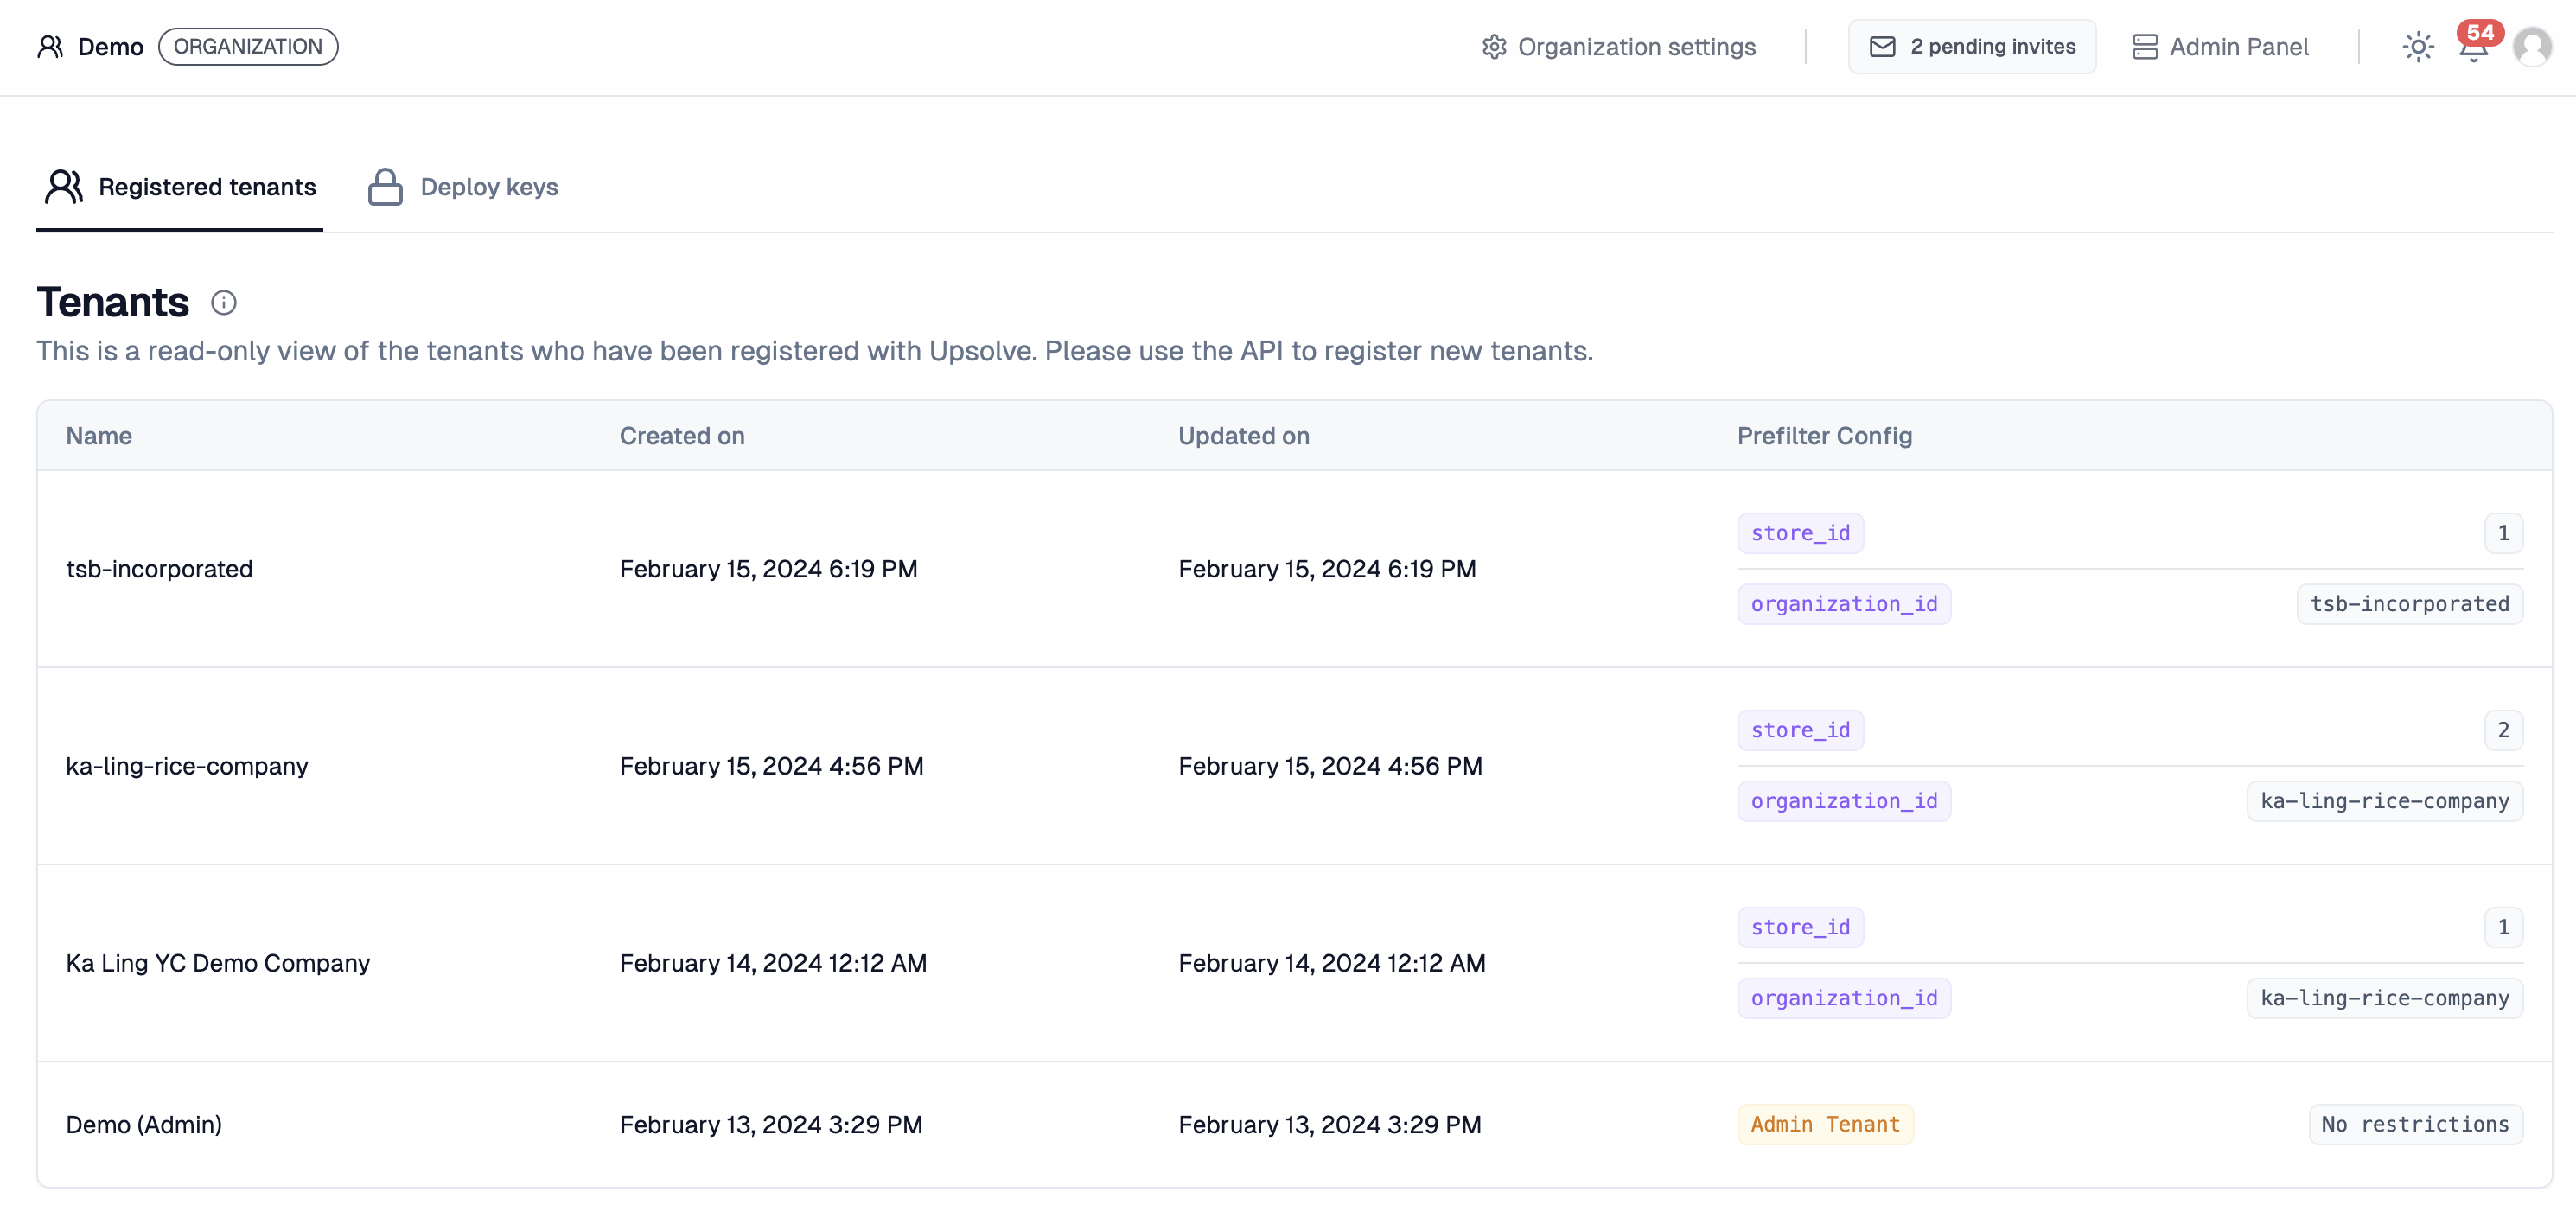
 If the endpoint is successfully called, you should see your new tenants in the **Deploy** application: