Documentation Index
Fetch the complete documentation index at: https://docs.upsolve.ai/llms.txt
Use this file to discover all available pages before exploring further.
What is an Upsolve Workspace?
An Upsolve Workspace is a container that holds multiple related dashboards. Instead of deploying individual dashboards, you can group related dashboards together and deploy them as a single unit.Dashboard Types in a Workspace
Global Dashboards
- Created by administrators in the Upsolve Hub
- Visible to all users of the workspace
- Read-only for end users (tenants)
- Define the baseline analytics experience
Tenant Dashboards
- Created by individual users/tenants when embedded
- Private to each tenant
- Fully editable by the tenant who created them
- Allow for personalized analytics views
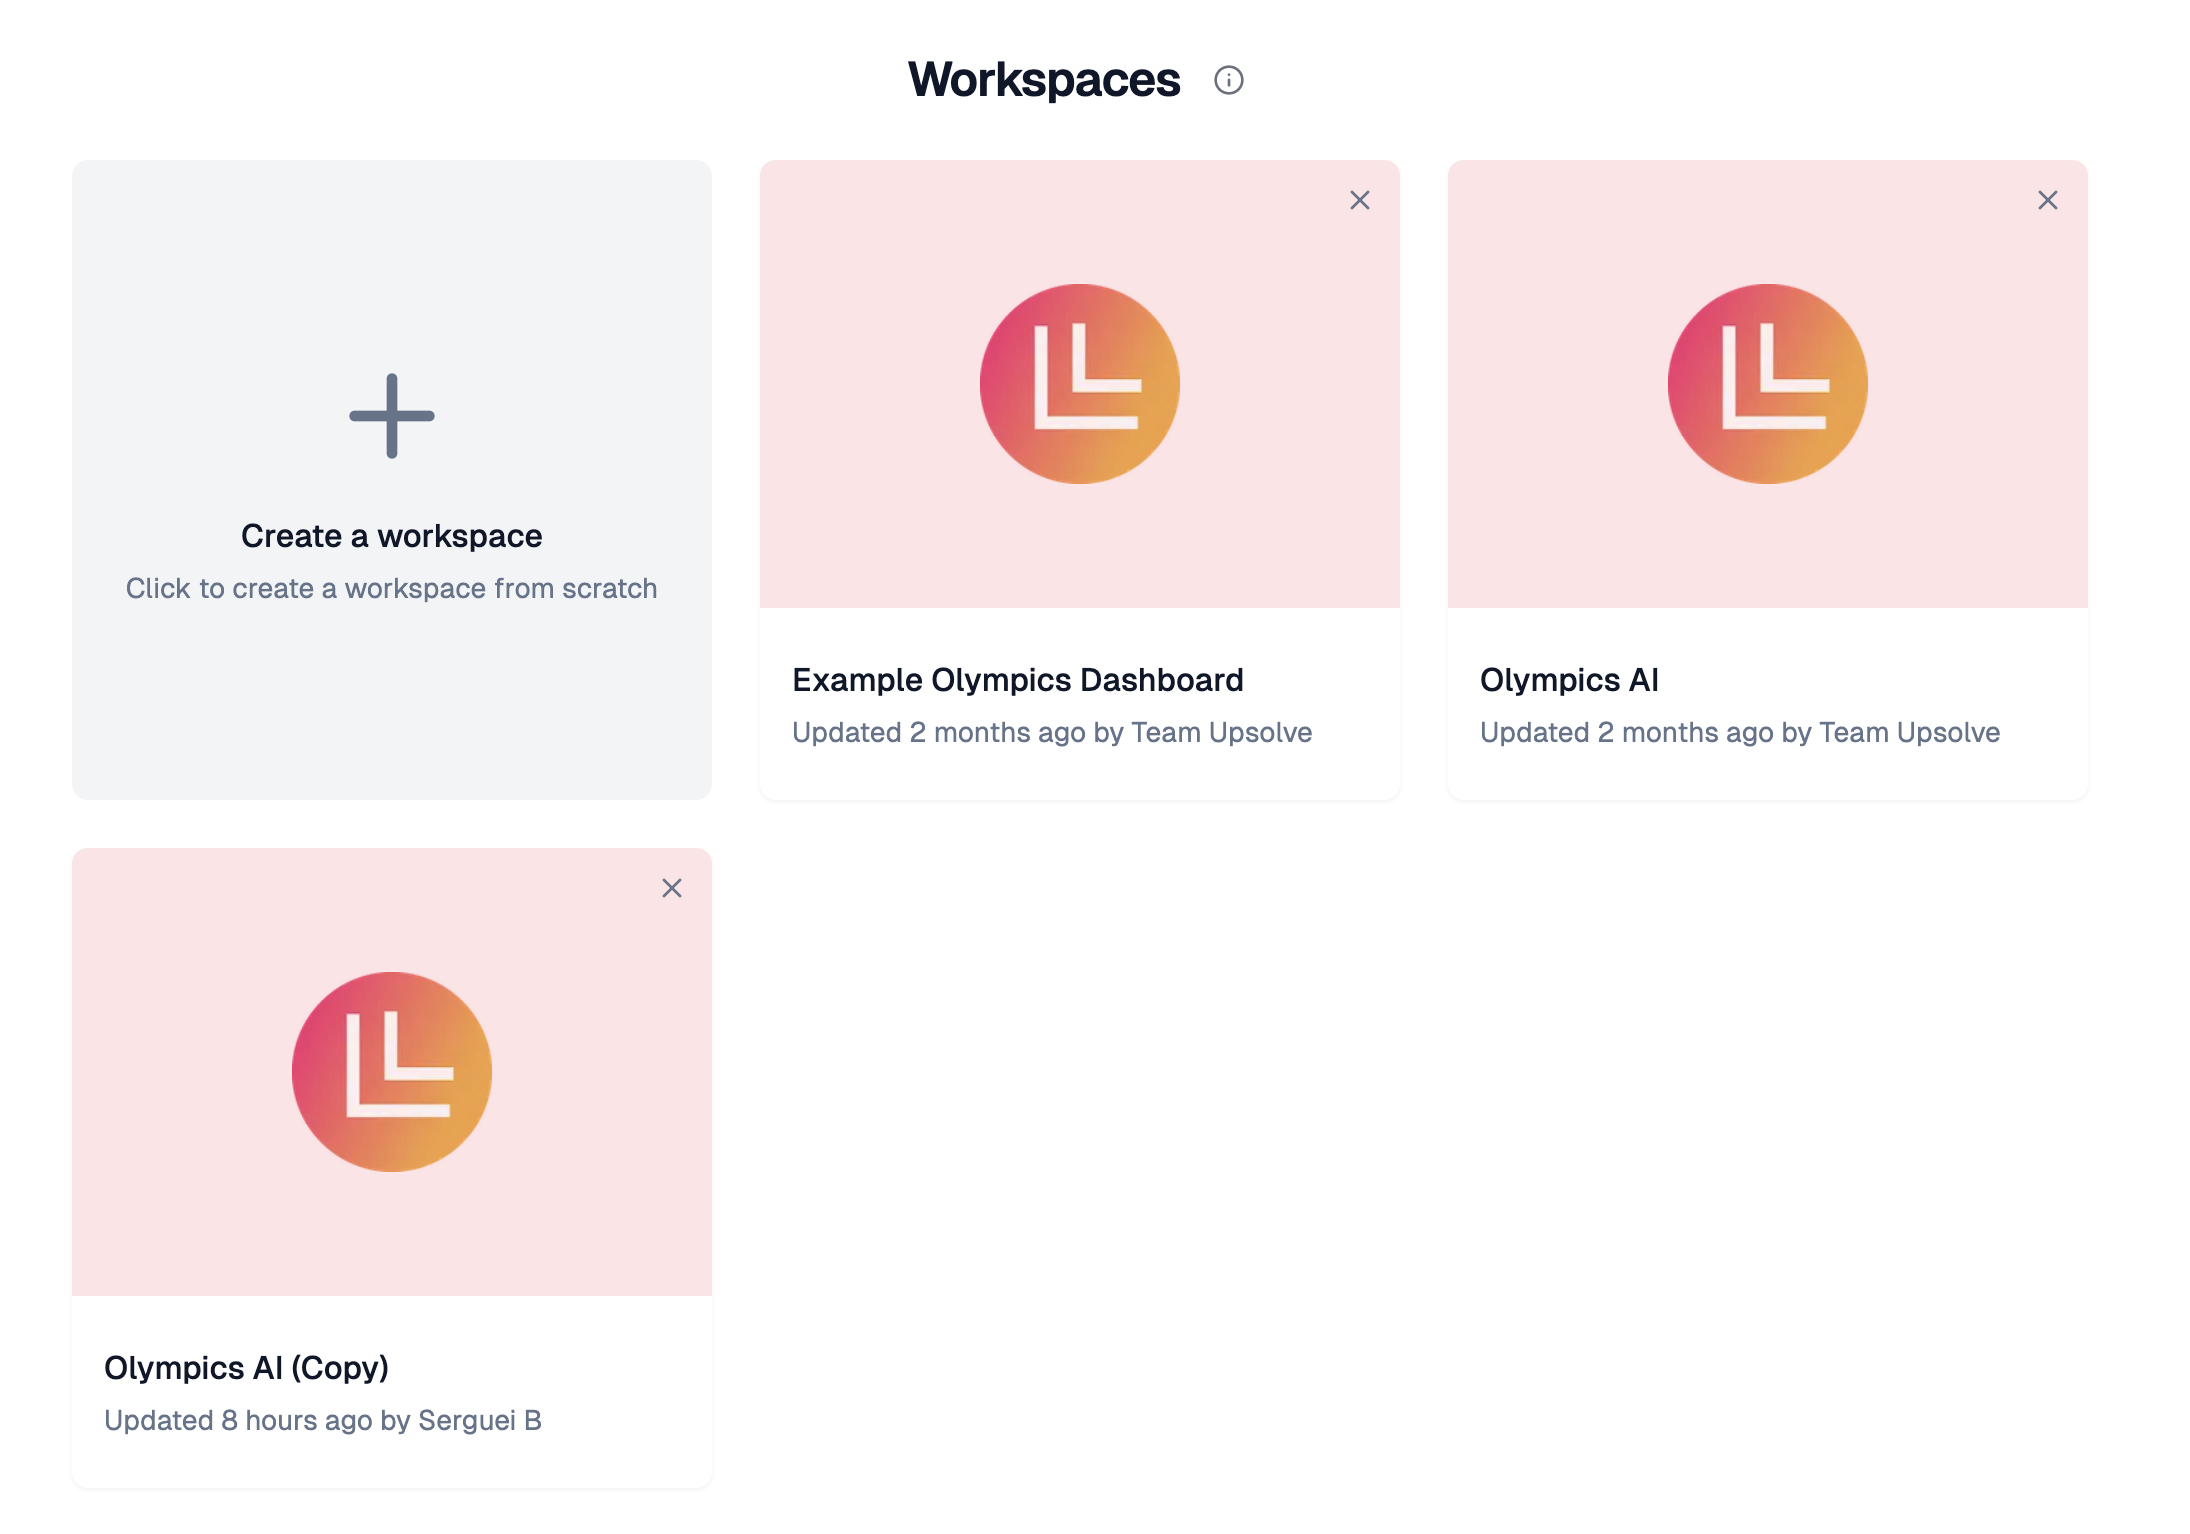
Creating Your First Workspace
- Navigate to Workspaces: In the Upsolve Hub, go to your workspace management area
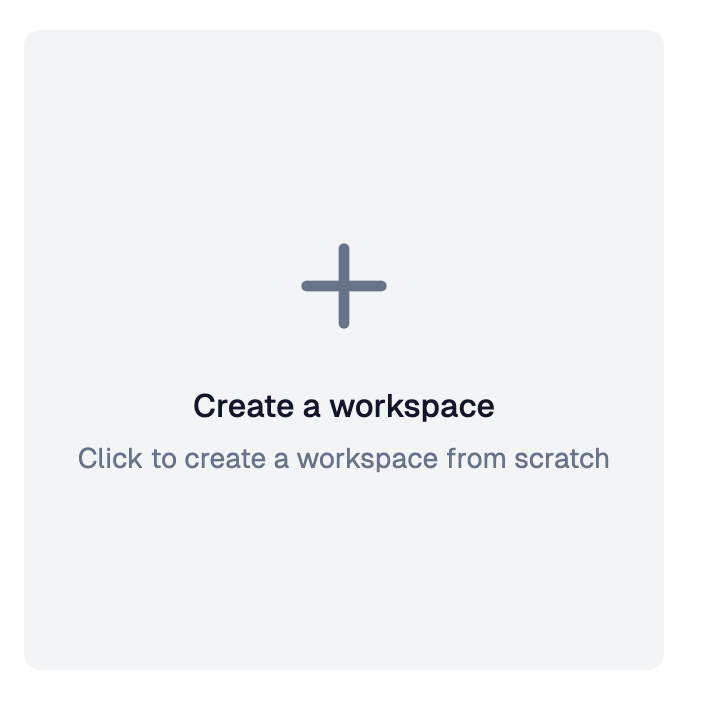
- Create New Workspace: Click the “Create Workspace” button
- Initial Dashboard: The system automatically creates your first dashboard, which becomes the foundation of your workspace
- Workspace Properties: The workspace inherits its name, author, and metadata from this first dashboard
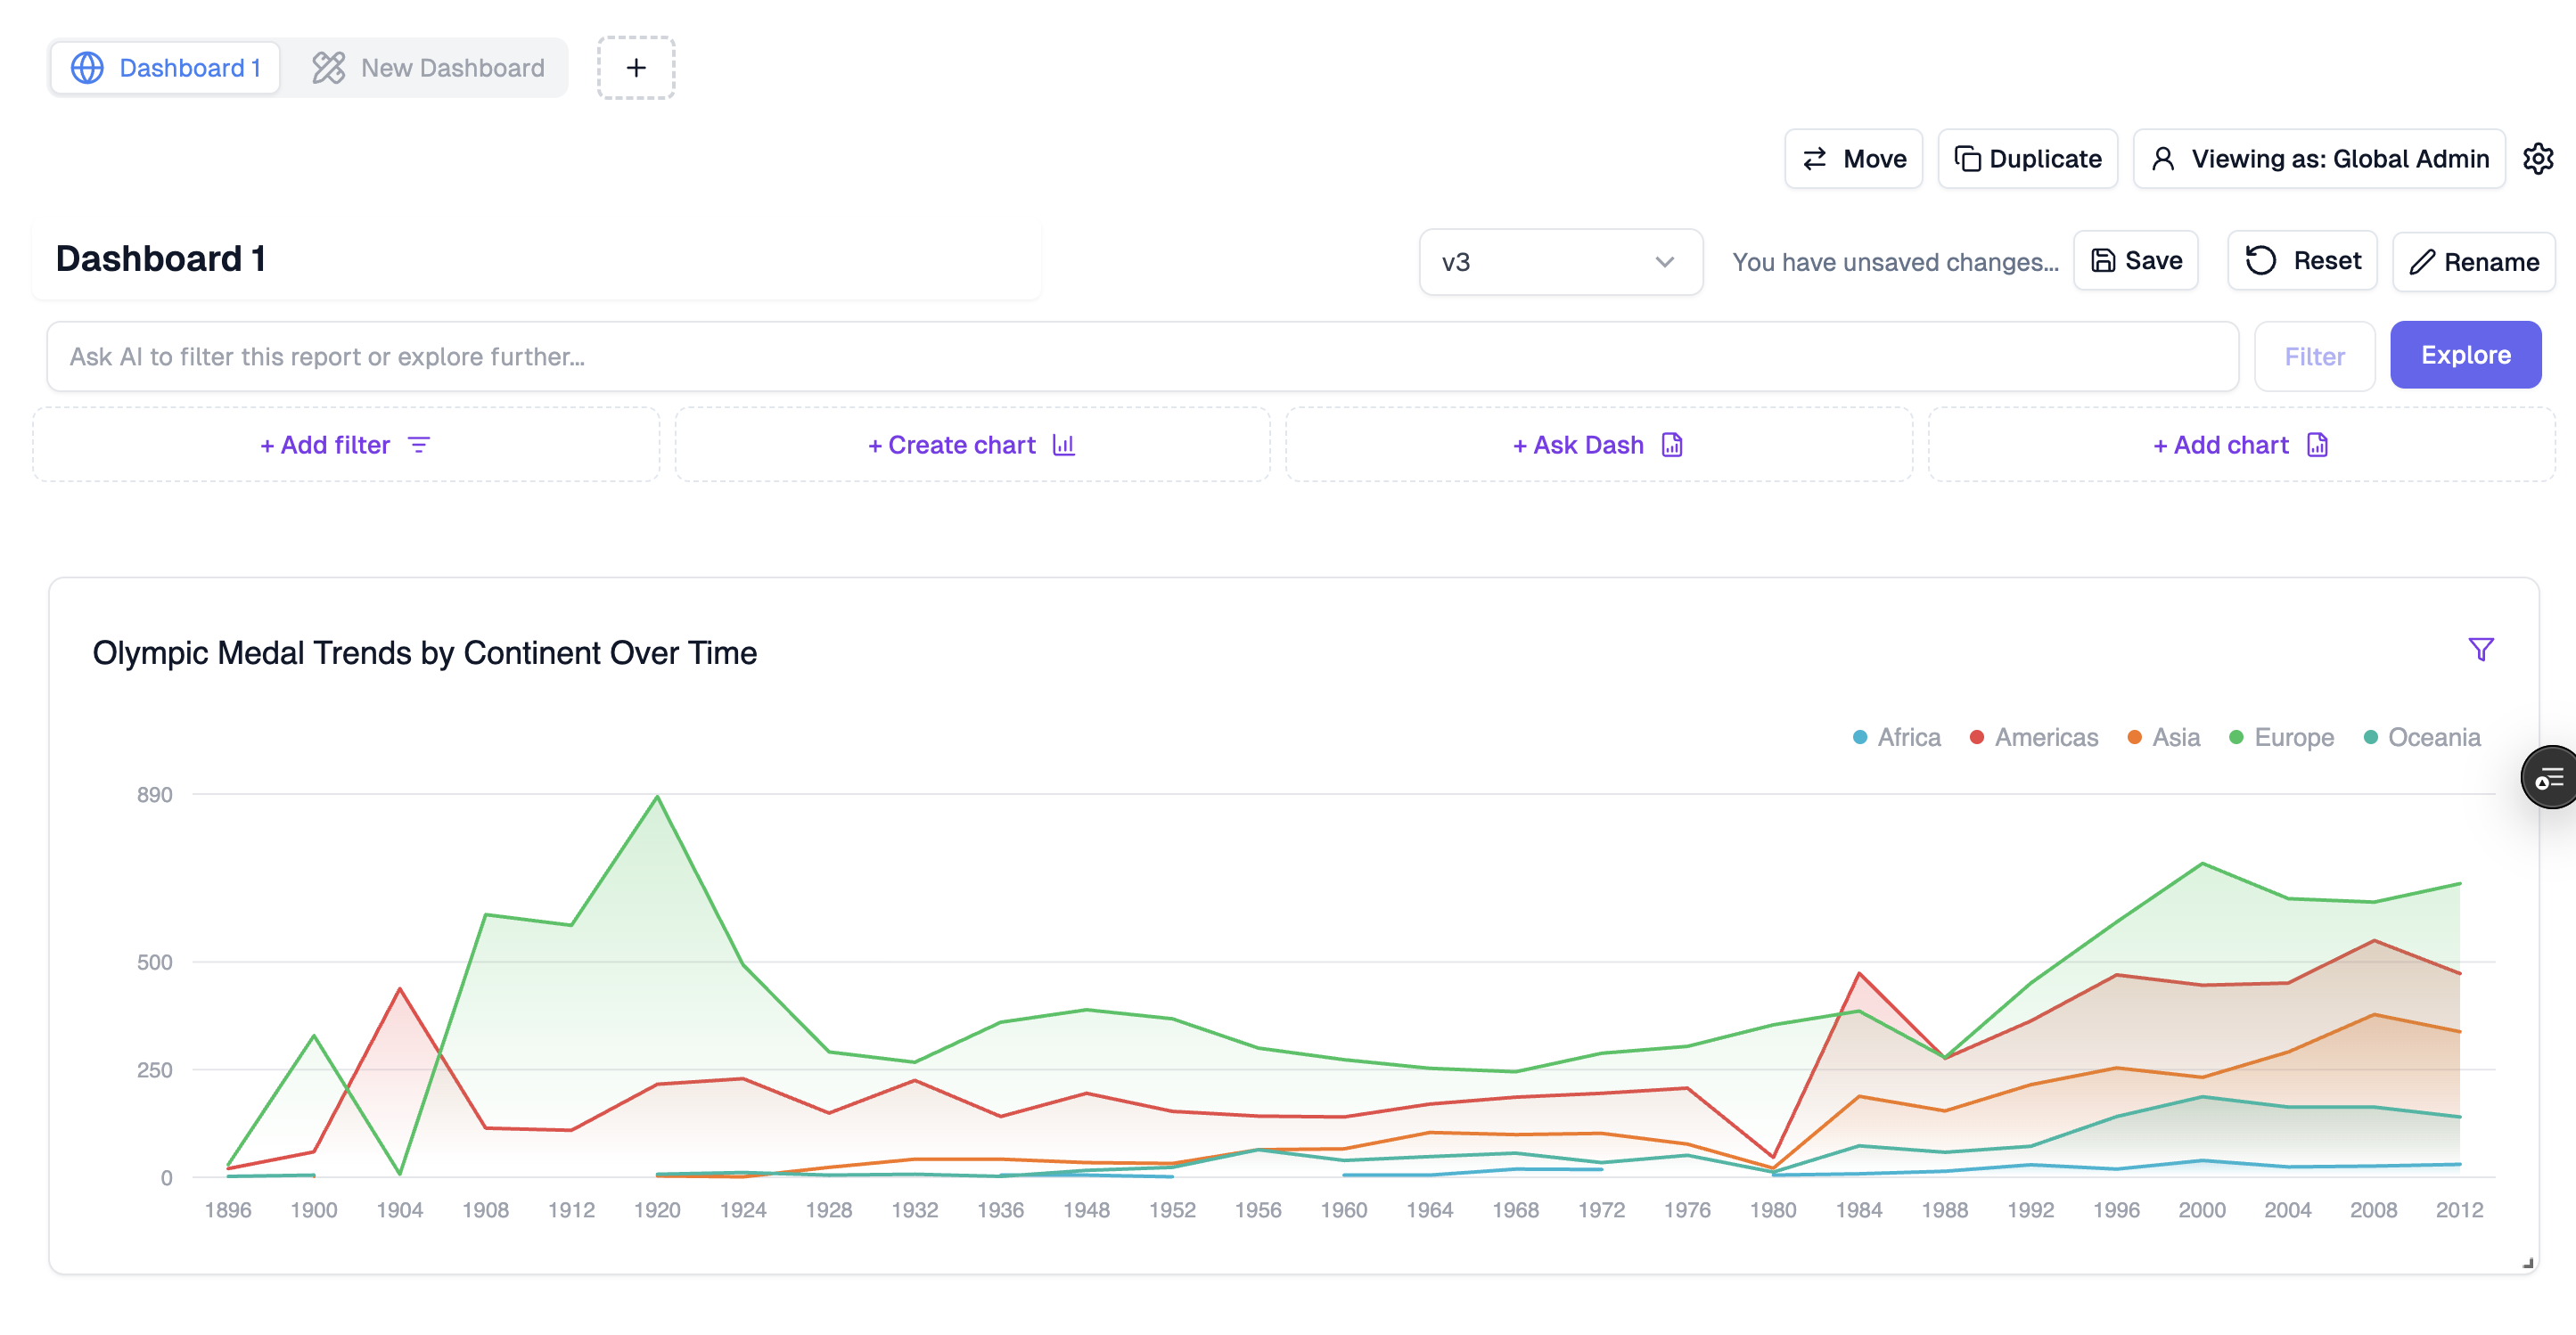
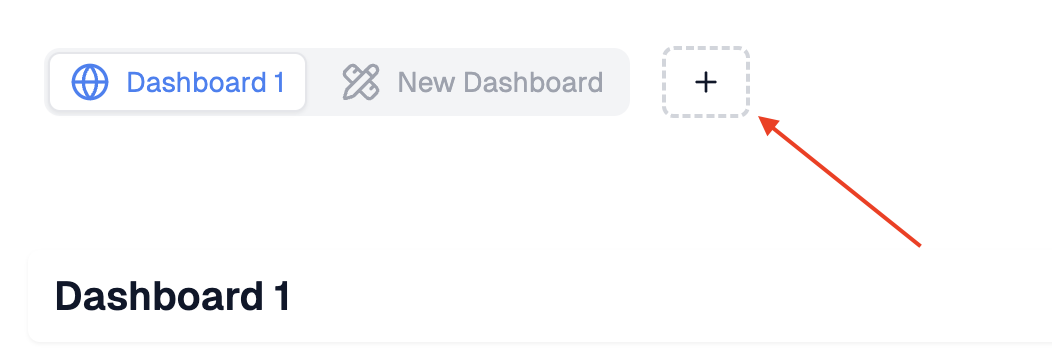
Adding Dashboards to Your Workspace
Once you have a workspace, you can add multiple dashboards:- Use the + Button: In your workspace view, click the ”+” button to create a new dashboard
- Dashboard Creation: This opens the dashboard builder where you can:
- Add charts and visualizations
- Configure filters
- Set dashboard permissions
- Automatic Organization: New dashboards are automatically added to your current workspace
Managing Dashboard Organization
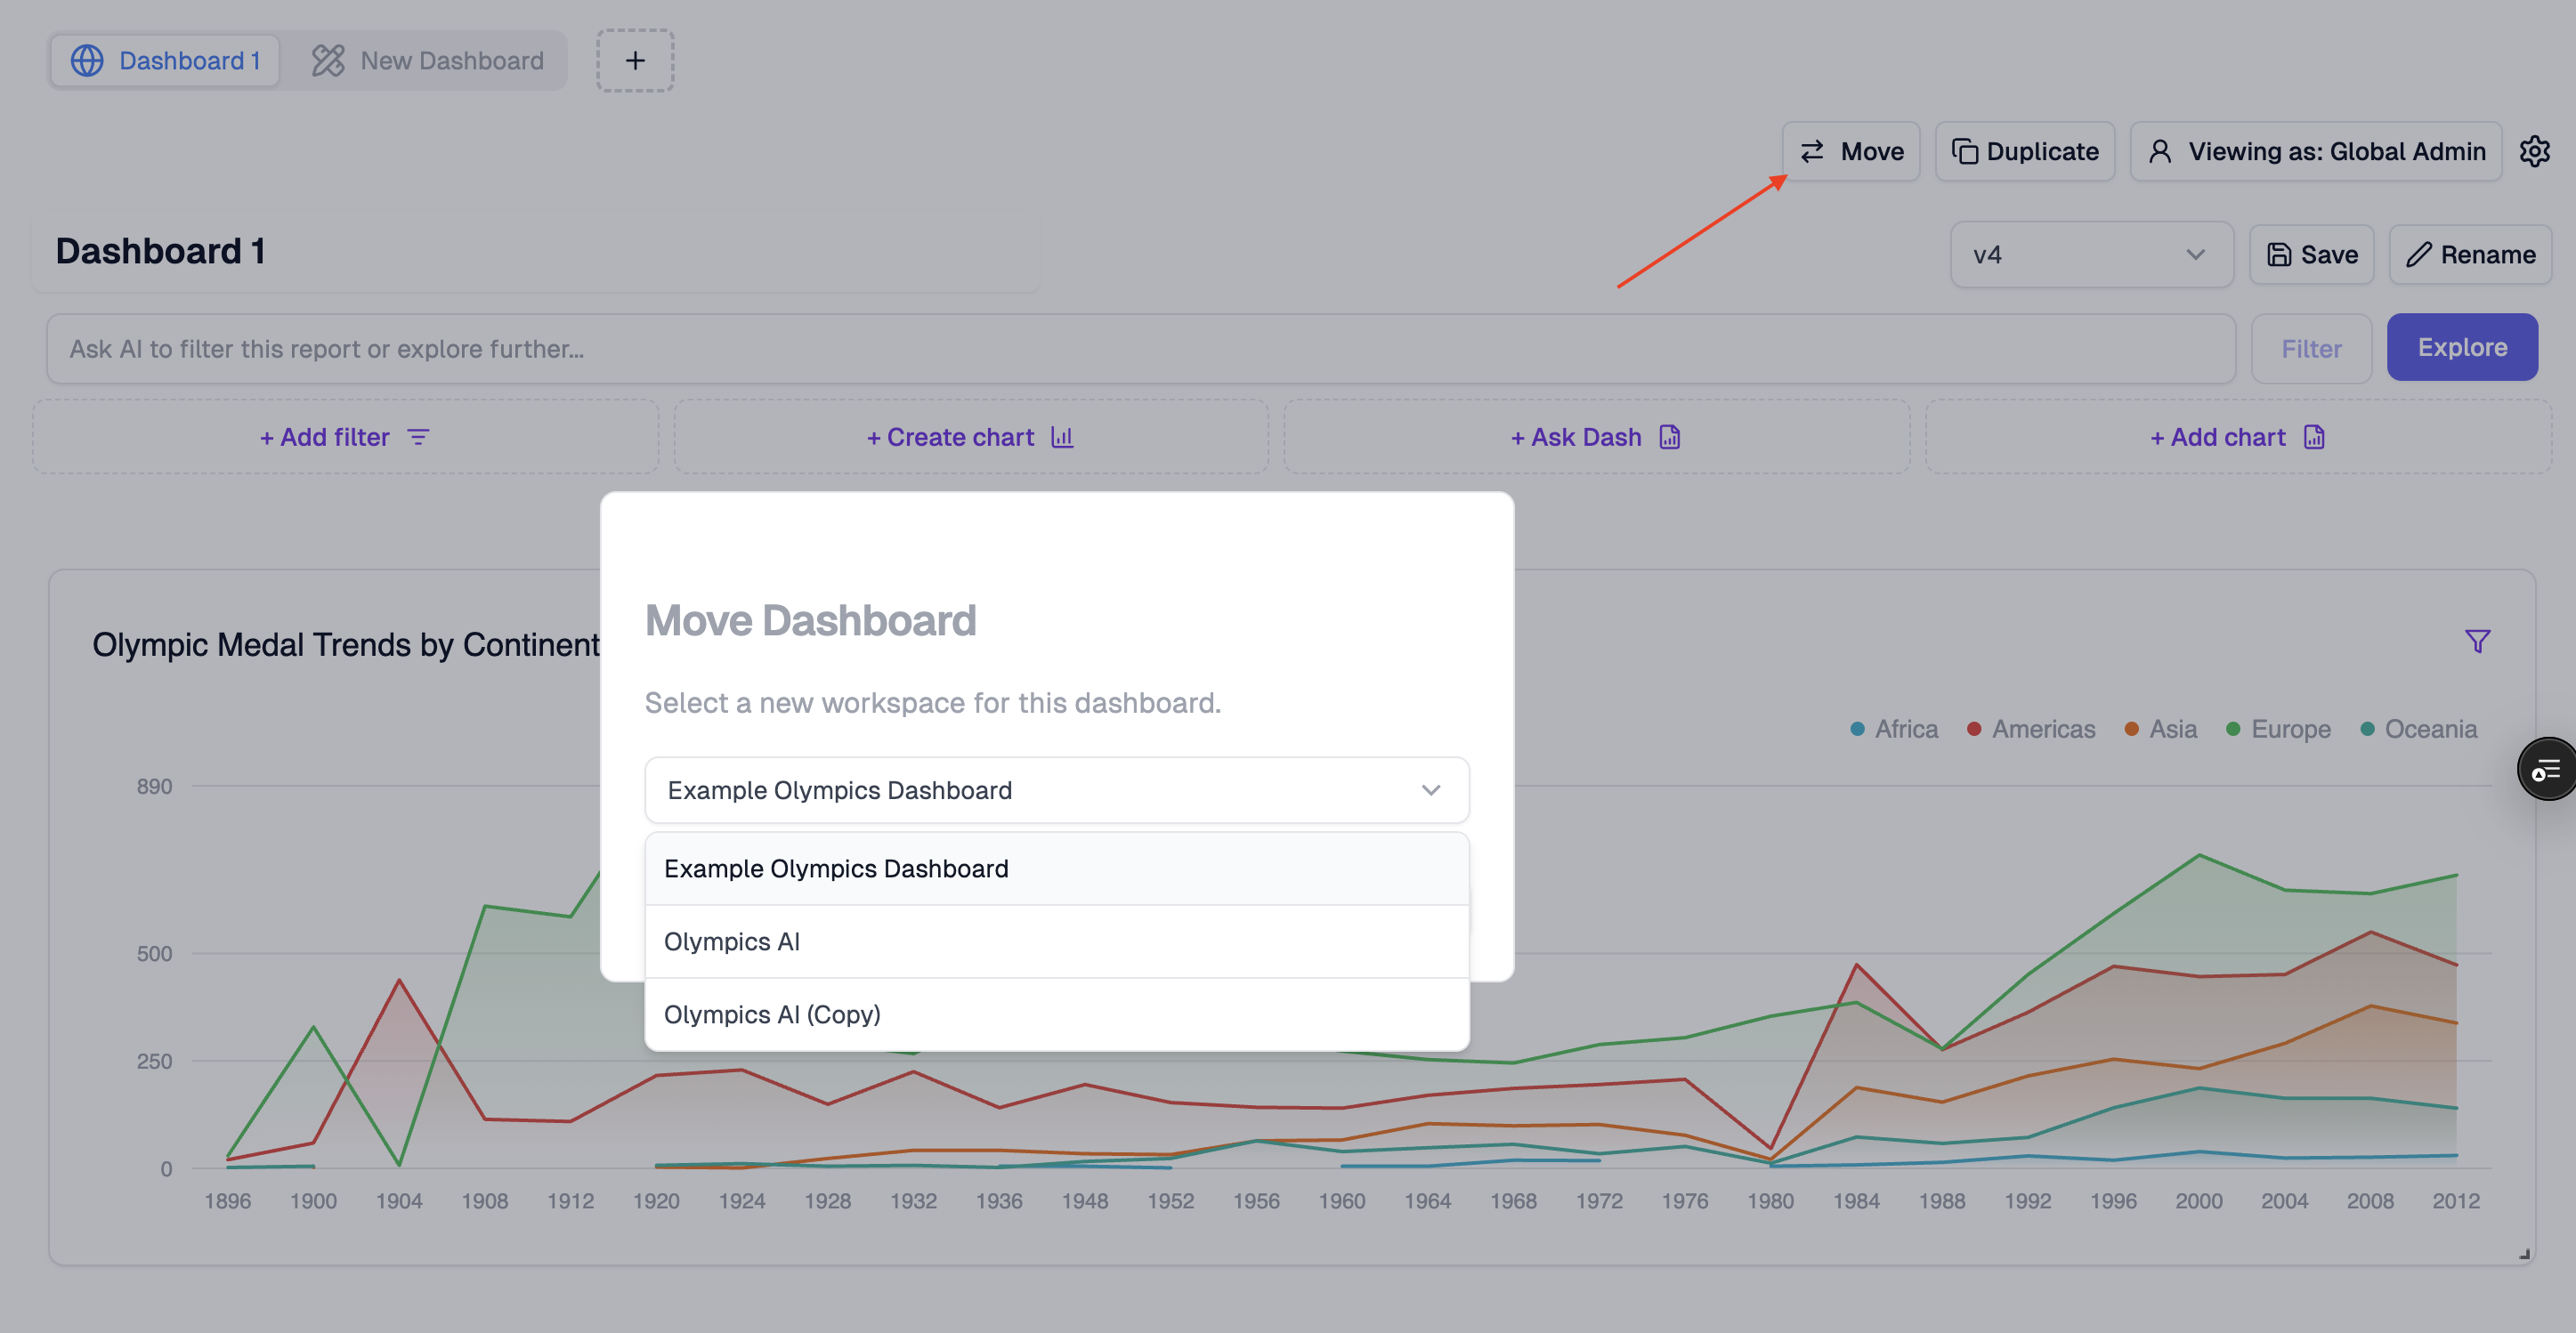
Moving Dashboards
You can reorganize dashboards between workspaces:- Access Move Function: Click the “Move” button on any dashboard
- Select Destination: Choose the target workspace from the dropdown
- Confirm Move: The dashboard moves to the new workspace immediately
Important Behaviors
- Empty Workspaces: If you move all dashboards out of a workspace, it will automatically disappear from your home screen
- Workspace Inheritance: When moved, dashboards adapt to their new workspace’s configuration
Custom Only Workspaces
Control which dashboards are visible to your end users with the Custom Only workspace feature. This is ideal when you want to provide a workspace where users can only see and work with their own personal dashboards, without any global/admin-created dashboards cluttering their view.What is Custom Only Mode?
When a workspace is marked as “Custom Only”:- Tenant users see ONLY their personal dashboards (no global dashboards)
- Admin users still see all dashboards when in admin view
- Admins viewing as tenants see only tenant dashboards (matching tenant experience)
- Global dashboards are hidden from all non-admin users
- Personal analytics workspaces
- User-specific data exploration environments
- Custom reporting areas where you want complete tenant isolation
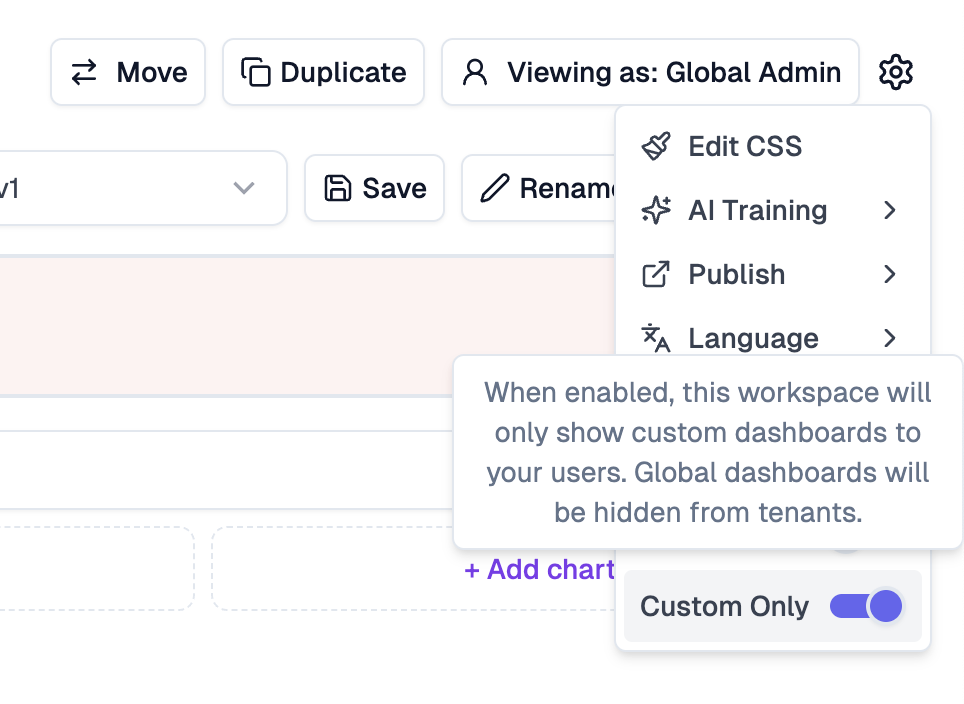
Setting Up Custom Only Mode (Admin)
- Navigate to Your Workspace: Open the workspace you want to configure in the Upsolve Hub
- Access Settings: Click the settings gear icon in the dashboard header
- Toggle Custom Only: Find and enable the “Custom Only” switch in the settings menu
- Confirmation: The workspace is immediately marked as custom only
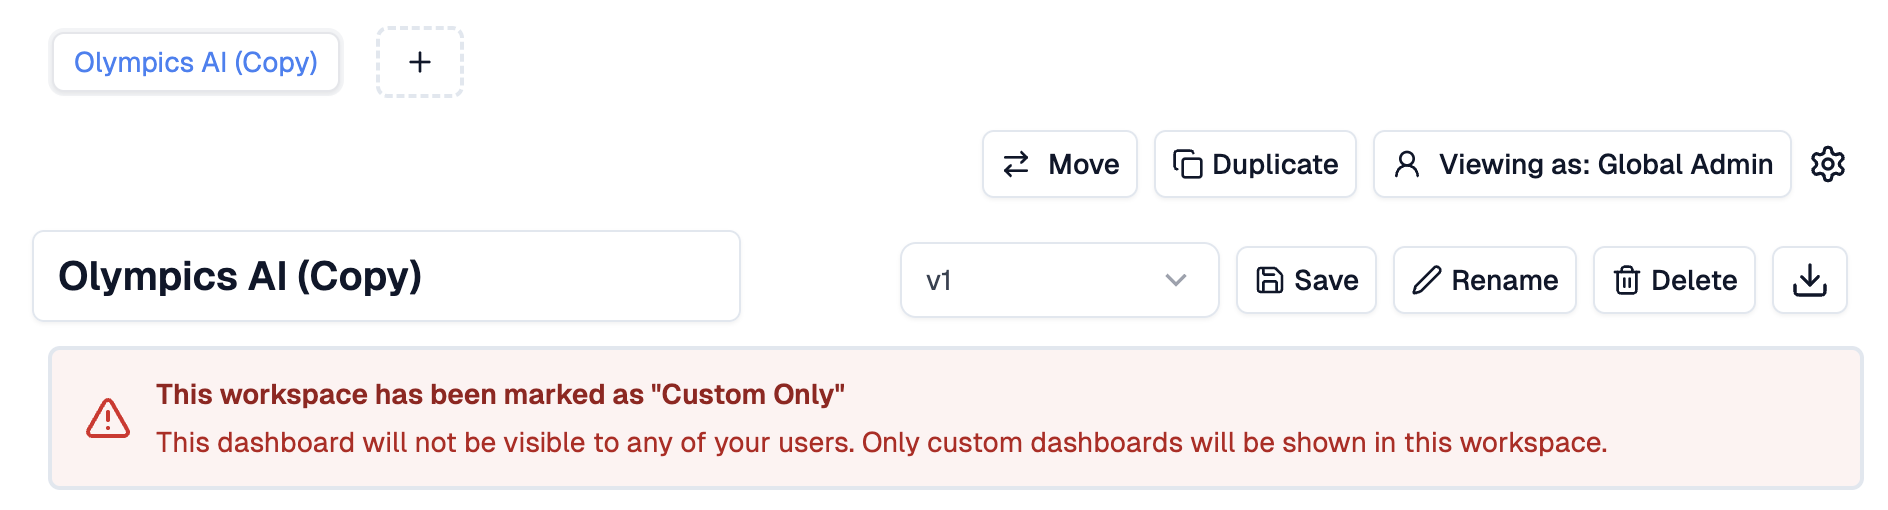
Admin Experience with Custom Only Workspaces
When you mark a workspace as Custom Only, you’ll see a prominent red banner on all global dashboards warning you:Custom Only Workspace
This workspace has been marked as “Custom Only”. This dashboard will not be visible to any of your users.
- View and edit all global dashboards
- Switch between admin view and tenant view
- Create new dashboards (they won’t be visible to tenants)
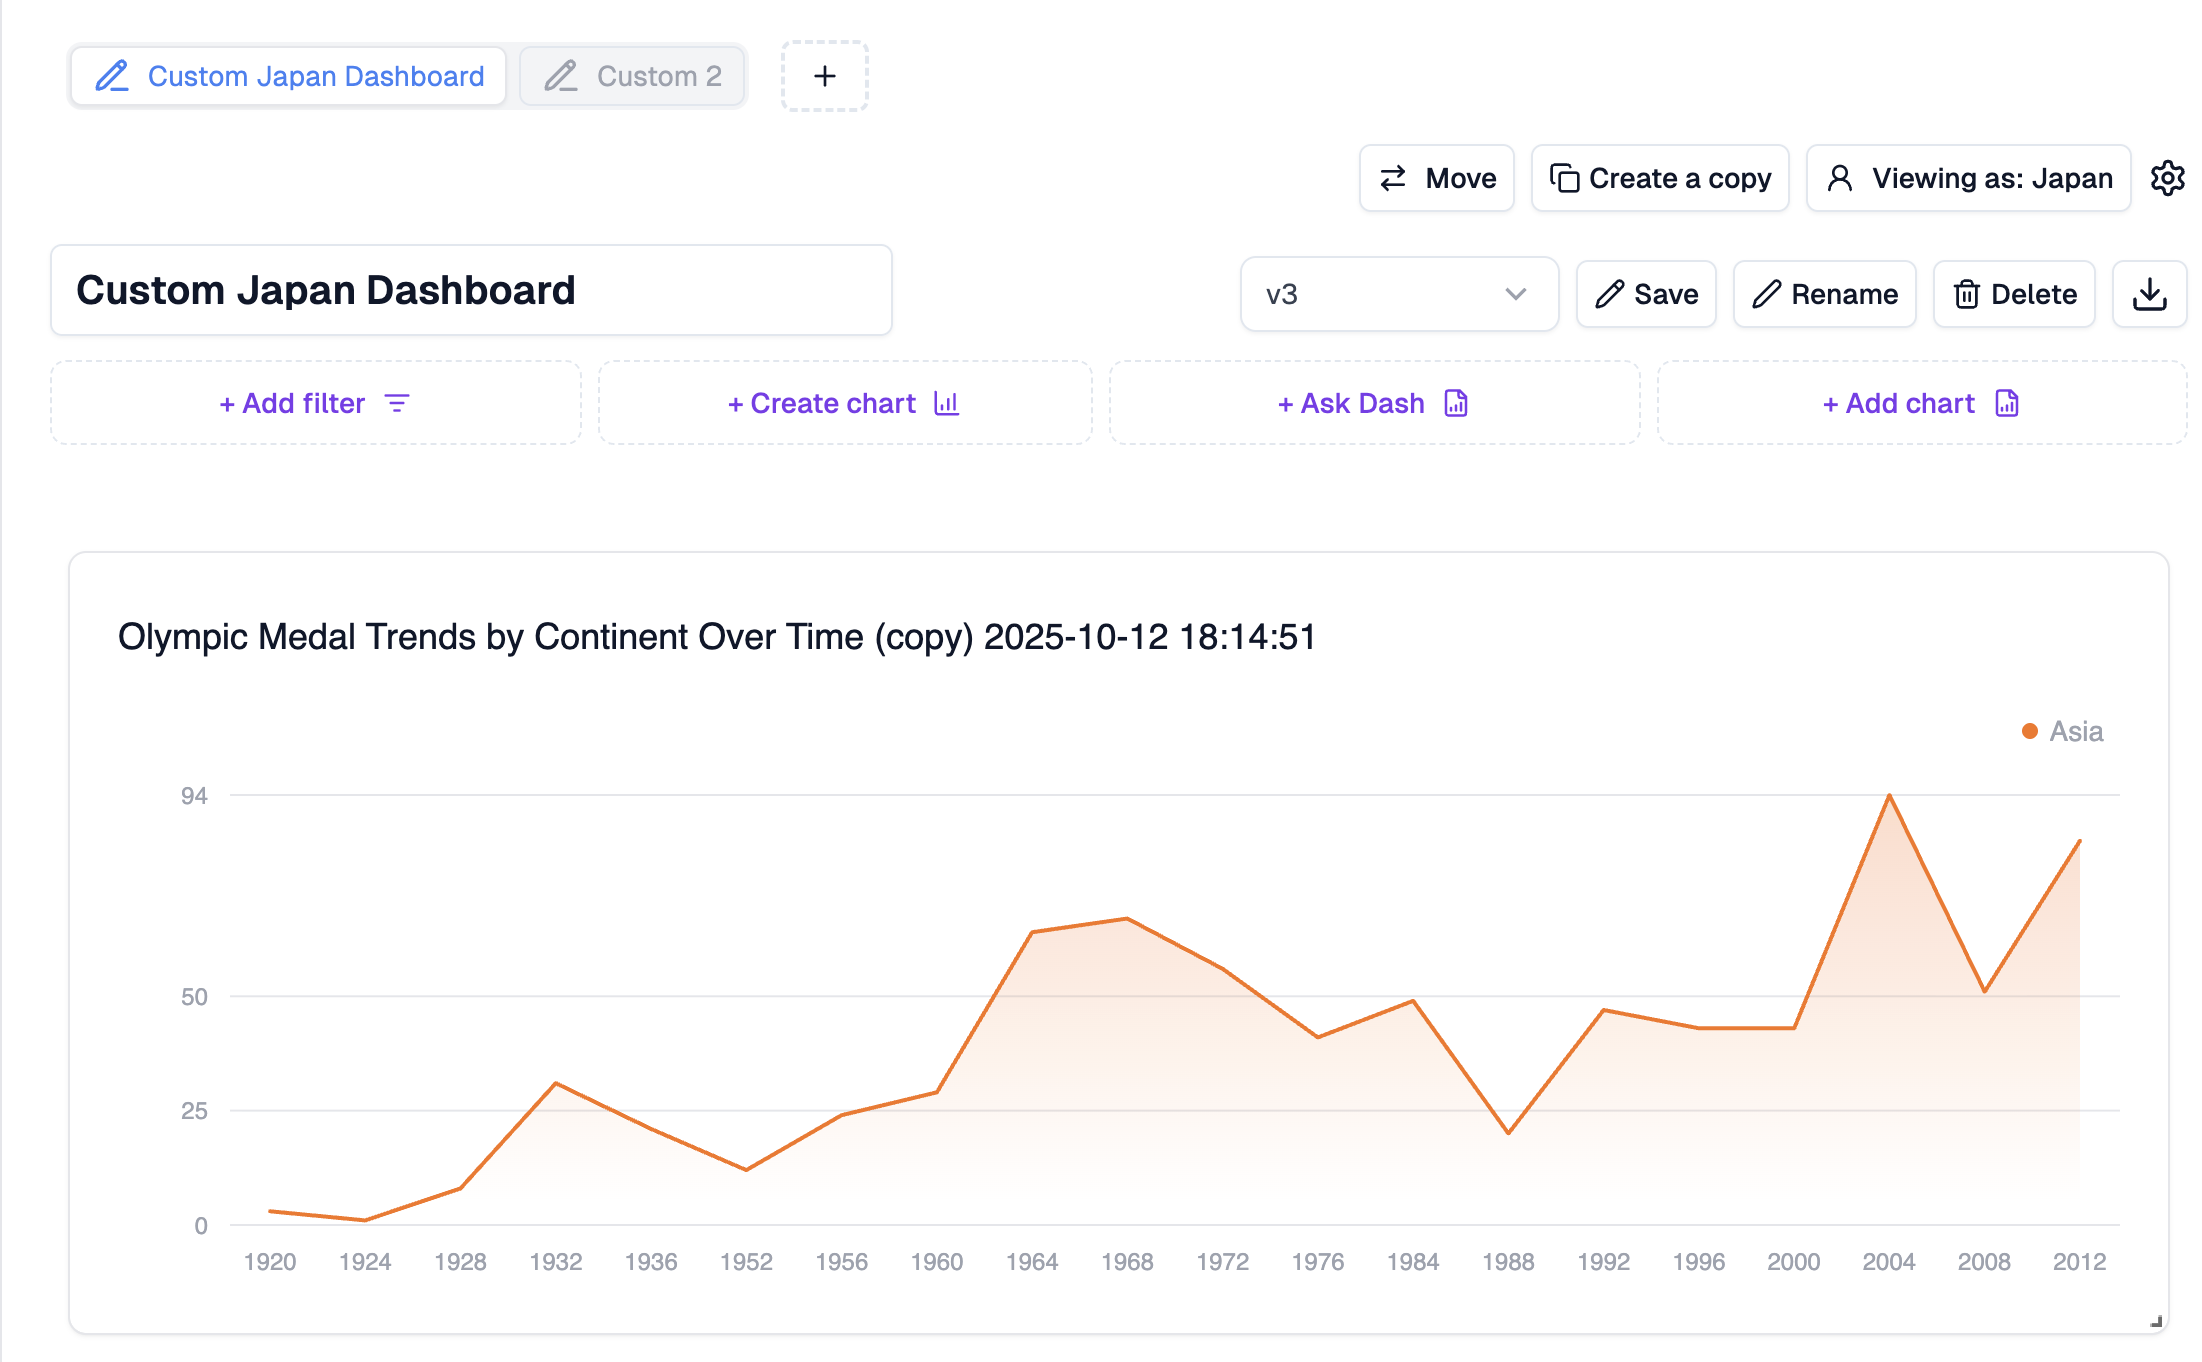
Tenant Experience with Custom Only Workspaces
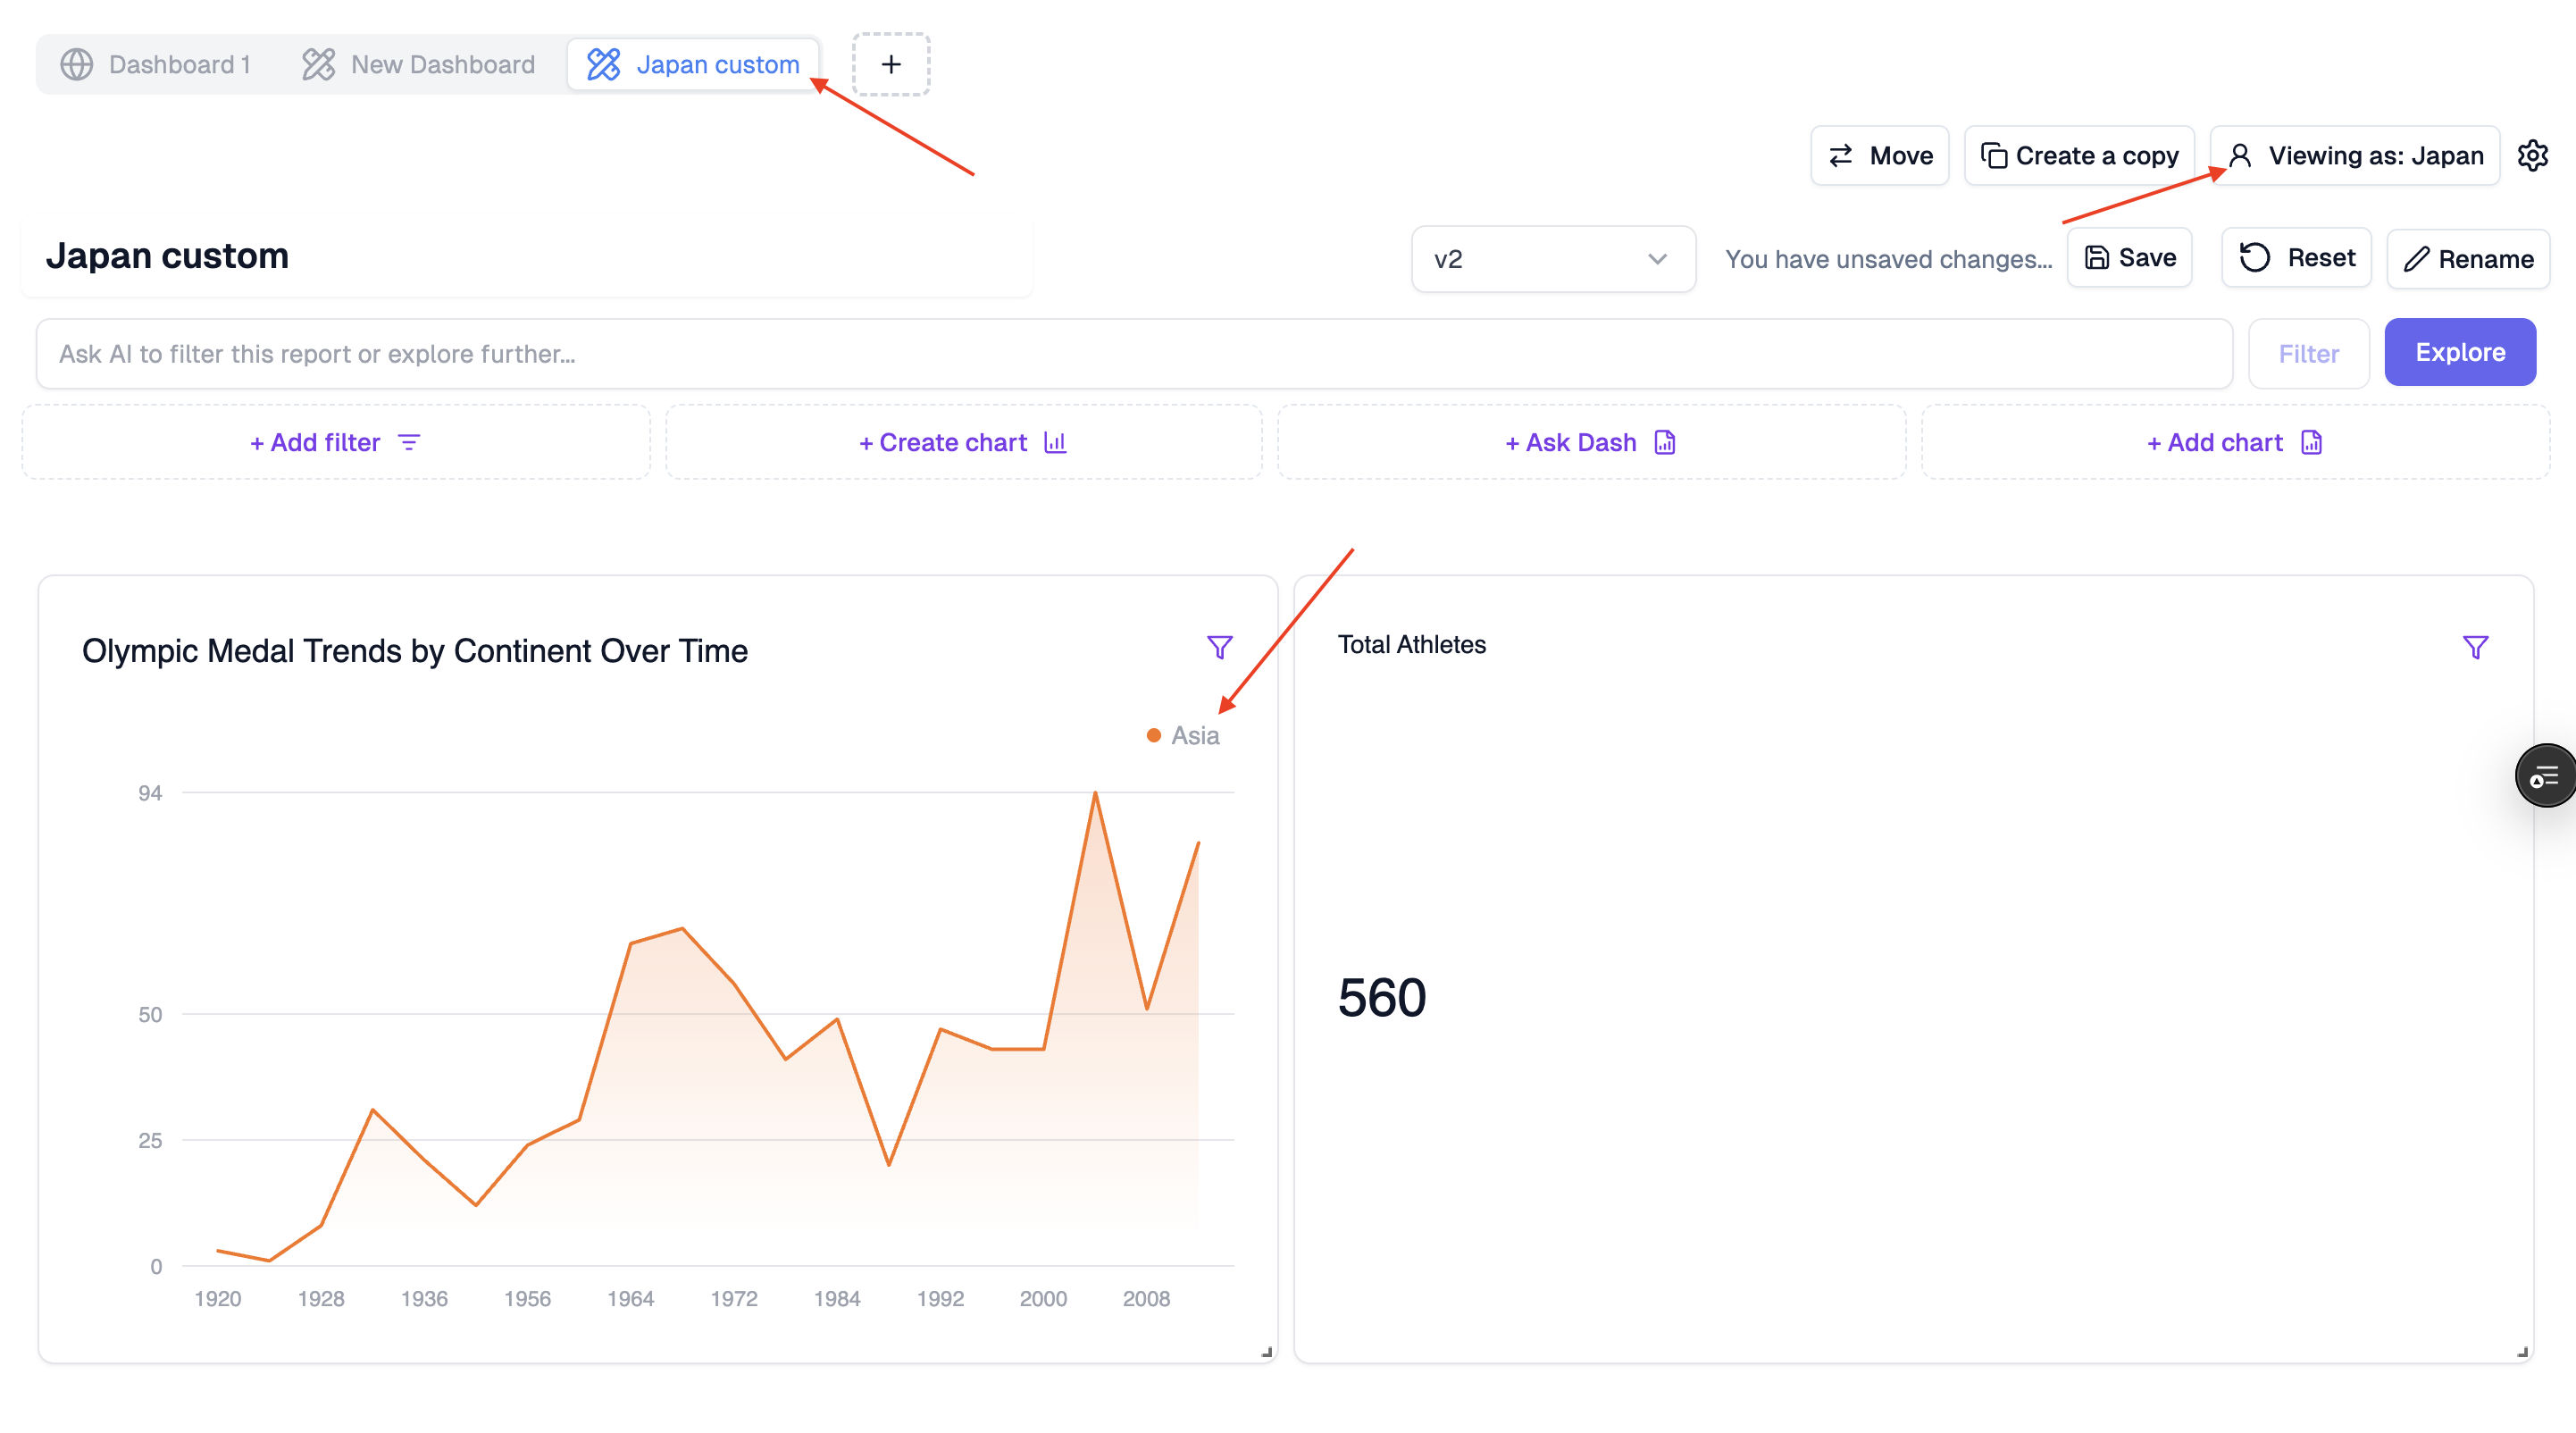
When a tenant (end user) accesses a Custom Only workspace: If they have created personal dashboards:- They see ONLY their own dashboards in tabs
- No global dashboards appear
- They can create new dashboards using the ”+” button
- Full editing permissions on their own dashboards (based on your
tenantEditingPermissions)
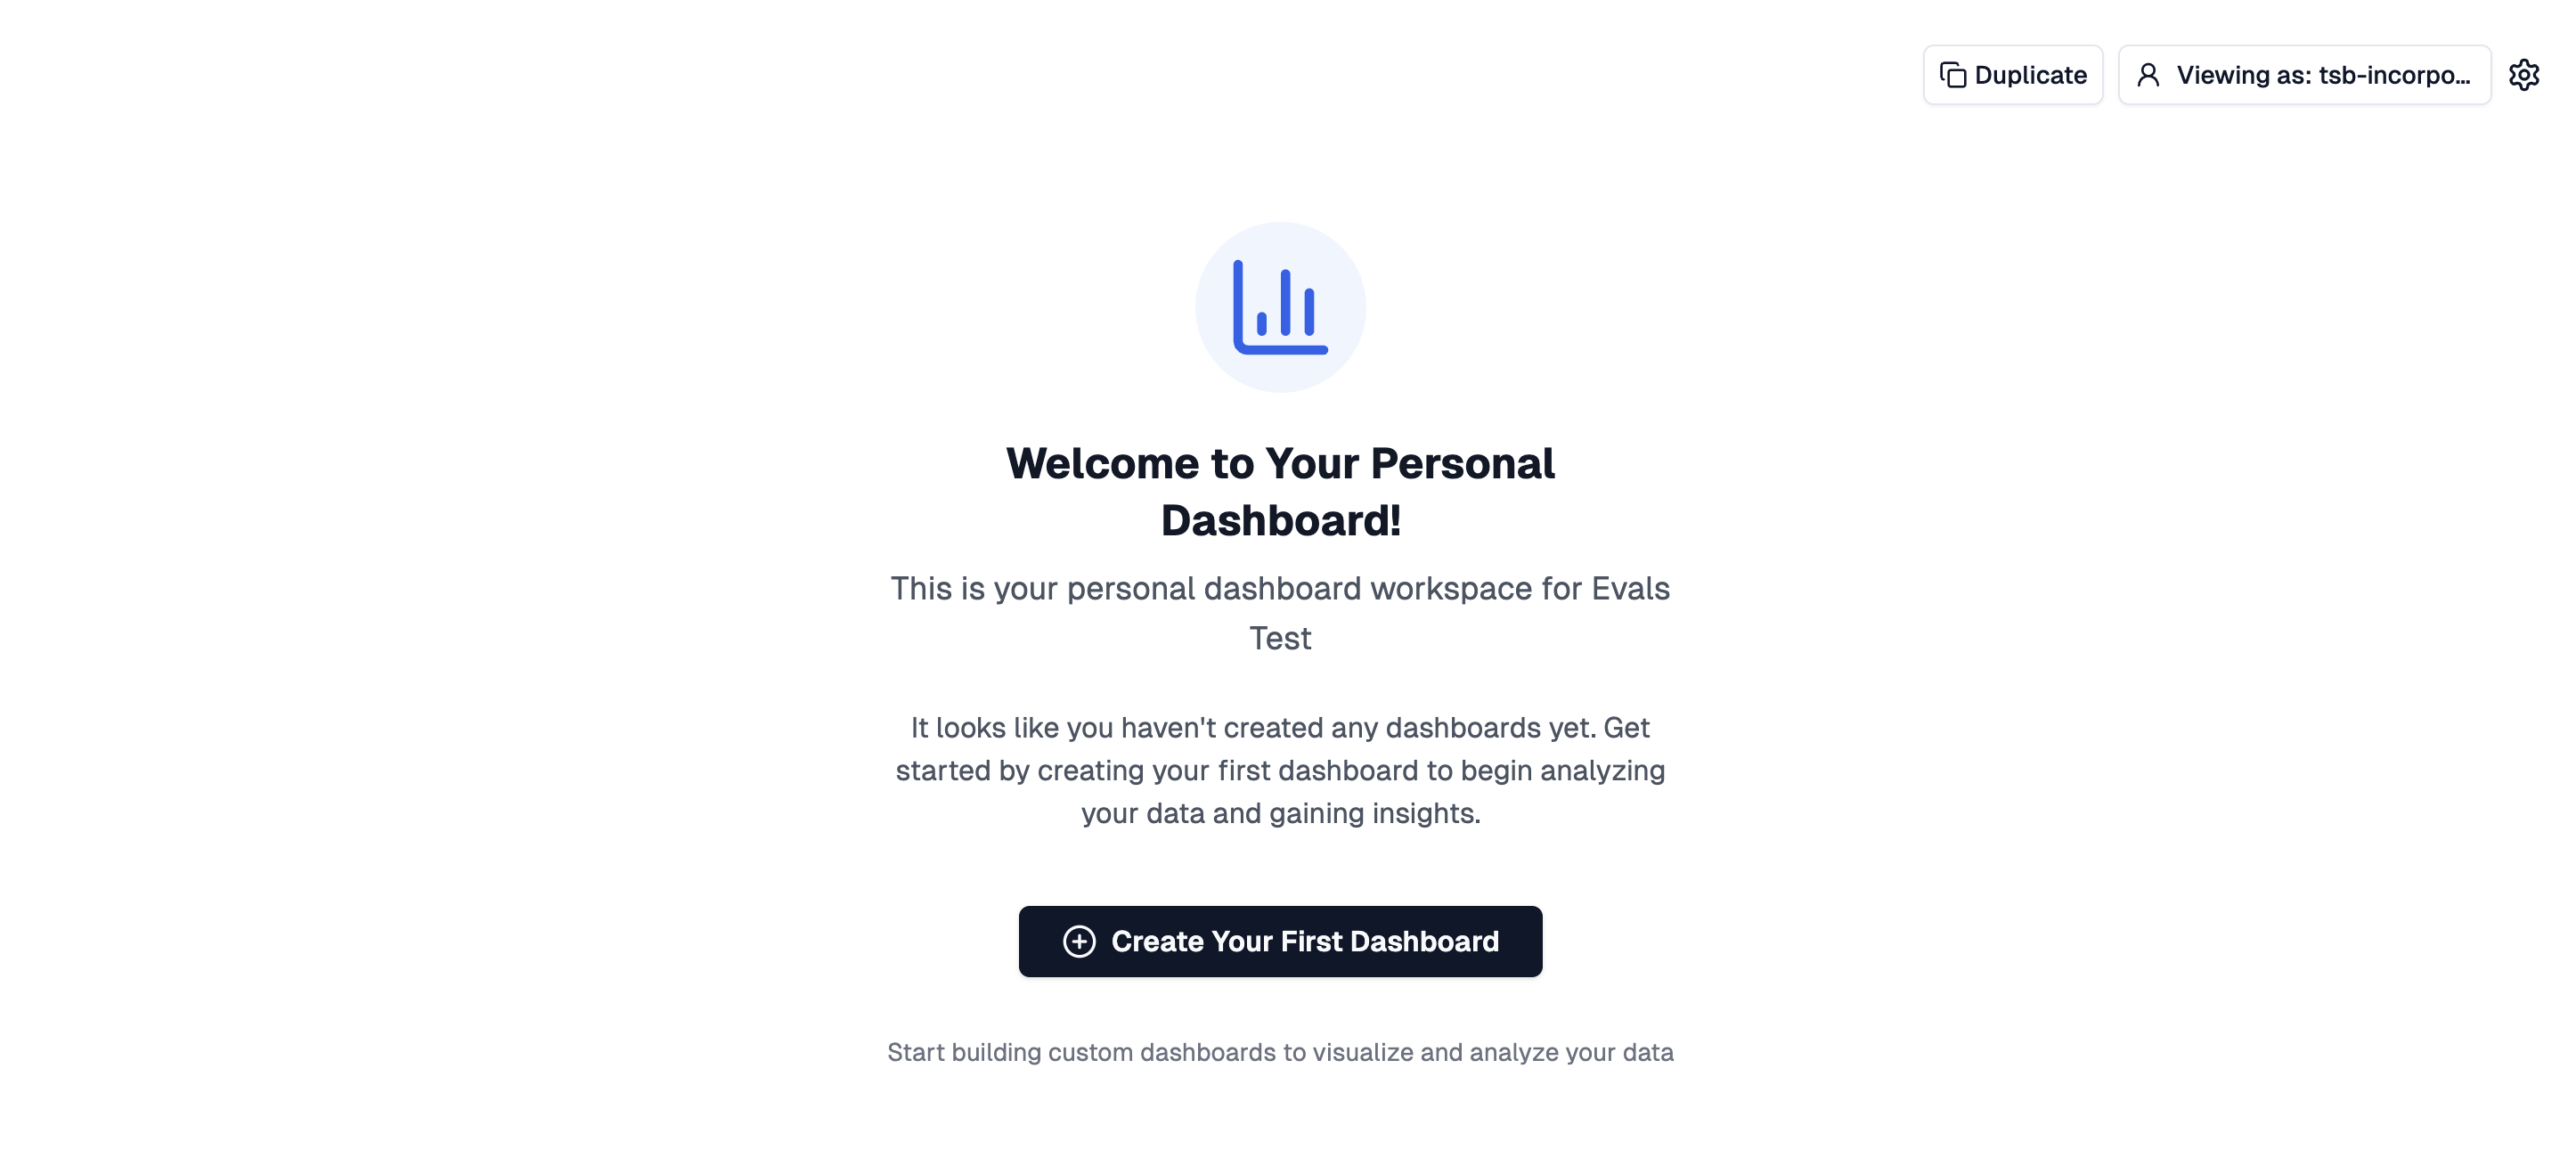
- They see a welcoming empty state screen
- Clear call-to-action to create their first dashboard
- Message: “Welcome to your personal dashboard workspace for [Organization Name]. It looks like you haven’t made any dashboards yet.”
- Prominent “Create Your First Dashboard” button
When to Use Custom Only Mode
Use Custom Only for:- Personal analytics workspaces where each user builds their own views
- Self-service exploration environments
- Custom reporting areas with complete tenant isolation
- User-specific data sandboxes
- Workspaces where you want to provide baseline dashboards to all users
- Shared analytics environments
- Standardized reporting where all users should see the same base dashboards
Technical Implementation
The Custom Only flag is stored on the workspace level (not per dashboard). Important Notes:- The Custom Only toggle affects the ENTIRE workspace
- Existing global dashboards remain in the workspace but become hidden from tenants
- Admins can switch back to admin view at any time to manage global dashboards
- The setting can be toggled on/off without data loss
Deploying Your Workspace
Using the UpsolveWorkspace Component
Once your workspace is ready, deploy it using the React component: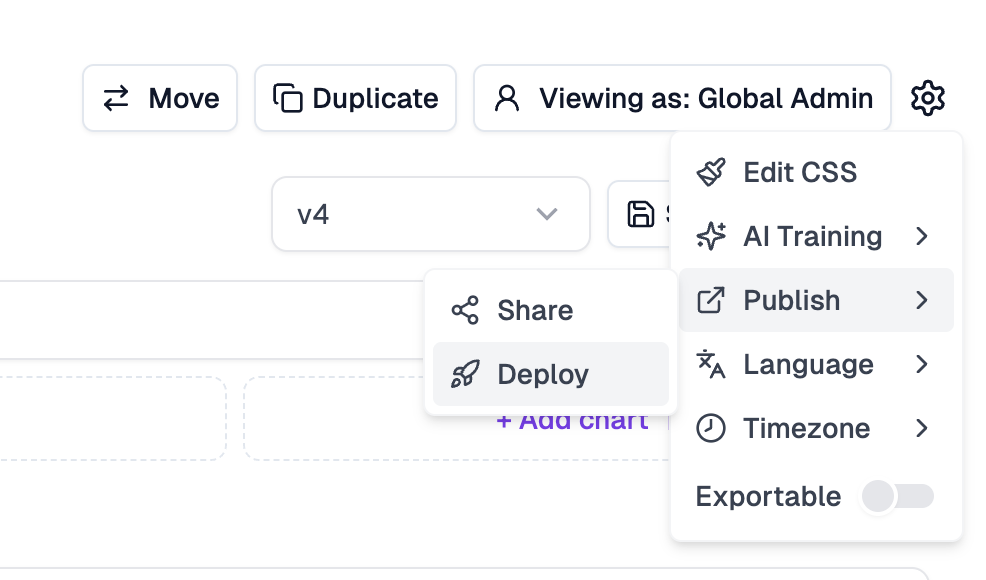
Key Props Explained
- workspaceId: The unique identifier of your workspace (found in the Hub)
- tenantJWT: Authentication token for your tenant
- tenantEditingPermissions: Controls what your users can do:
addChart: Allow tenants to add charts to their view-only dashboardsaddFilter: Allow tenants to add filters that apply only to their viewcreateChart: Allow tenants to create new charts that appear only for themcreateChartSQL: Allow tenants to create charts with SQL (requirescreateChart)editCharts: Allow tenants to edit charts in their personal dashboardsremoveChart: Allow tenants to remove charts from their view of a dashboardreadOnly: Make personal dashboards visible but read-onlydisableTabs: Disable tabbed display in the SDKaiCharts: Allow tenants to use AI-powered chart creationeditMarketplace: Allow tenants to edit marketplace chartsaiInsight: Allow access to the AI insights chat sidebar
Getting Your Workspace ID
- In the Upsolve Hub, navigate to your workspace
- Click the “Deploy” button
- Copy the provided workspace ID and integration code
Code Examples
Basic Workspace Component
Advanced Configuration
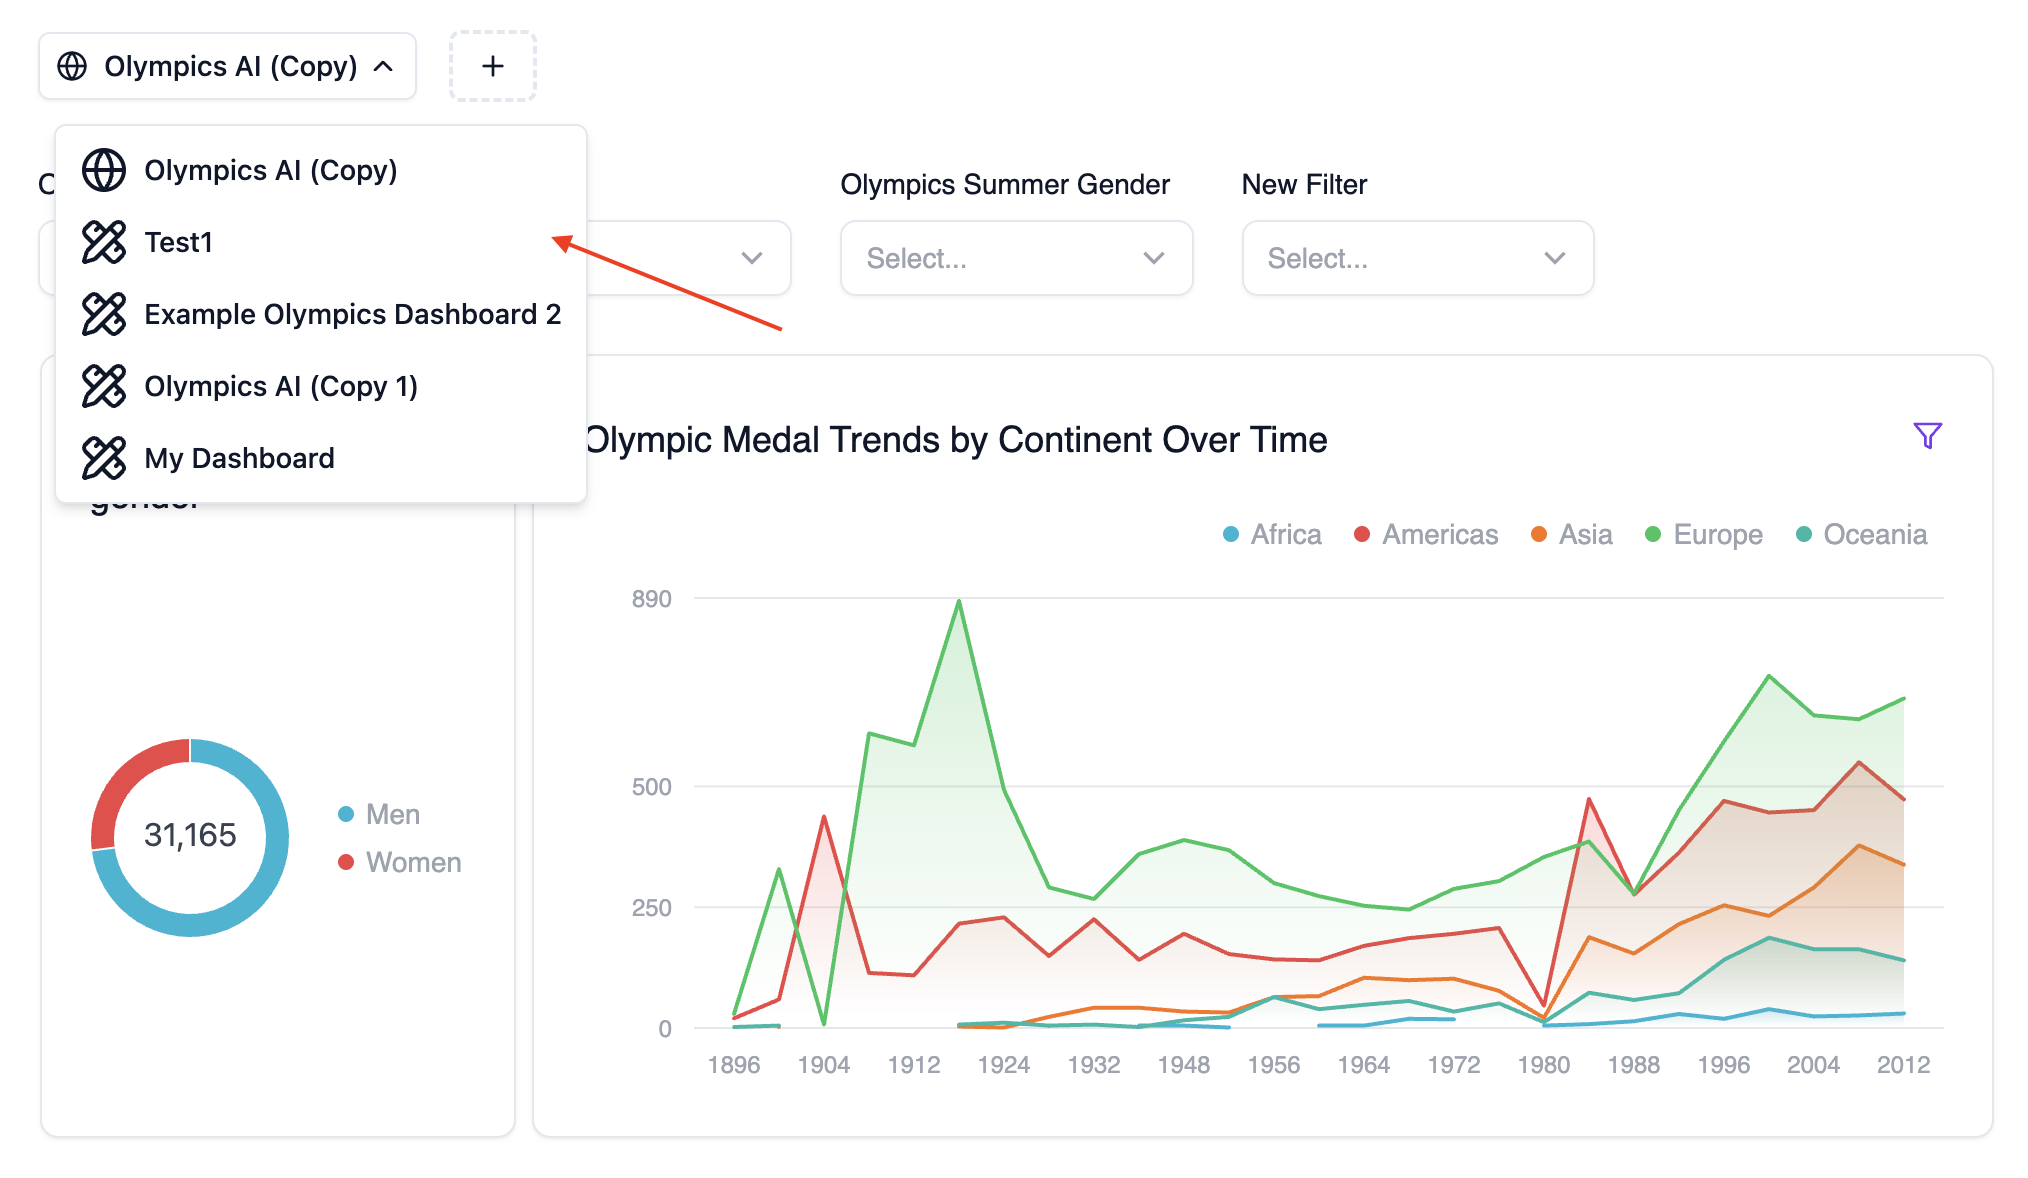
tabPlacement="popover" — a compact dropdown replaces tabs.
Alternative Deployment: IFrame Embedding
In addition to the React component approach, you can embed Upsolve Workspaces directly using an iframe. This method is useful for non-React applications or when you need quick integration without installing packages.IFrame Deployment
Basic IFrame Integration
Instead of using the React component, you can embed workspaces using a standard HTML iframe:[DASHBOARD_ID] with your actual dashboard ID from the Upsolve Hub.
IFrame Configuration Parameters
Control your workspace behavior using URL parameters:Essential Parameters
personalWorkspace=true- Required to enable workspace functionality with tabsjwt=[YOUR_JWT_TOKEN]- Authentication token for your users
Dashboard Creation Controls
⚠️ Important: To show the ”+” button for adding dashboards, you must setpersonalWorkspace=true AND at least one of these permissions:
createChart=true- Allow users to create new charts and dashboardsaddChart=true- Allow users to add existing charts to dashboardsaddFilter=true- Allow users to add filters to dashboards
Additional Permissions
editCharts=true- Allow editing of chart configurationsremoveChart=true- Allow removing charts from dashboardsaiCharts=true- Enable AI-powered chart creationreadOnly=true- Personal dashboards visible but read-onlydisableTabs=true- Show single dashboard without tabs
UI Customization
hideHeader=true- Hide the dashboard headerhideDownloadButton=true- Hide download functionalitytheme=darkortheme=light- Set color themeglobalDashboardName=Custom Name- Override the global tab name
Complete IFrame Examples
Full-Featured Workspace
Read-Only Workspace (No + Button)
Single Dashboard (No Tabs)
Dark Theme with Custom Global Name
⚠️ Important Requirements
For Dashboard Creation (+ Button)
The ”+” button to add new dashboards will only appear when:personalWorkspace=trueis set, AND- At least one of these permissions is enabled:
createChart=trueaddChart=trueaddFilter=true
Workspace vs Single Dashboard
- With
personalWorkspace=true: Shows tabbed interface with global + tenant dashboards - With
disableTabs=true: Shows single dashboard without tabs - Default behavior: Shows only the specified dashboard without workspace features
Looking to deploy multiple workspaces in one app? See the dedicated guide: Multi-Workspace Deployment.
Technical Notes
UpsolveWorkspacewraps internal dashboard rendering to provide tabs and workspace context- Workspaces contain multiple dashboards identified by
workspaceId - Each dashboard has a
tenant_id(null for global, specific ID for tenant dashboards) - The component automatically handles tab creation and switching
- Global dashboards (tenant_id = null) are read-only for embedded users
- Tenant dashboards are fully editable based on
tenantEditingPermissions - Empty workspaces automatically disappear from the Hub interface
- The + button creates new dashboards within the current workspace
- Tab placement can be
top(traditional tabs) orpopover(dropdown)