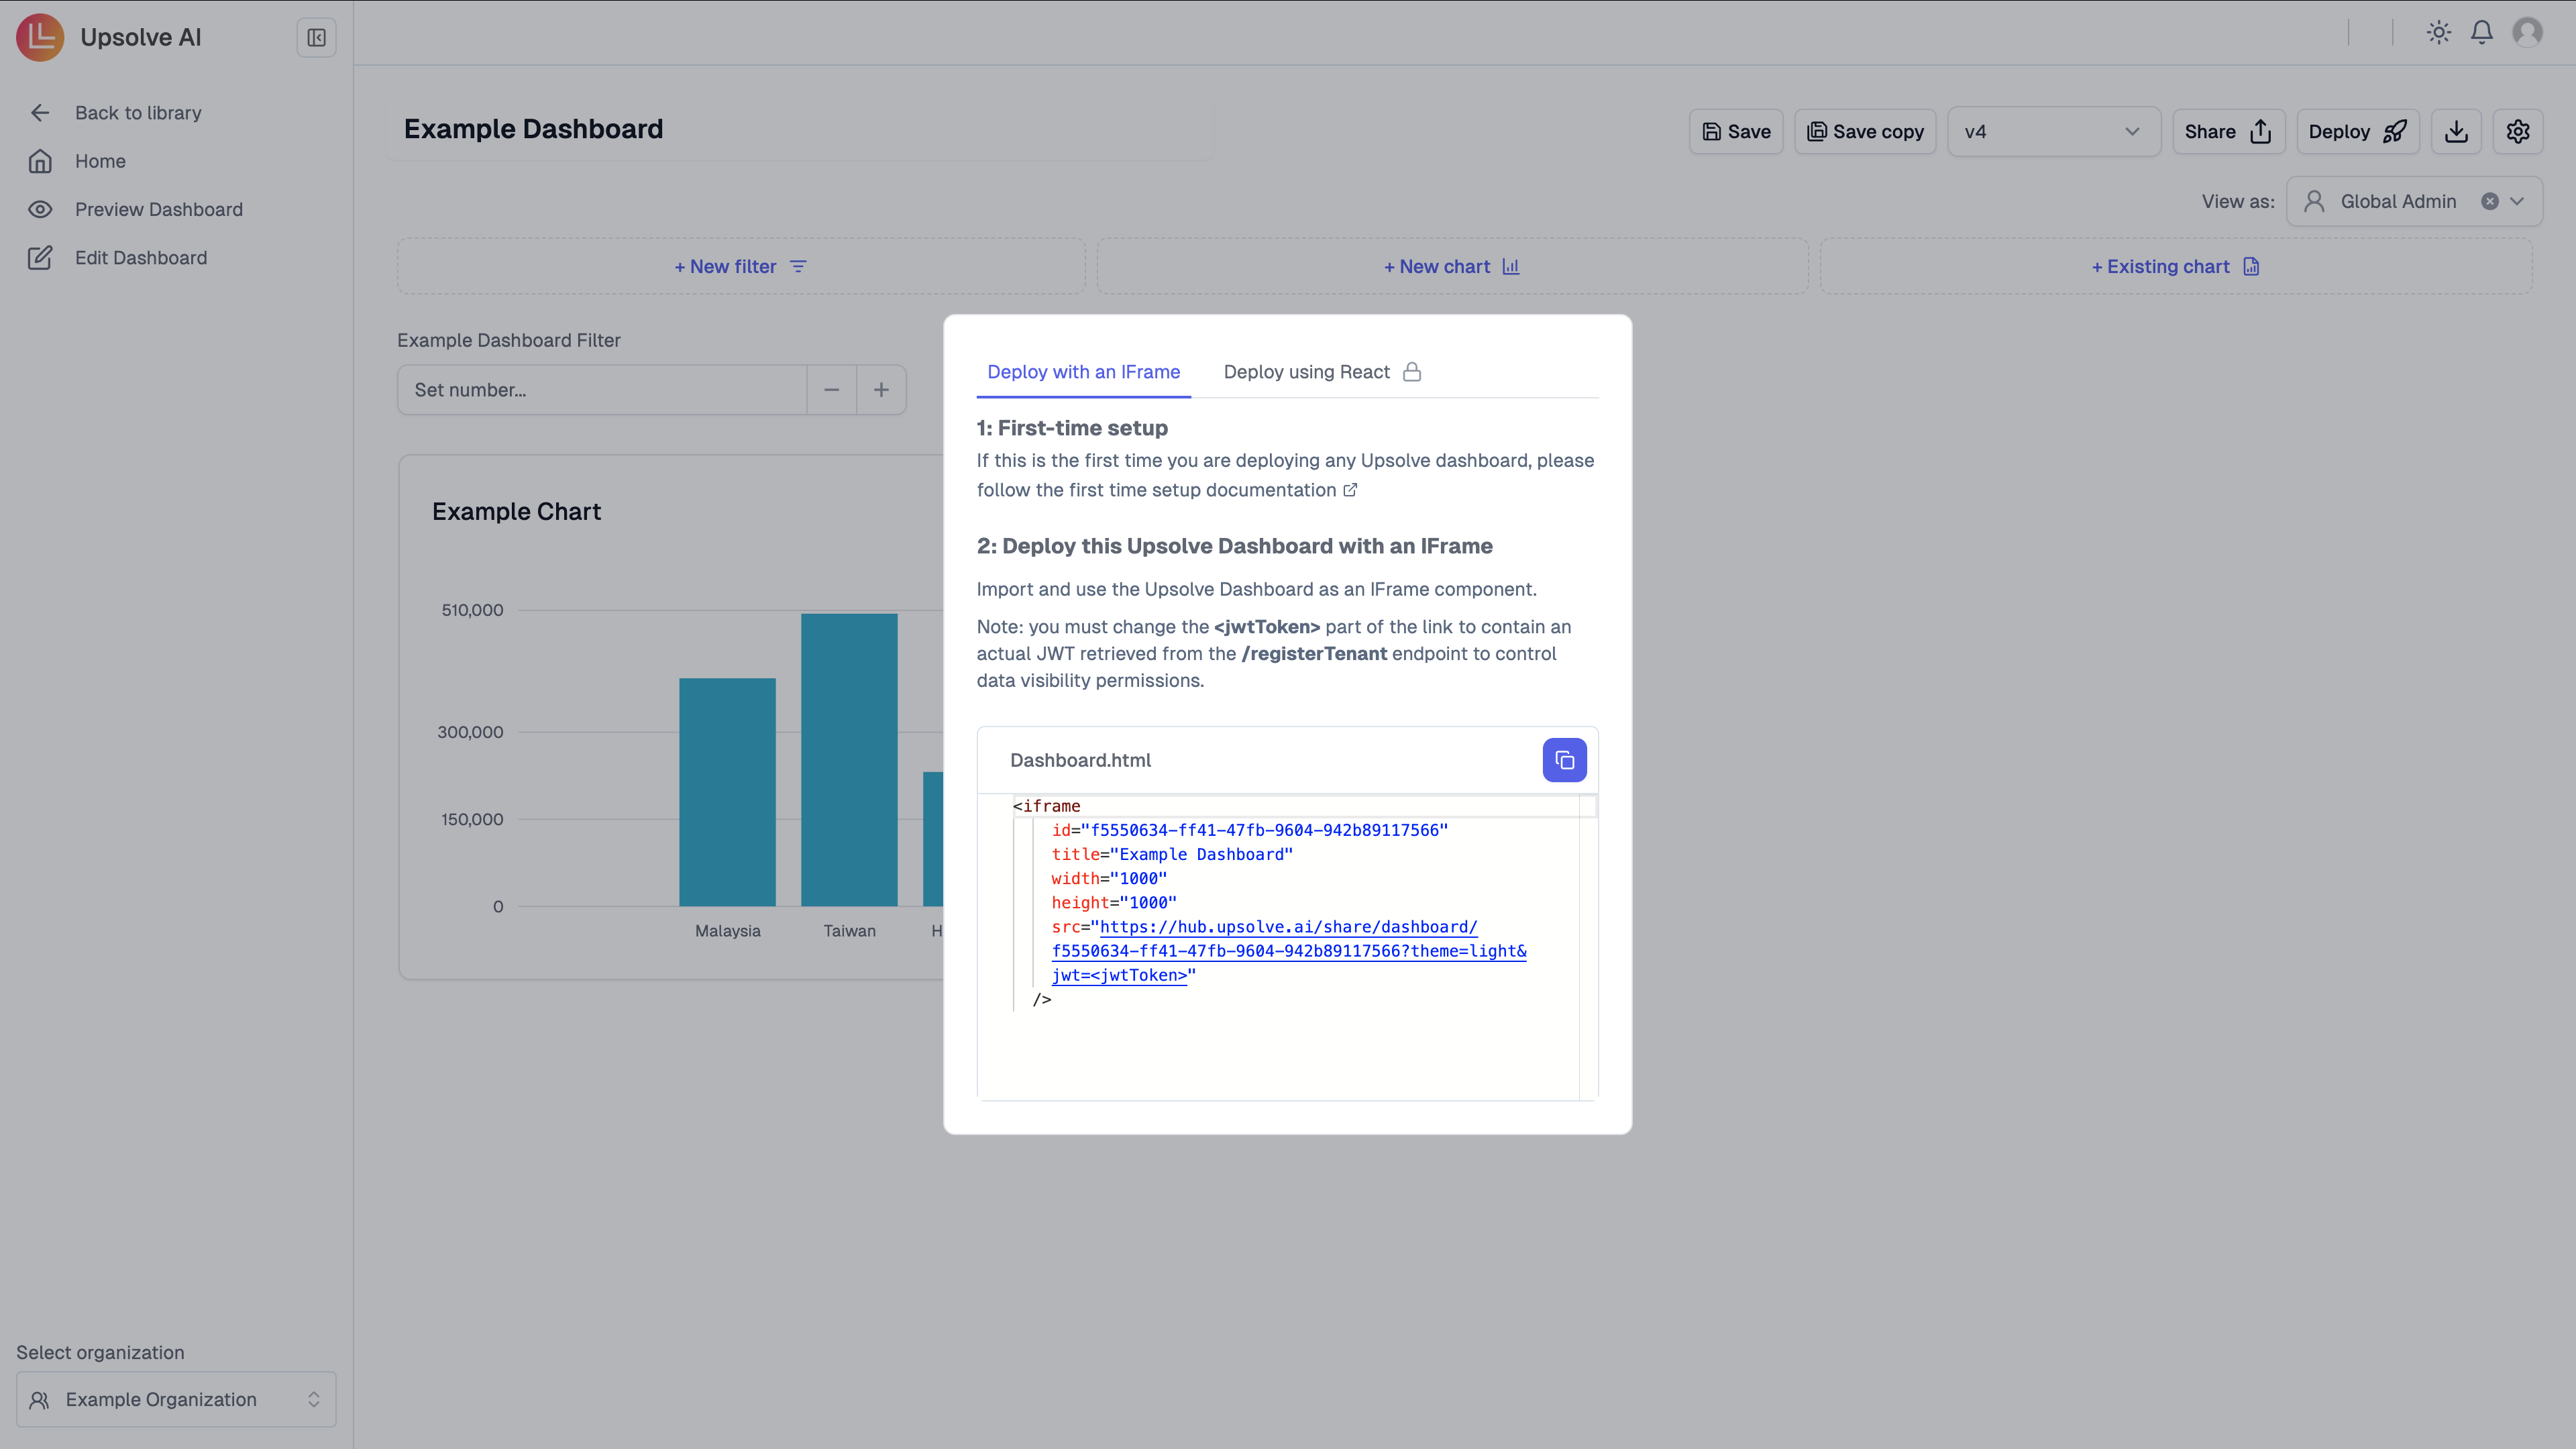
Use this file to discover all available pages before exploring further.
There are two ways to deploy dashboard in your front end:
iFrame Embedding
Native React Component Embedding 🔒
iFrame Embedding
Native React Component Embedding 🔒
Please click on the Deploy button in the Hub.
You will need to get the JWT for the current user and the dashboard ID to render the correct dashboard. The JWT is generated by following the steps in Backend Setup. The dashboard ID could be found in the URL when you are viewing the dashboard you want to embed.
Important: Changing the JWT token in the iframe src will cause the browser to reload the entire iframe. This happens automatically when:
The JWT expires and gets refreshed
User switches tenants/organizations
Tenant permissions are updated
Plan your token refresh strategy to minimize user disruption.
Below is an example of deploying component with JWT using Clerk middleware:
"use client";import React from "react";import { useUser } from "@clerk/nextjs";const Analytics: React.FC = () => { // Get the user information from Clerk and extract the Upsolve token from the metadata const { user } = useUser(); const upsolveToken = user?.publicMetadata?.["upsolveToken"]; // Embed the component into your app return ( <> {upsolveToken != null && typeof upsolveToken === "string" && ( <iframe id="c5da5cb3-fedb-4656-9170-0cc65c9db29a" title="Example Dashboard" width="1000" height="1000" src={`https://hub.upsolve.ai/share/dashboard/c5da5cb3-fedb-4656-9170-0cc65c9db29a?theme=light&jwt=${upsolveToken}`} /> )} </> );};export default Analytics;
Optional: Lock to a specific dashboard version
// Add &version=5 to lock to version 5src={`https://hub.upsolve.ai/share/dashboard/c5da5cb3-fedb-4656-9170-0cc65c9db29a?theme=light&jwt=${upsolveToken}&version=5`}
When the upsolveToken value changes in the code above, React will re-render the component with a new src URL for the iframe. This causes the browser to completely reload the iframe content.
// Example: Token change triggers iframe reloadconst Analytics: React.FC = () => { const { user } = useUser(); const upsolveToken = user?.publicMetadata?.["upsolveToken"]; // When upsolveToken changes (e.g., from token refresh or tenant switch), // the iframe src changes, triggering a full browser reload of the iframe return ( <iframe src={`https://hub.upsolve.ai/share/dashboard/abc?jwt=${upsolveToken}`} // ↑ Changing upsolveToken here causes iframe reload /> );};
Common scenarios that trigger iframe reload:
Automatic token refresh (every hour)
User switches between tenants/organizations
User logs out and back in
Tenant permissions are updated
To improve user experience during token updates: 1. Cache the previous token
until just before expiration 2. Show a loading overlay during refresh 3.
Coordinate token updates during natural breaks in user workflow
Database Row-Level Security (RLS) Setup 🔒
For databases with Row-Level Security policies (Postgres, Redshift, or Supabase), you need to include a database auth token (dbAuthToken) in the iFrame src URL. This token identifies the current user and is used by your database’s RLS policies to filter data at the row level.Example updated iFrame URL:
To retrieve the Supabase session token (dbAuthToken), you can use Supabase’s auth.getSession method:
import { createClient } from '@supabase/supabase-js';const supabase = createClient( 'https://your-supabase-project.supabase.co', 'public-anon-key');async function getDbAuthToken() { const { data: { session }, error, } = await supabase.auth.getSession(); if (error) { console.error('Error retrieving session:', error.message); return null; } return session?.access_token;}getDbAuthToken().then((dbAuthToken) => { console.log('dbAuthToken:', dbAuthToken); // Use dbAuthToken in the iframe URL});
Refer to the Supabase API docs for more details on managing sessions and tokens.
1
Import Upsolve AI SDK
Ask the Upsolve AI team for “a key to the private NPM library”. Use the key in your .npmrc or .yarnrc file. You can then import the SDK into your application.
Use the key as follows:
If you are using `npm` or `yarn v1`
Add your key to your .npmrc. DO NOT COMMIT this file (more details here):
Add your key to your .yarnrc.yml. DO NOT COMMIT this file (more details here):
.yarnrc.yml
nodeLinker: node-modules# Use the correct yarn path here based on your versionyarnPath: .yarn/releases/yarn-4.1.0.cjsnpmScopes: upsolve-labs: npmRegistryServer: "https://npm.pkg.github.com/" npmAuthToken: "{YOUR_UPSOLVE_TOKEN}"
Now you may run npm i @upsolve-labs/sdk or yarn add @upsolve-labs/sdk to install the SDK.
2
Deploy Dashboard - Tailwind Setup
If you don’t already have Tailwind installed, please follow the setup instructions here. In your tailwind.config.js you will need to make 2 changes:
And make sure, per the instructions, that in your root.tsx file you have imported ./output.css with the output.css file you generated in step 4 of the Tailwind setup.
3
Deploy Dashboard - Configure global CSS
In your main layout.tsx or page.tsx, add this line to import the Upsolve CSS. For example, if you have a RootLayout it will look like this:
layout.tsx
"use client";...import '@upsolve-labs/common/styles/global.css';...export default function RootLayout({ children,}:...
4
Workspace deployment
Deploy a full workspace instead of a single dashboard. You’ll need a tenant JWT and the workspace ID (available via the Deploy button in the Hub).For a complete walkthrough and advanced options, see Deploying Your Workspace.
Important: Changing the tenantJWT prop will trigger a complete dashboard refresh. The React component will:
Re-fetch all dashboard data with the new authentication context
Re-fetch filter options based on new tenant permissions
Re-render all charts with updated data access
This ensures the dashboard always reflects the current tenant’s permissions and data access, but can cause a brief loading state. Consider showing a loading indicator during JWT updates.
If your Postgres, Redshift, or Supabase connection uses Row-Level Security policies, provide dbAuthToken to ensure proper row-level access within the workspace.
dbAuthToken: Access token from Supabase session used to evaluate RLS policies.
Key Points
Use workspaceId instead of dashboardId.
Global dashboards are read-only; tenant dashboards are editable per tenantEditingPermissions.
Tabs switch between global and tenant dashboards automatically; use tabPlacement="popover" for compact UI.
Getting the Workspace ID
Open the workspace in the Hub
Click Deploy
Copy the workspaceId from the integration snippet
All tenantEditingPermissions options
The following options control what tenants can do inside their personal dashboards in a workspace:
addChart: Allow tenants to add charts to their view-only dashboards
addFilter: Allow tenants to add filters that apply only to their view
createChart: Allow tenants to create new charts that appear only for them
createChartSQL: Allow tenants to create charts with SQL (requires createChart)
editCharts: Allow tenants to edit charts in their personal dashboards
removeChart: Allow tenants to remove charts from their view of a dashboard
readOnly: Make personal dashboards visible but read-only
disableTabs: Disable tabbed display in the SDK
aiCharts: Allow tenants to use AI-powered chart creation
editMarketplace: Allow tenants to edit marketplace charts
aiInsight: Allow access to the AI insights chat sidebar
Version Locking
You can lock a dashboard or workspace to a specific version using the version prop. This ensures that the component renders with a specific configuration, even if newer versions are published.
AnalyticsWorkspace.tsx
<UpsolveWorkspace workspaceId="ws_abc123" tenantJWT={upsolveToken} version={5} // Lock to version 5 tenantEditingPermissions={{ addChart: true, createChart: true, }}/>
Use cases for version locking:
Maintain consistency across different deployments
Test new dashboard versions before rolling them out to all users
Show different versions to different customer segments
Implement gradual rollouts of dashboard updates
If the version prop is not provided, the latest version will be rendered by default.
5
Deploy Dashboard - Deploy to Production
Make sure that your .npmrc or .yarnrc.yml values are provided to your deployment as env variables, otherwise the deployment will not work.
For enterprise features, look for the 🔒 symbol. These features are available in our Enterprise plan. Please contact us for more information.
There are two ways to deploy AI chat in your front end:
iFrame Embedding
Native React Component Embedding 🔒
iFrame Embedding
Native React Component Embedding 🔒
You’ll need to get the JWT for the current user and the agent ID to render the chat interface. The JWT is generated by following the steps in Backend Setup.
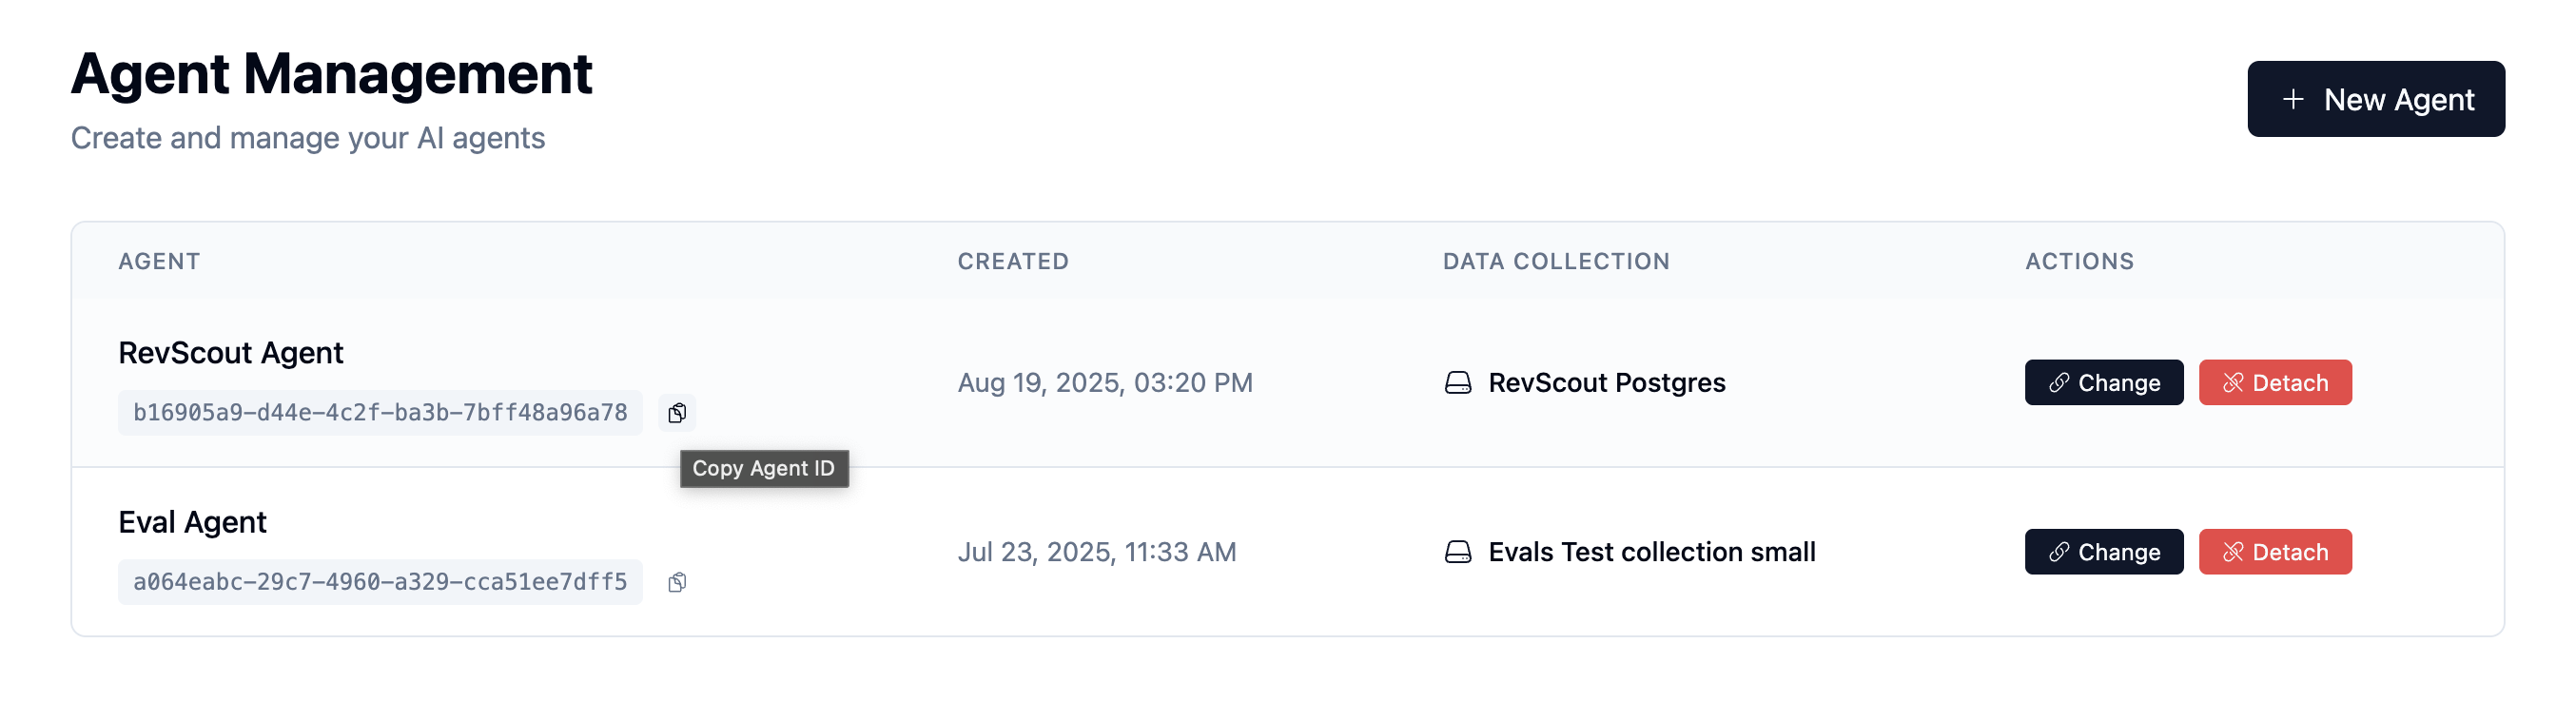
You can find your agent ID by visiting your agents at https://ai-hub.upsolve.ai/agents. The agent ID is visible in the URL when you click on an agent, or in the agent list view.
Authentication via JWT: Chat iframes use JWT tokens passed via query
parameters for authentication, similar to dashboards. Users don’t need to be
logged into the Hub - they just need a valid JWT token in the URL.
Important: Changing the JWT token in the iframe src will cause the browser to reload the entire iframe and reset the chat session. This happens automatically when:
The JWT expires and gets refreshed
User switches tenants/organizations
Tenant permissions are updated
Each iframe load starts a fresh chat session. Plan your token refresh strategy carefully to avoid interrupting active conversations.
Below is an example of deploying chat with JWT using Clerk middleware:
"use client";import React from "react";import { useUser } from "@clerk/nextjs";const AIChatInterface: React.FC = () => { // Get the user information from Clerk and extract the Upsolve token from the metadata const { user } = useUser(); const upsolveToken = user?.publicMetadata?.["upsolveToken"]; const agentId = "your-agent-id"; // Replace with your agent ID // Embed the chat component into your app return ( <> {upsolveToken != null && typeof upsolveToken === "string" && ( <iframe id={agentId} title="AI Chat" width="100%" height="800" style={{ border: "none" }} src={`https://hub.upsolve.ai/share/chat/${agentId}?jwt=${upsolveToken}&theme=light`} /> )} </> );};export default AIChatInterface;
You can lock an embedded dashboard to a specific version using the version parameter. This ensures that the dashboard renders with a specific configuration, even if newer versions are published.
Version locking is useful when: - You want to maintain consistency across
deployments - You need time to test new dashboard versions before deploying
them - Different customers should see different versions of the same dashboard
When the upsolveToken value changes, React re-renders the iframe with a new src URL. This causes the browser to completely reload the iframe and start a new chat session.
// Example: Token change triggers iframe reload and session resetconst AIChatInterface: React.FC = () => { const { user } = useUser(); const upsolveToken = user?.publicMetadata?.["upsolveToken"]; // When upsolveToken changes, the chat session resets return ( <iframe src={`https://hub.upsolve.ai/share/chat/abc?jwt=${upsolveToken}`} // ↑ Changing upsolveToken resets the entire conversation /> );};
Common scenarios that trigger session reset:
Automatic token refresh (every hour)
User switches between tenants/organizations
User logs out and back in
Tenant permissions are updated
To preserve chat history across token refreshes, consider: 1. Implementing
session persistence on your backend 2. Storing conversation history outside
the iframe 3. Refreshing tokens during natural conversation breaks 4. Warning
users before token expiration
1
Import Upsolve AI SDK
If you haven’t already, ask the Upsolve AI team for “a key to the private NPM library”. Use the key in your .npmrc or .yarnrc file. You can then import the SDK into your application.See the Dashboard Deployment section for detailed setup instructions.Once configured, install the SDK:
npm i @upsolve-labs/sdk# oryarn add @upsolve-labs/sdk
2
Deploy Chat - Tailwind and CSS Setup
If you haven’t already set up Tailwind and global CSS for the Upsolve SDK, follow these steps:Tailwind Configuration (tailwind.config.js):