Selecting tables and columns
Not every table in your database is relevant to every question your agent will answer. Narrowing the schema down to what matters reduces ambiguity, improves query accuracy, and avoids the agent making inferences across data it shouldn’t touch.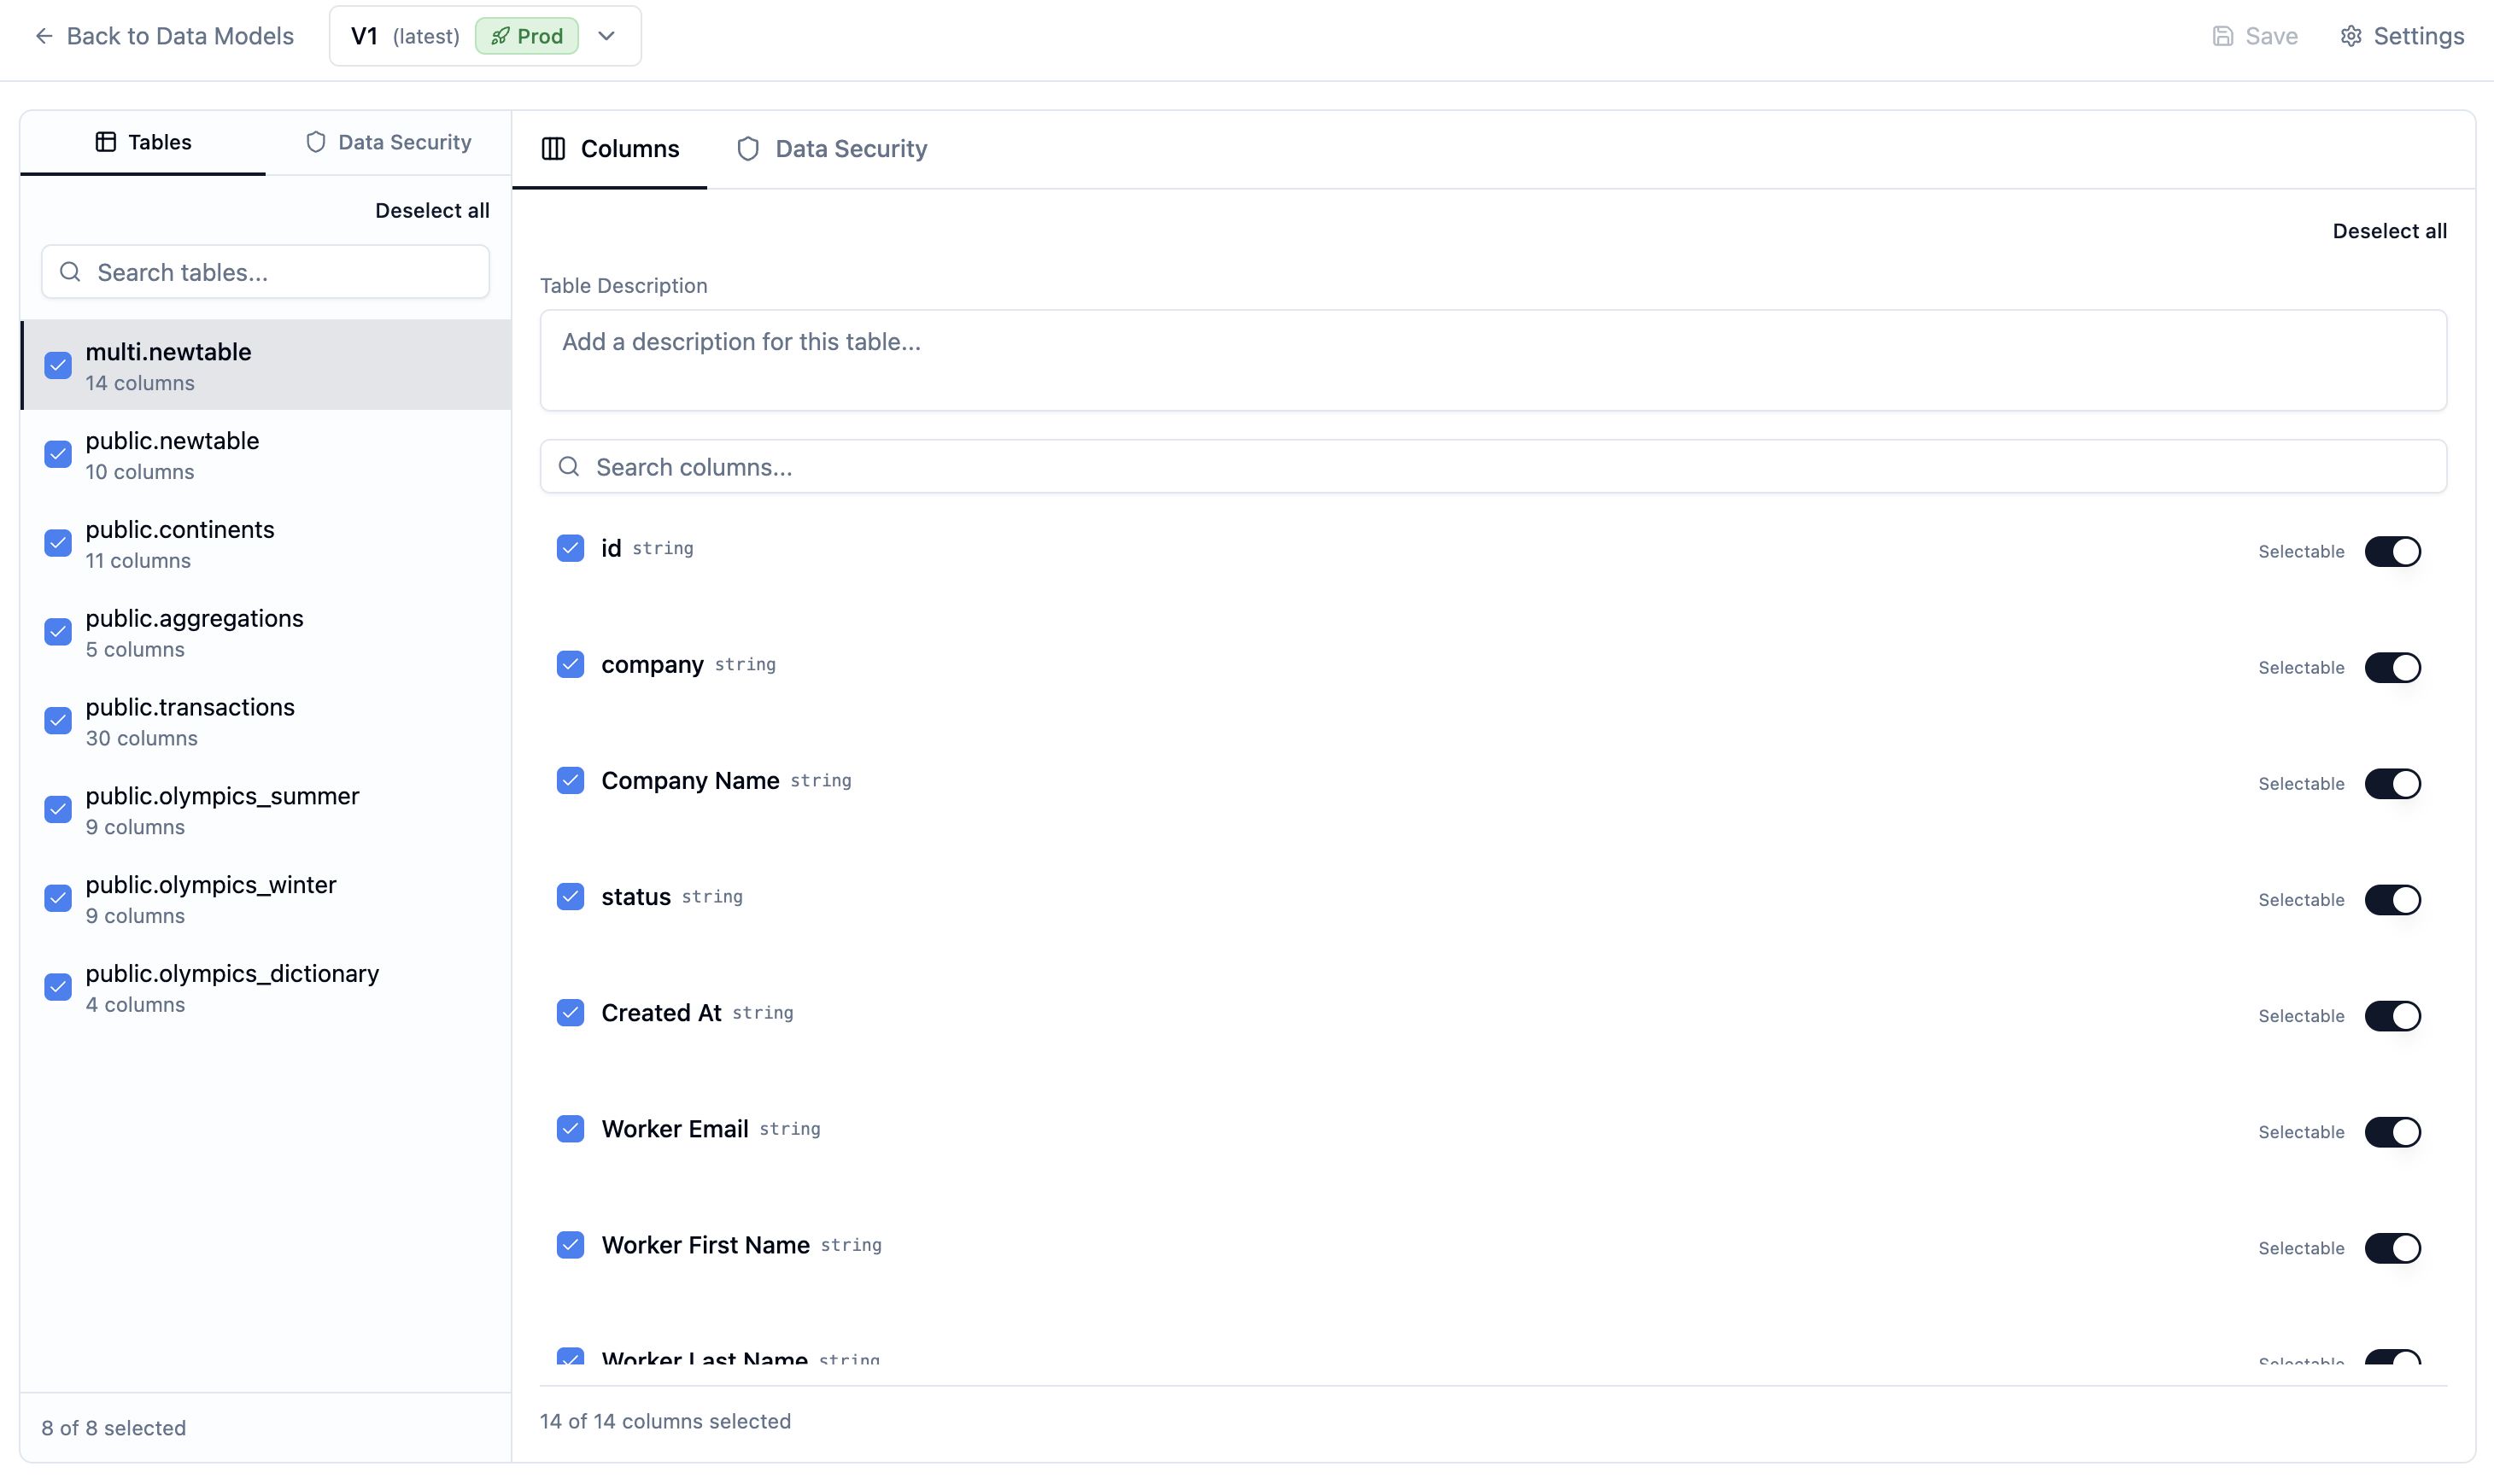
Less is more here. An agent scoped to 5 relevant tables with clear descriptions will significantly outperform one with access to 50 tables it has to guess about.
Adding table and column descriptions
Descriptions are how you encode institutional knowledge directly into the schema. The agent reads these when generating SQL — they’re the mechanism for telling it what your data actually means, not just what it’s called.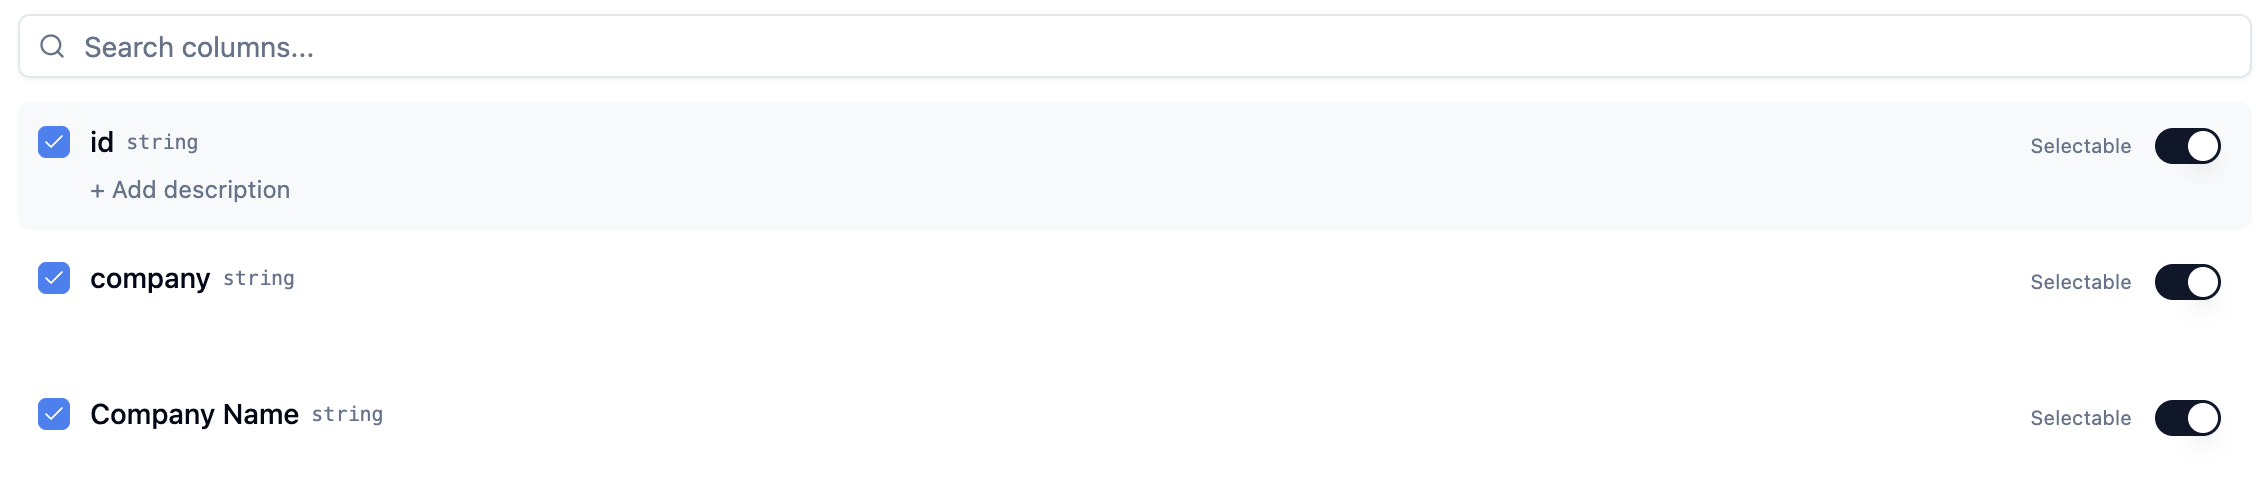
contact_name→ “Name of the customer’s point of contact for this order”owner_name→ “Name of the sales rep (seller) who owns this account”arr→ “Annual Recurring Revenue in USD, calculated as MRR × 12. Excludes one-time fees.”
Marking columns as selectable
The Selectable toggle controls whether the agent can scan a column’s distinct values at query time to inform how it builds SQL.
region contains “North America”, “EMEA”, and “APAC” before writing a WHERE region = '...' clause. Think of it as giving the agent the ability to power a select-style filter: it knows the possible values and can use them precisely.
Mark a column as selectable when:
- It contains categorical values users would naturally filter by (region, product, owner, status)
- The distinct values are finite and meaningful to business questions
- You want the agent to be able to enumerate options rather than guess at valid values
Saving your changes
Changes to the data model create a new draft version. Click Save Version in the top-right corner when you’re ready to checkpoint your work. A data model version must be marked as Production before an agent can use it in a live environment.Agents are linked to a specific data model version. Updating the data model does not automatically update agents that reference it — you’ll need to update the agent’s data model link and set a new production version.
Next steps
System Prompts
Encode business rules, terminology, and behavioral guardrails into the agent.
Golden Assets
Add example queries and charts the agent can reference when answering similar questions.