

What is a Project?
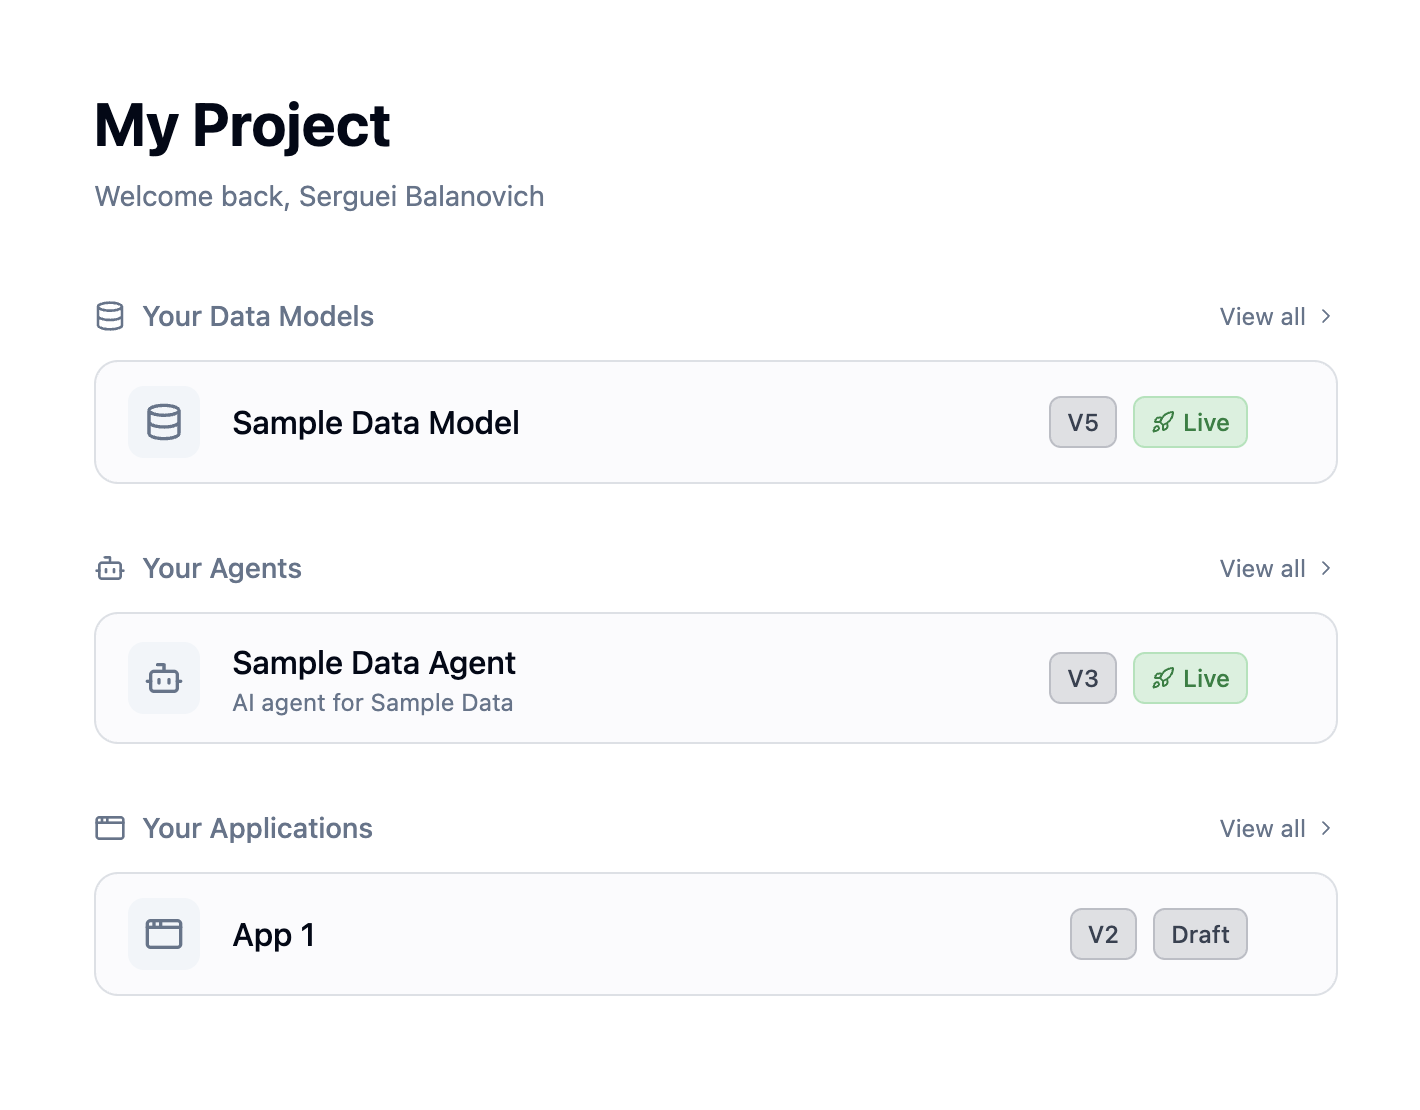
A Project is an isolated environment that contains everything you need to build a data product:- Connections - Links to your databases
- Workspaces - One data model and one agent each, versioned and published together
- Organizations - Your customers/tenants
- Users - End-users with specific permissions
- Applications - Dashboard builders
Creating a Project
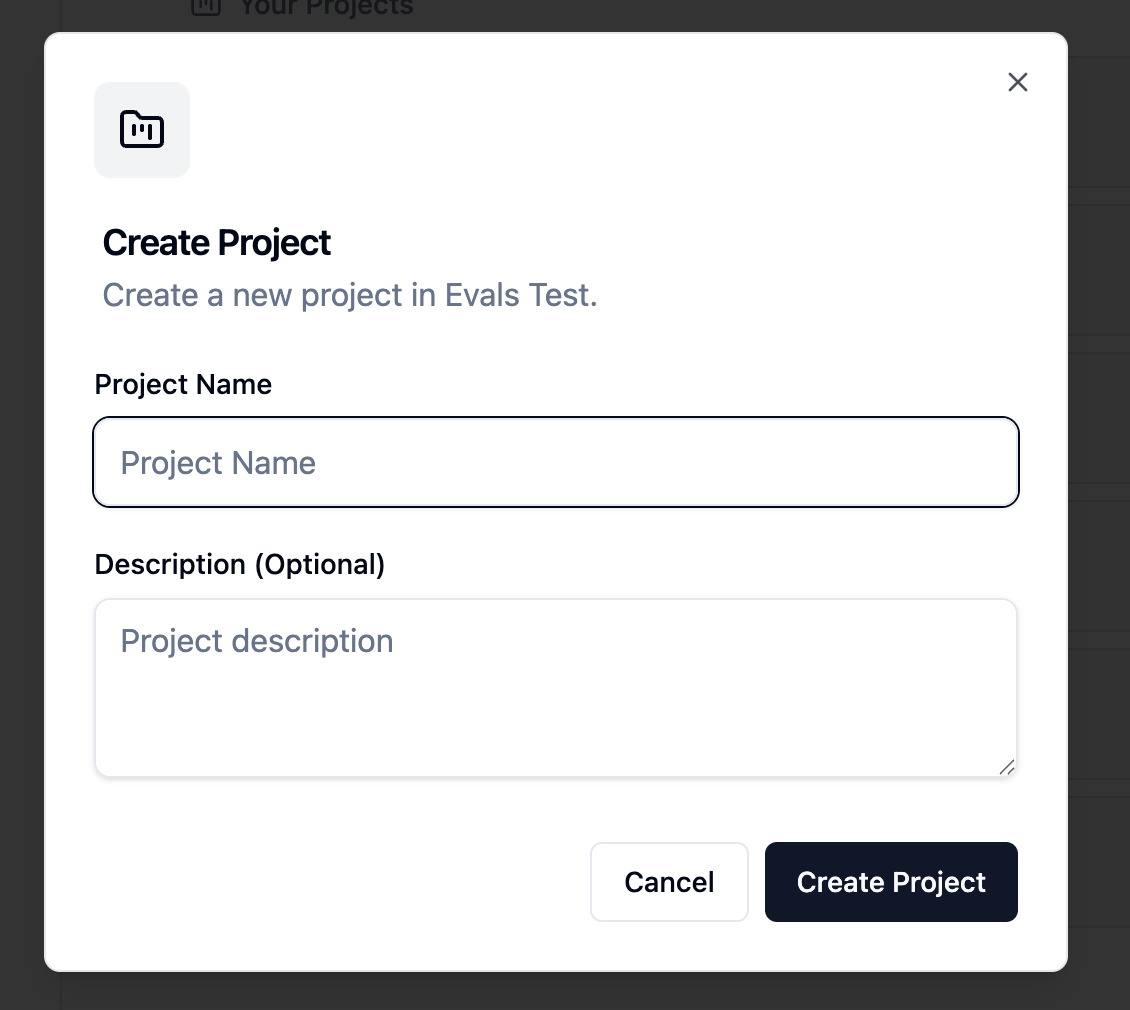
- Navigate to the Projects section from the sidebar
- Click Create Project
- Enter a project name and description
- Click Create
- Default user roles (Admin, Editor, Creator, Reader)
- A default project organization
- An admin user (you)
Project Organizations
Project organizations represent your customers or tenants. Each organization:- Has isolated access to their own data
- Gets their own Spaces for each application
- Can have custom properties for data filtering
Creating a Project Organization
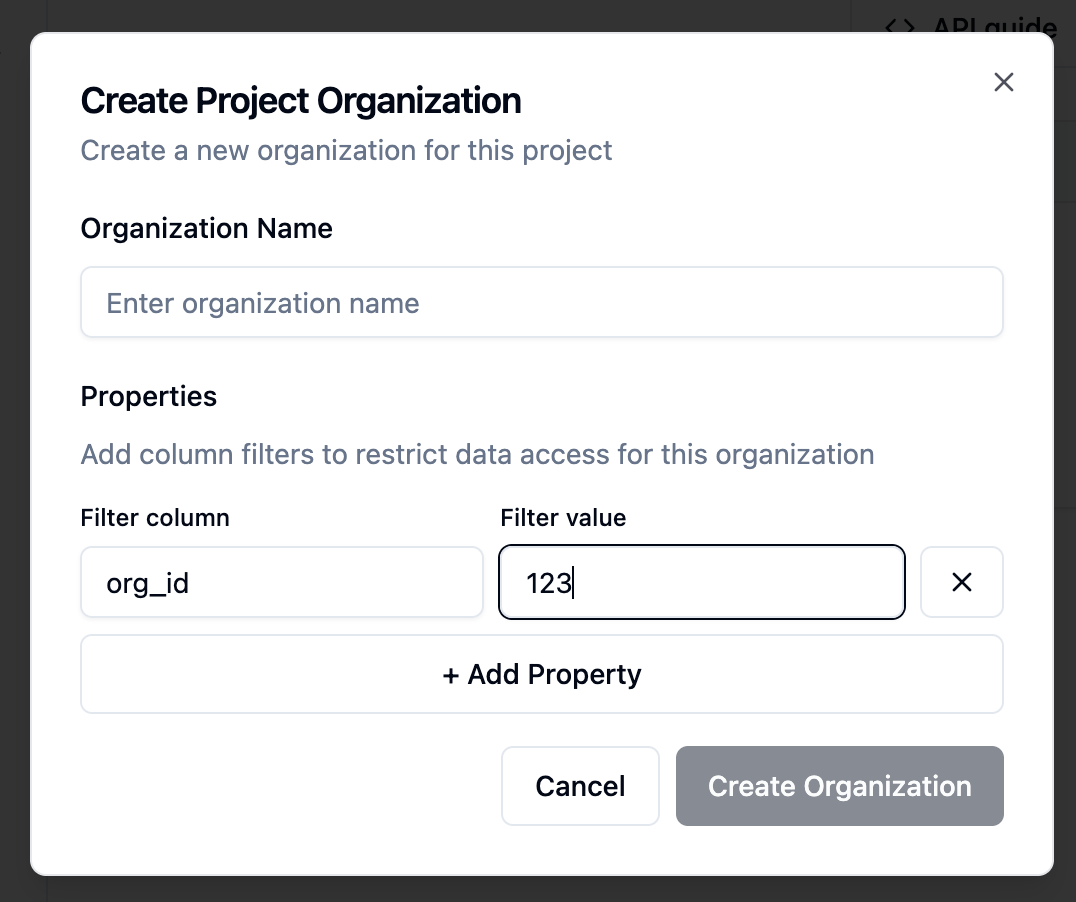
- Go to your project’s Organizations tab
- Click Add Organization
- Enter the organization name
- Add any custom properties (these can be used for data filtering)
- Click Create
Project Users
Project users are the end-users who will interact with your dashboards and agents.User Roles
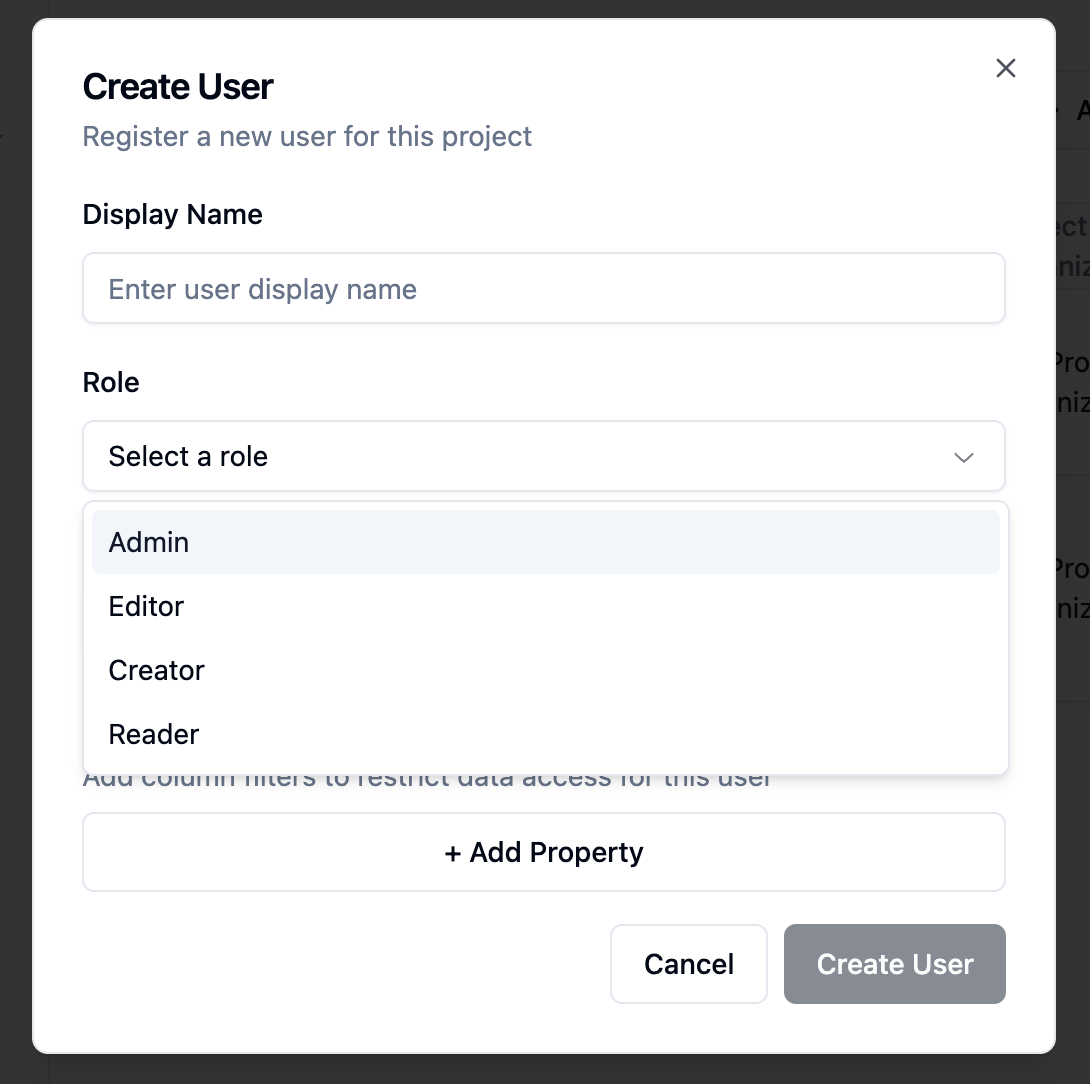
Each project comes with default roles:Creating Project Users
You can create users manually in the UI or programmatically via the API:- Go to your project’s Users tab
- Click Add User
- Enter the user name
- Select their organization and role
- Add any custom properties (for data filtering)
- Click Create
Connections
Connections link your project to a database. Each project needs at least one connection — workspaces are created over them.Supported Databases
- PostgreSQL
- MySQL
- BigQuery
- Snowflake
- Redshift
- And many more via our data plane
Adding a Connection
- Go to Project settings → Connections
- Select your database type from the Connect data cards
- Enter connection credentials
- Test the connection
- Click Save
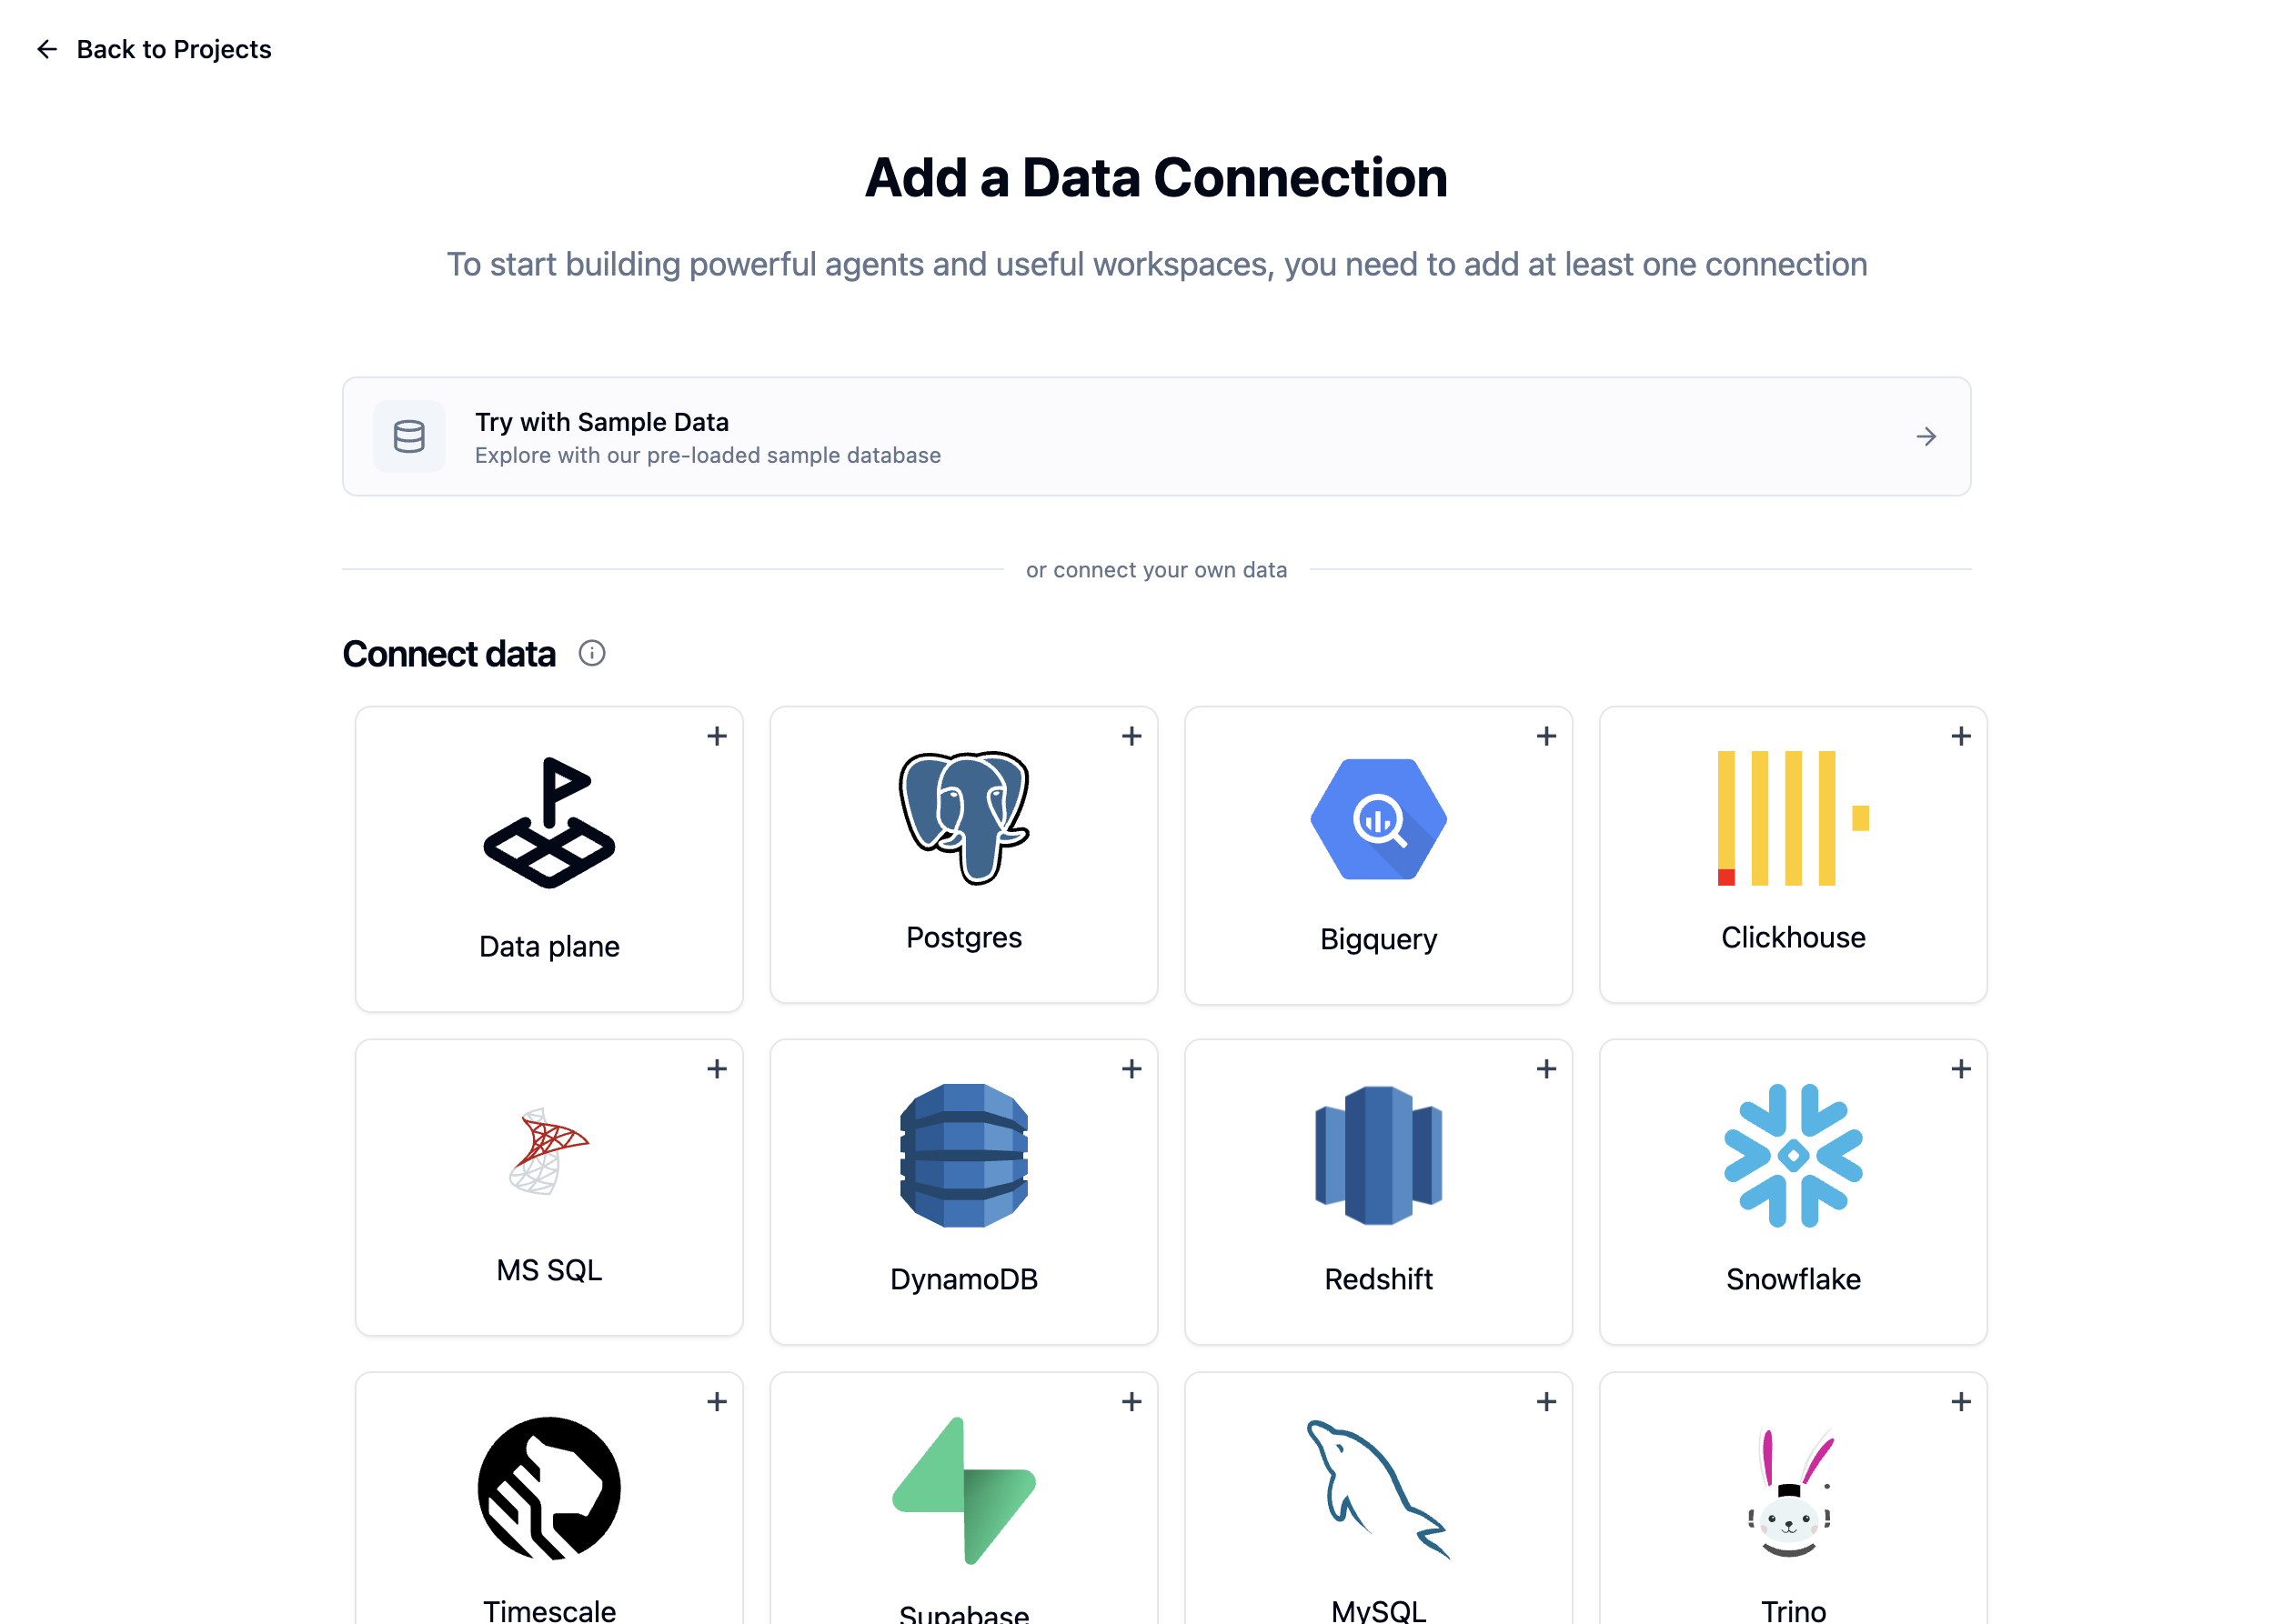
Using the Demo Connection
For testing, you can use our demo database:- Click Try Demo Data
- A sample connection with e-commerce data will be created
- Use this to explore the platform before connecting real data

Next Steps
Once you have a project with a connection:- Create a Workspace — one data model and one agent, versioned and published together
- Set up Row-Level Security to control data access
- Build an Application for dashboards