

Canvas is currently marked Beta in the product.
Building a canvas
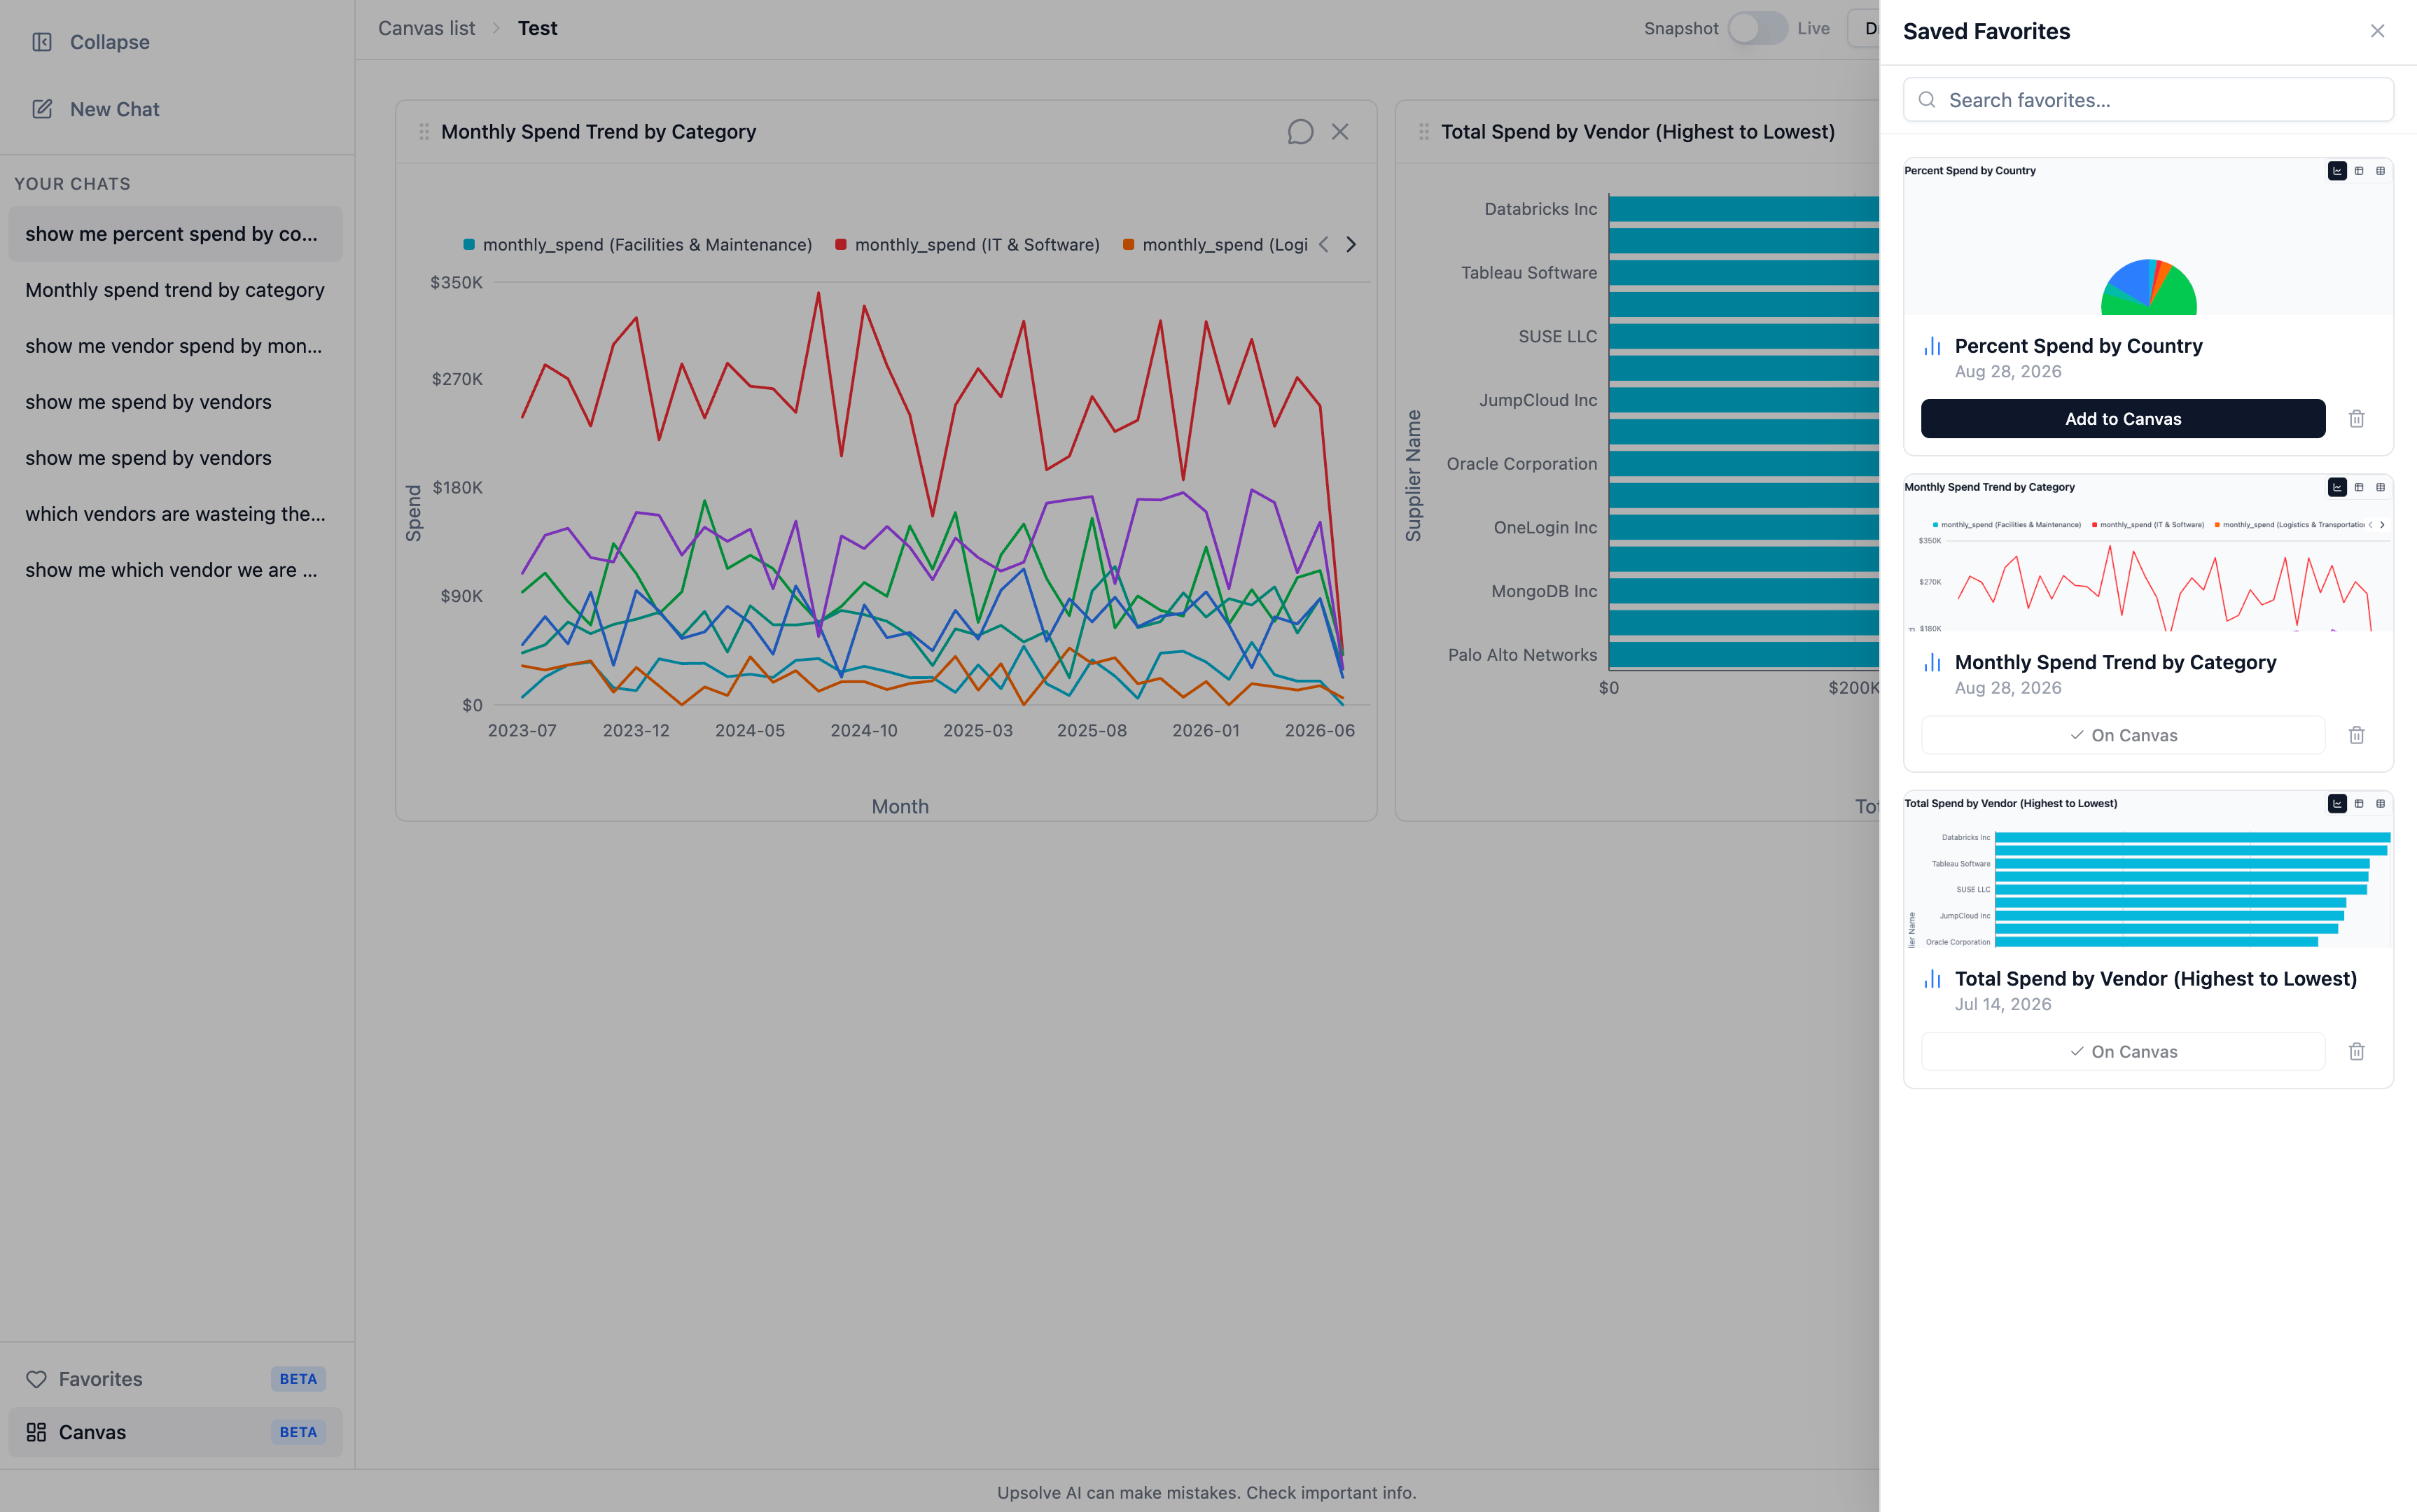
Open Canvas in the left sidebar and create one. From there:- Add Item opens the user’s Favorites — every chart and SQL result they’ve saved. Anything already on the canvas is marked, so it can’t be added twice by accident.
- Tiles land on a responsive grid and can be dragged and resized. The layout is persisted as you go.
- Remove a tile at any time; removing it from the canvas does not delete the underlying favorite.
Live and snapshot
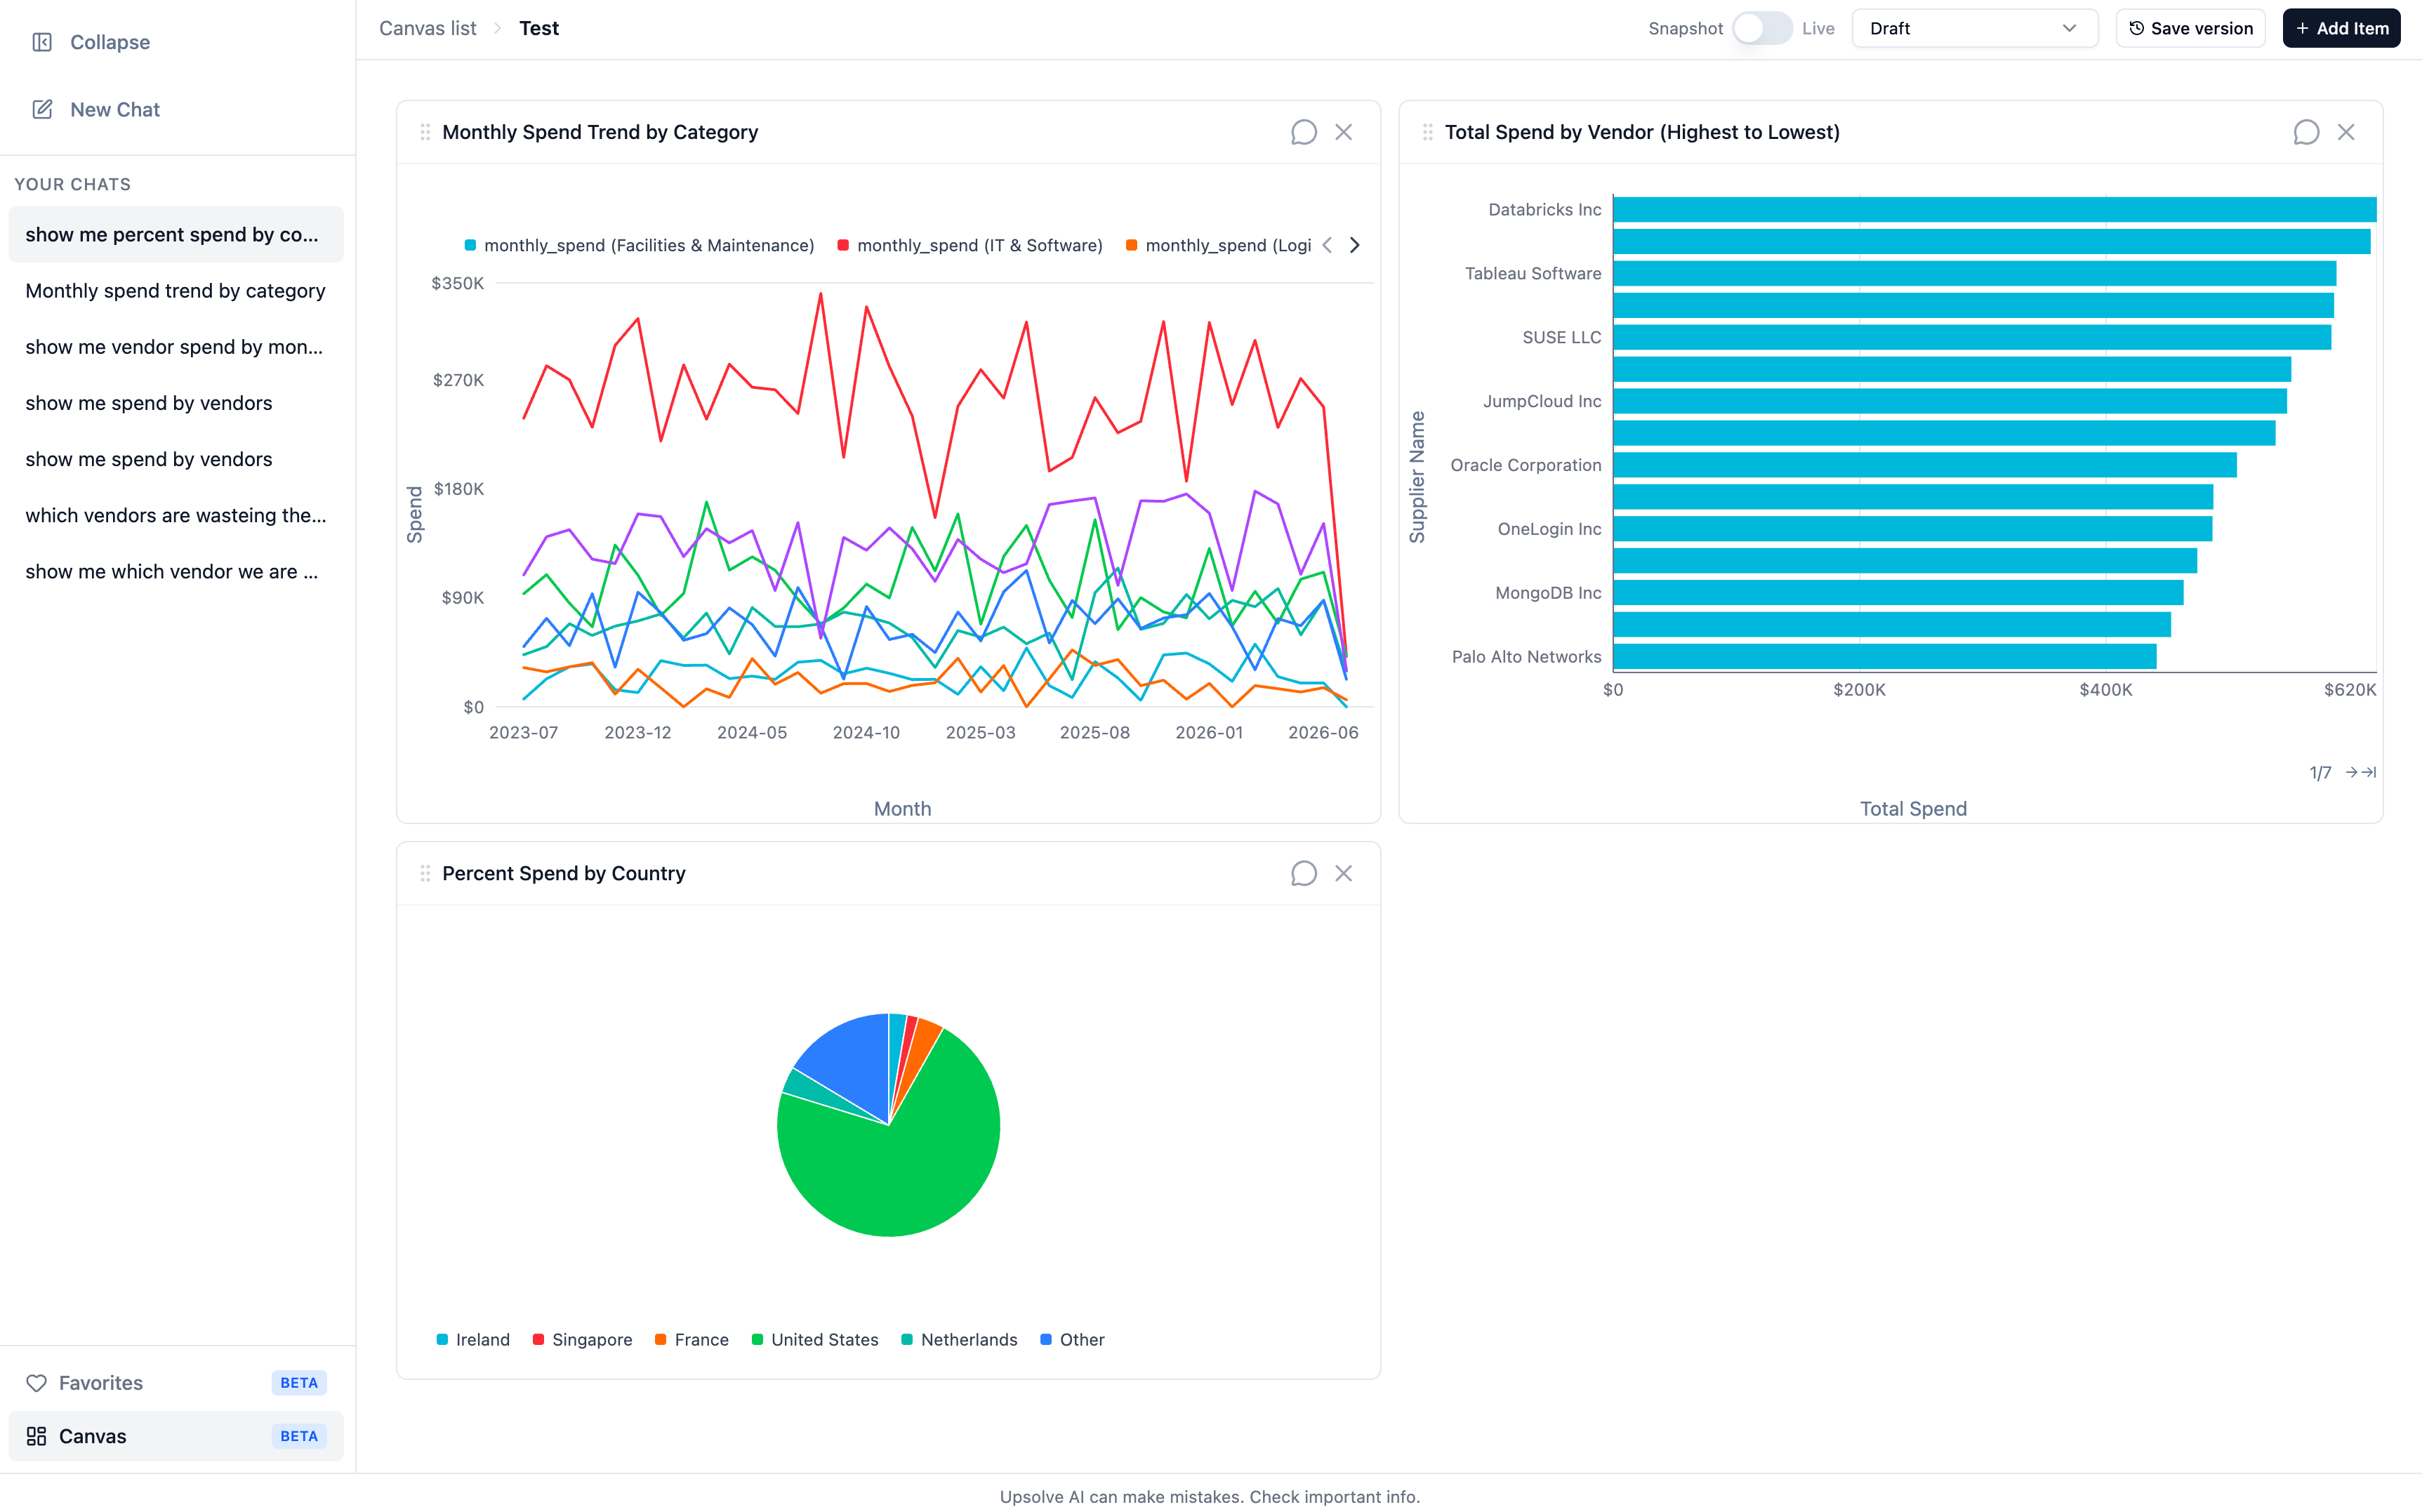
A Snapshot / Live switch in the header controls where every tile’s data comes from:- Snapshot — tiles render the rows captured when the favorite was saved. The numbers are frozen. A banner in the header makes this explicit: charts display data captured at save time, and shared links will show this frozen view.
- Live — tiles re-run their SQL against your warehouse when the canvas loads, so the numbers are current. Row-level security still applies, so a live tile shows each viewer only the data they’re entitled to.
Versions
Save version freezes the current layout and display mode as a numbered version. A dropdown in the header then lets anyone switch between Draft (the working copy) and any saved version. Viewing a saved version is read-only — you can look, but not rearrange — so a version you circulated stays exactly as circulated.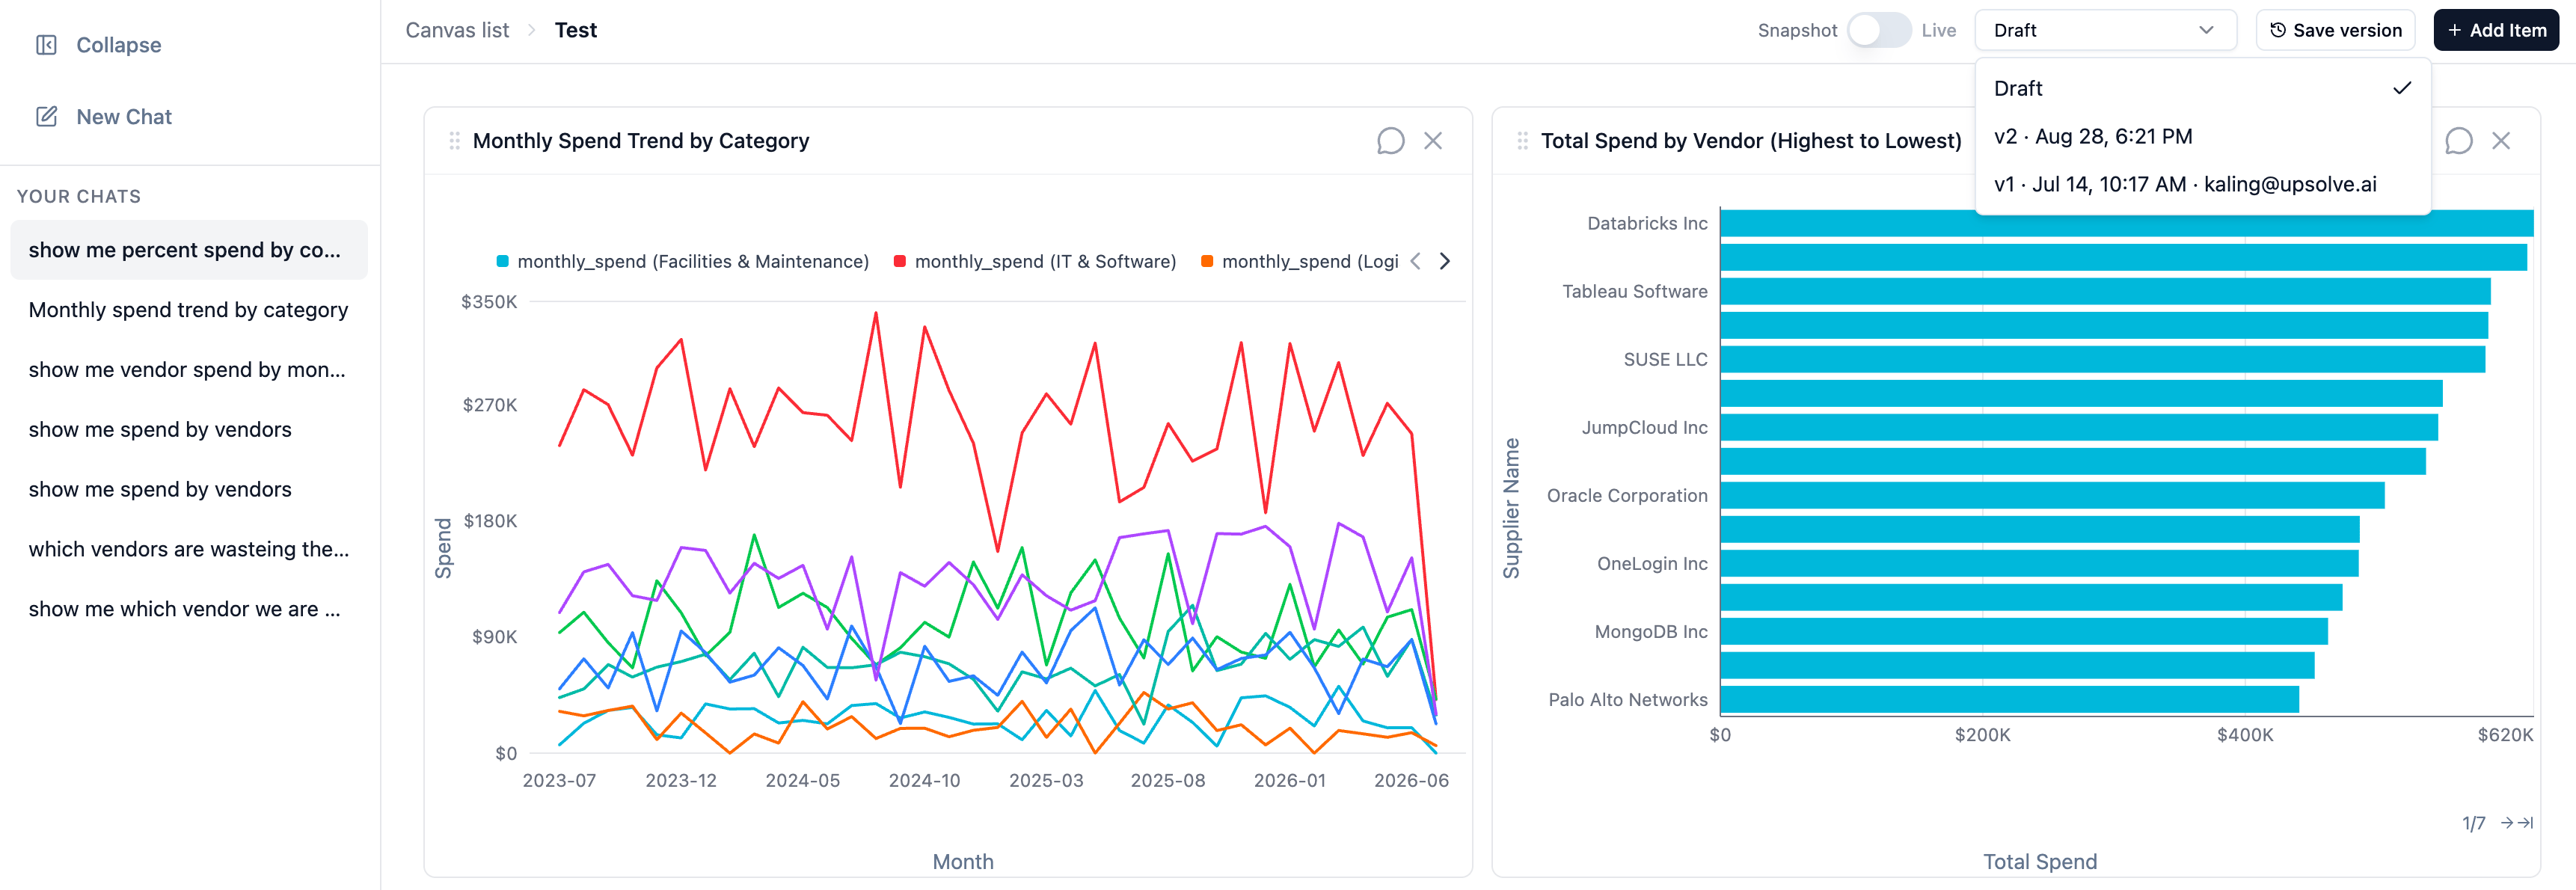
Revisiting the conversation behind a tile
Clicking a tile opens the Session Context sidebar with the conversation that produced that chart — the same sidebar described under Favorites. This is what separates a canvas from a static dashboard. A tile on a dashboard is a number with no story. A tile on a canvas carries its own provenance: the question that was asked, the agent’s reasoning, and the answer in full. And from the bottom of that sidebar the viewer can keep going:- Continue conversation — for the person whose conversation it was. The thread resumes with its full context.
- Fork conversation — for anyone else. The thread is cloned under their own identity so they can take the analysis further without touching the original.
Sharing a canvas
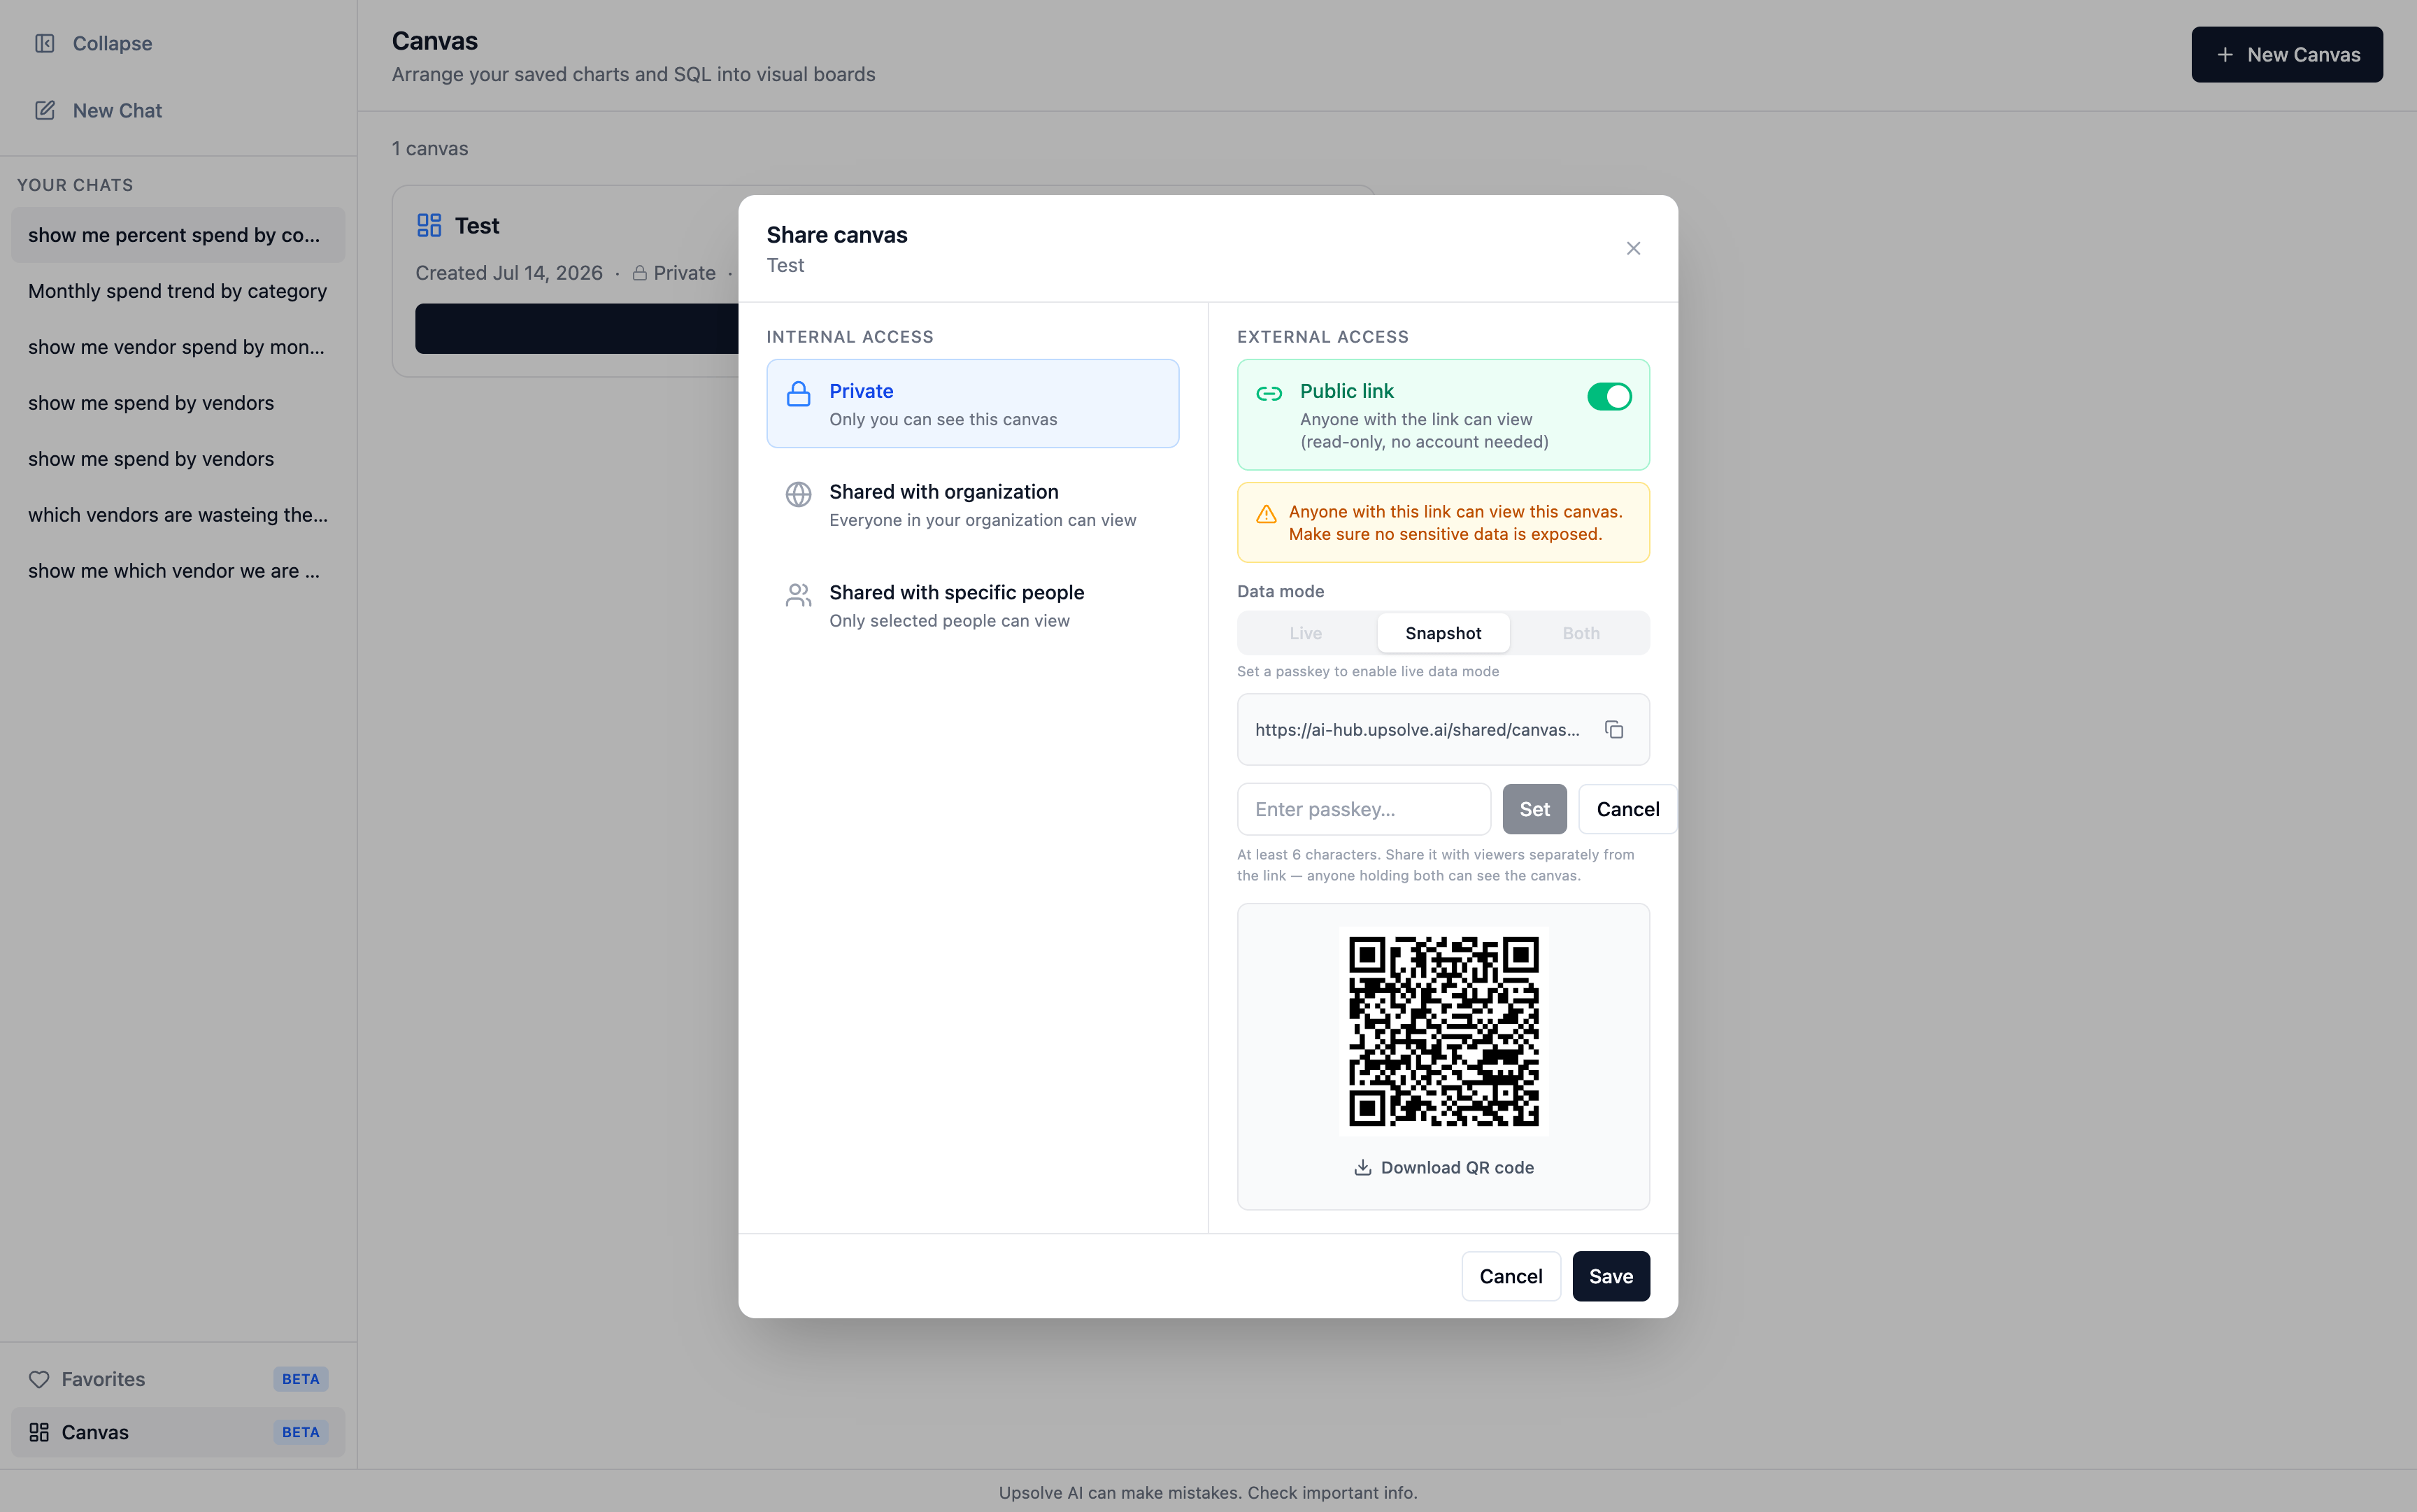
Share opens the sharing dialog, which controls two independent things: who inside your organization can see the canvas, and whether there’s a public link.Internal visibility
- Private — only the creator.
- Shared with organization — everyone in the organization can view it.
- Shared with specific people — only the people picked from a user list.
Public link
A public link can be enabled separately, at any visibility. When it’s on, the dialog surfaces the URL and warns that anyone holding it can view the canvas. Data mode decides what a public viewer gets:
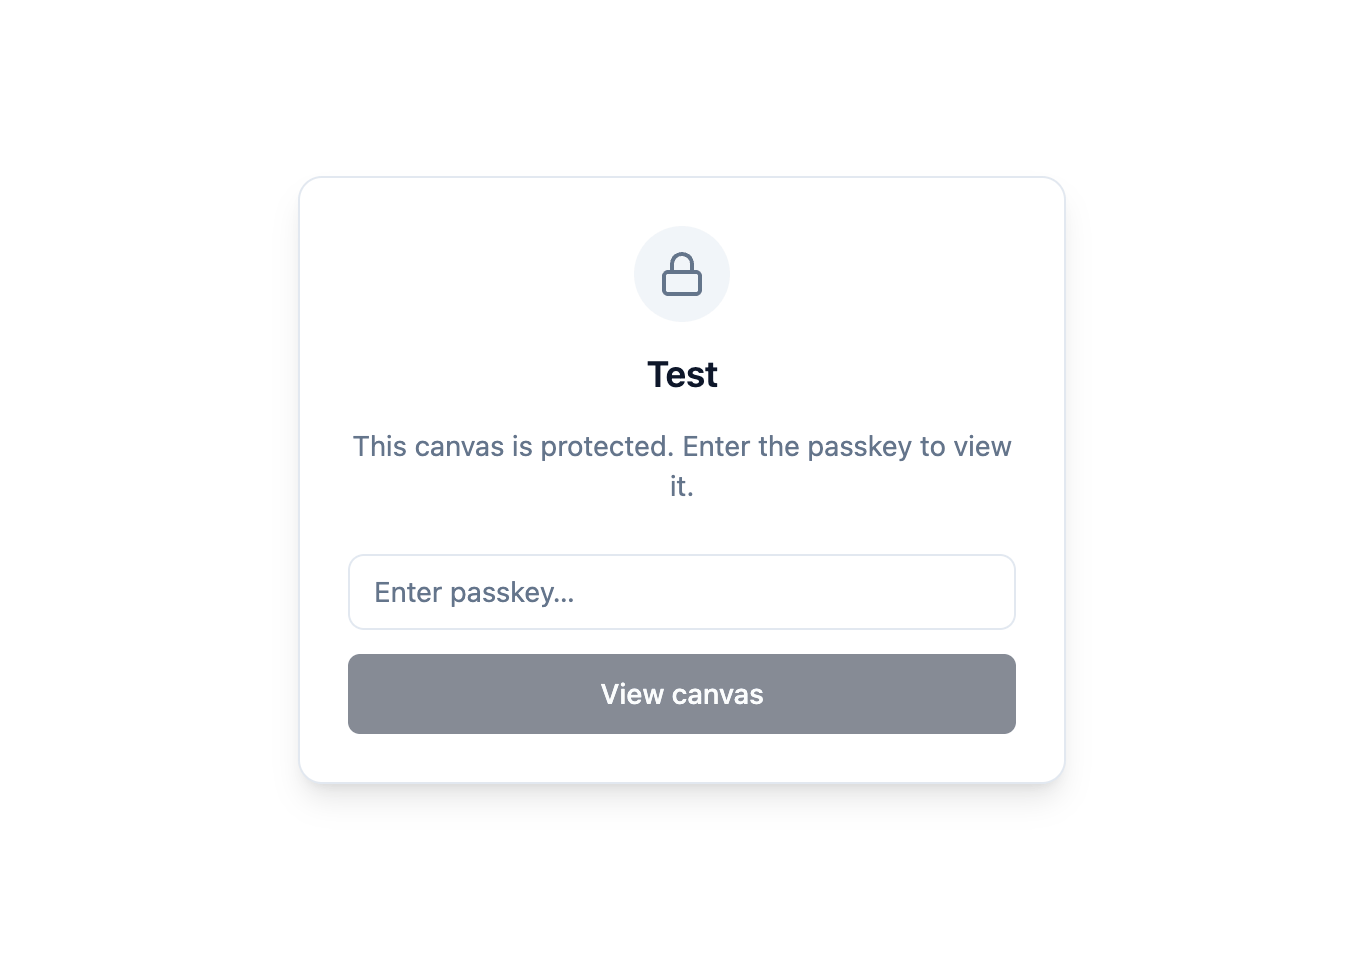
Live and Both require a passkey. Until one is set, only Snapshot is selectable — a public link that queries your warehouse on demand should not be open to anyone who guesses the URL. Removing the passkey later reverts the link to Snapshot automatically rather than silently leaving live queries exposed.
Your own domain
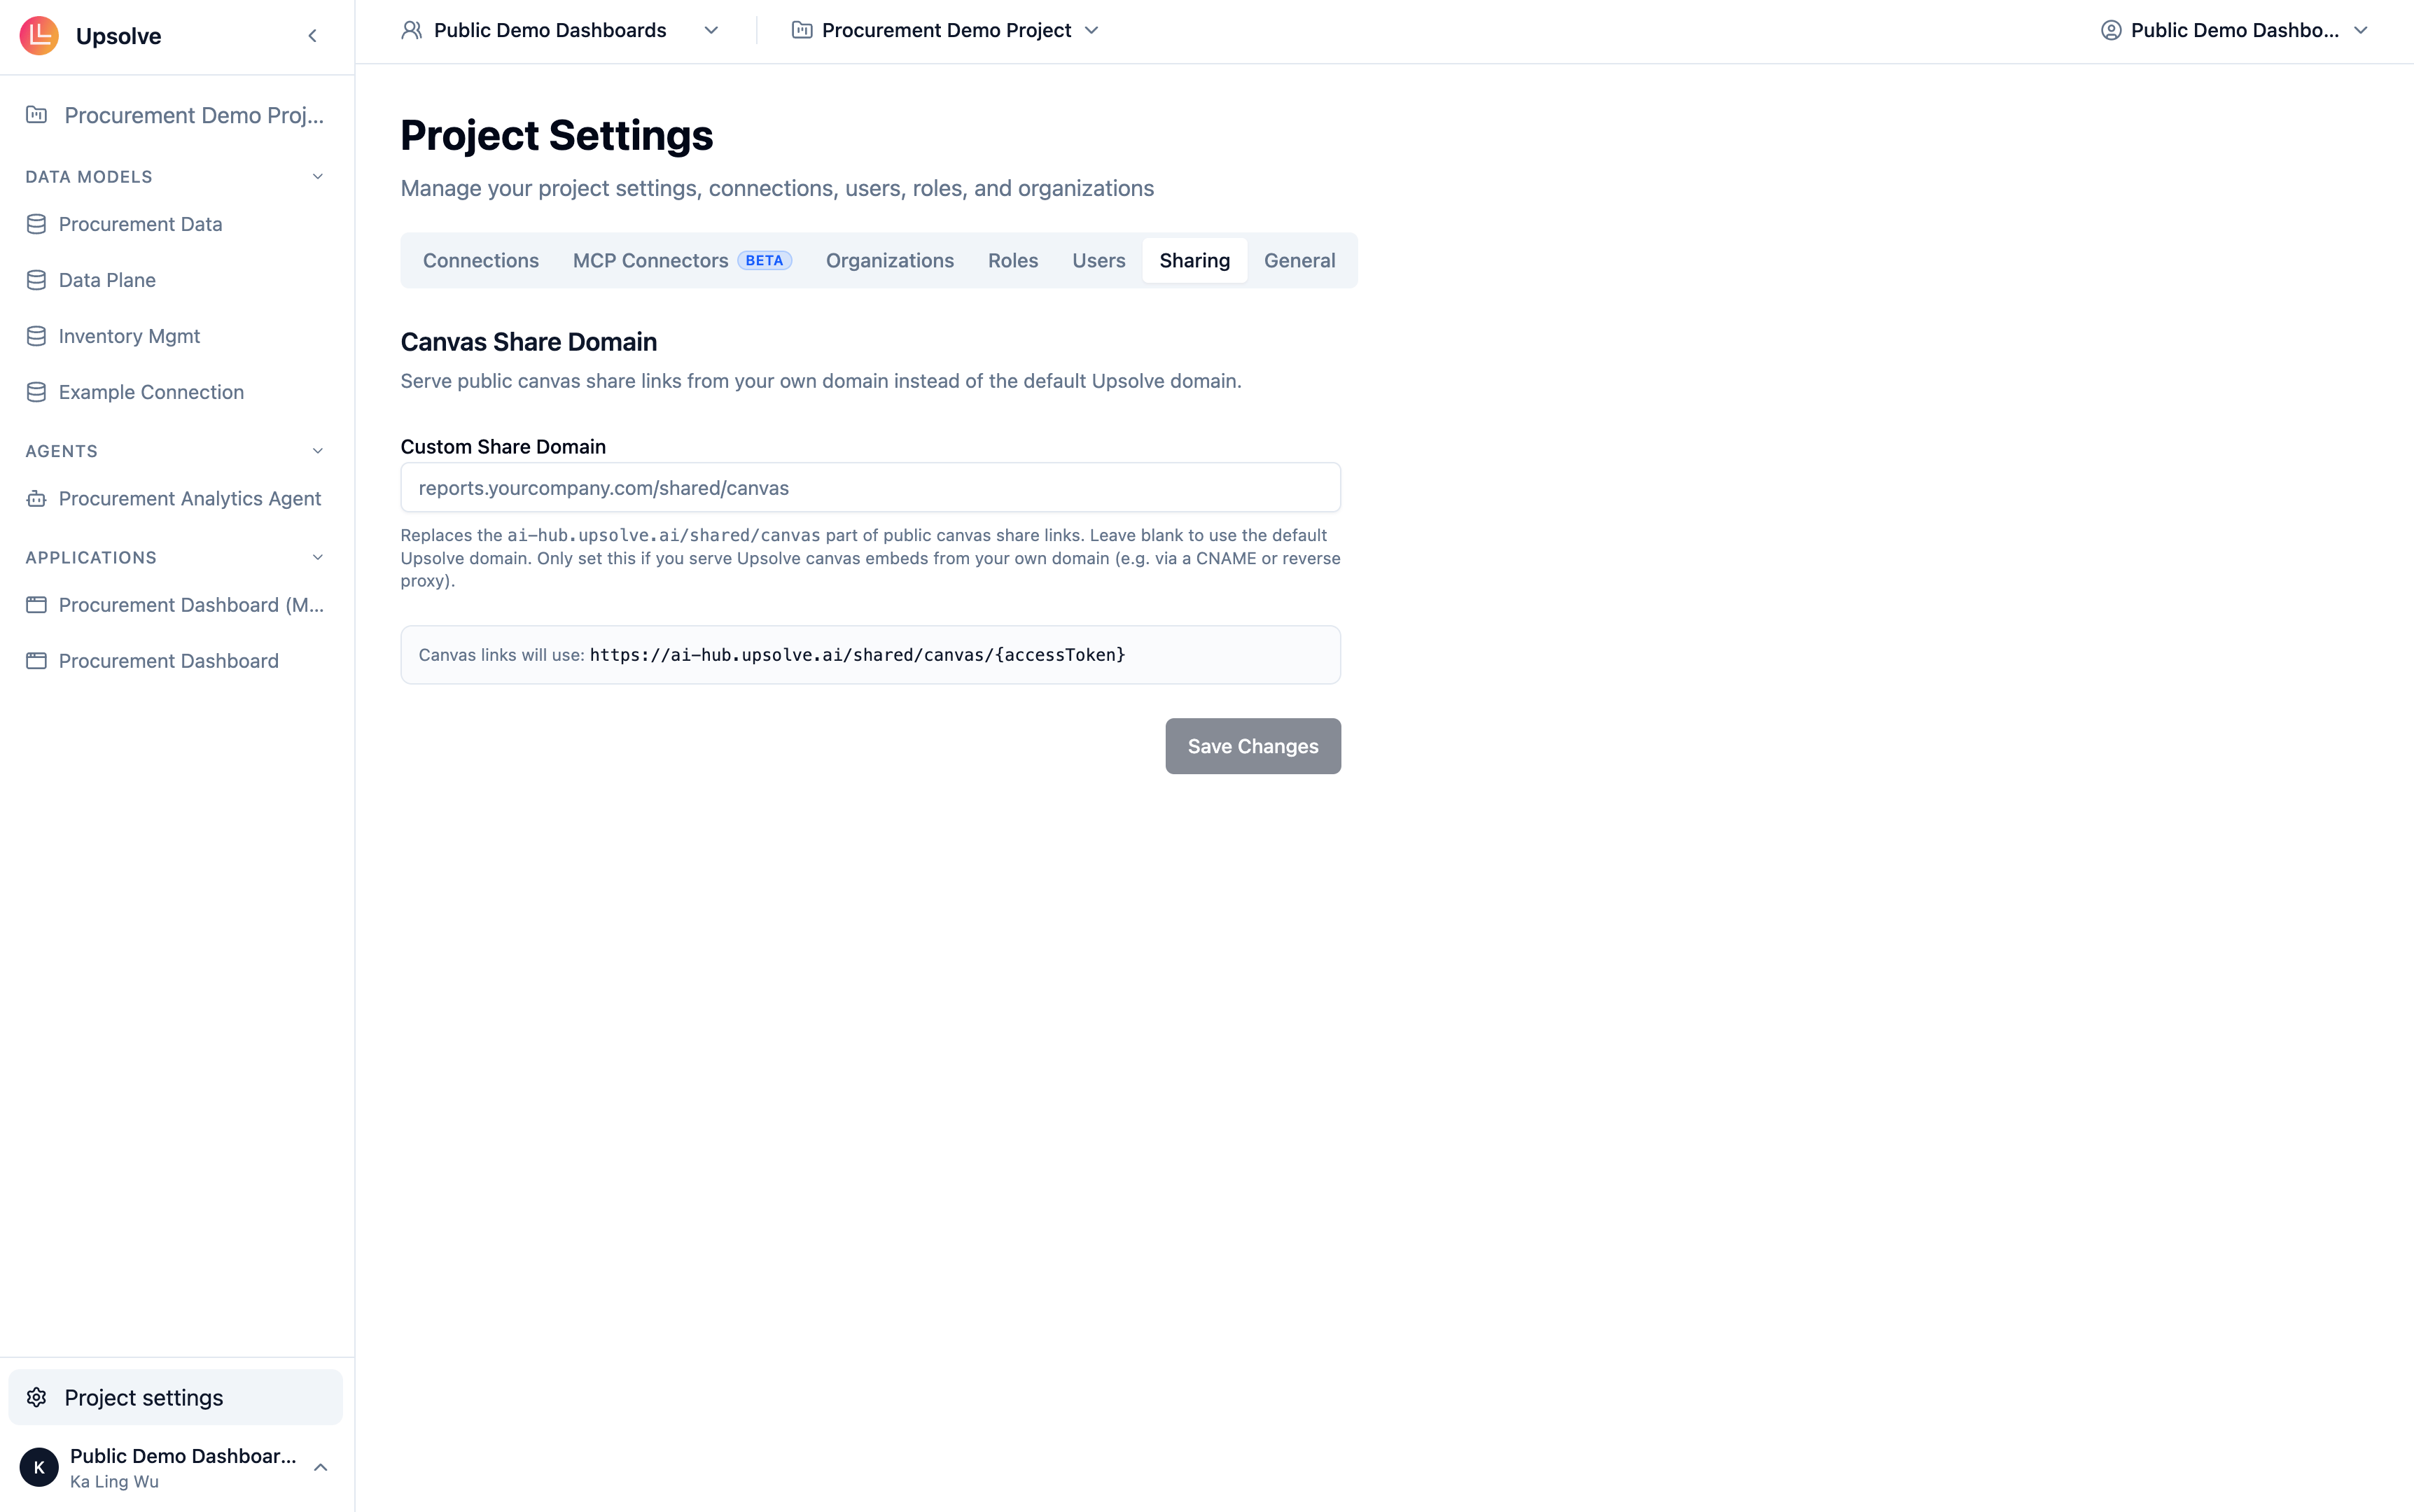
By default public links point atai-hub.upsolve.ai. Set a Custom Share Domain in Project Settings → Sharing to have Upsolve generate links on your own domain instead.
Embedding a canvas in your product
A public canvas can be dropped into your own application with a plain<iframe> — no DNS setup, and the viewer needs no Upsolve account. See Canvas Iframe Embed for the markup, the ?hideHeader=1 parameter that strips the canvas chrome, and how the custom domain interacts with it.
Next steps
Canvas Iframe Embed
Put a public canvas inside your own product.
Chat History
See the conversations behind everything your users saved.