The full journey
Here’s every step from nothing to production: Agent and application setup can happen in parallel once your data model is in production. Organizations and users come last — they’re what gates live access.Step 1: Create your project
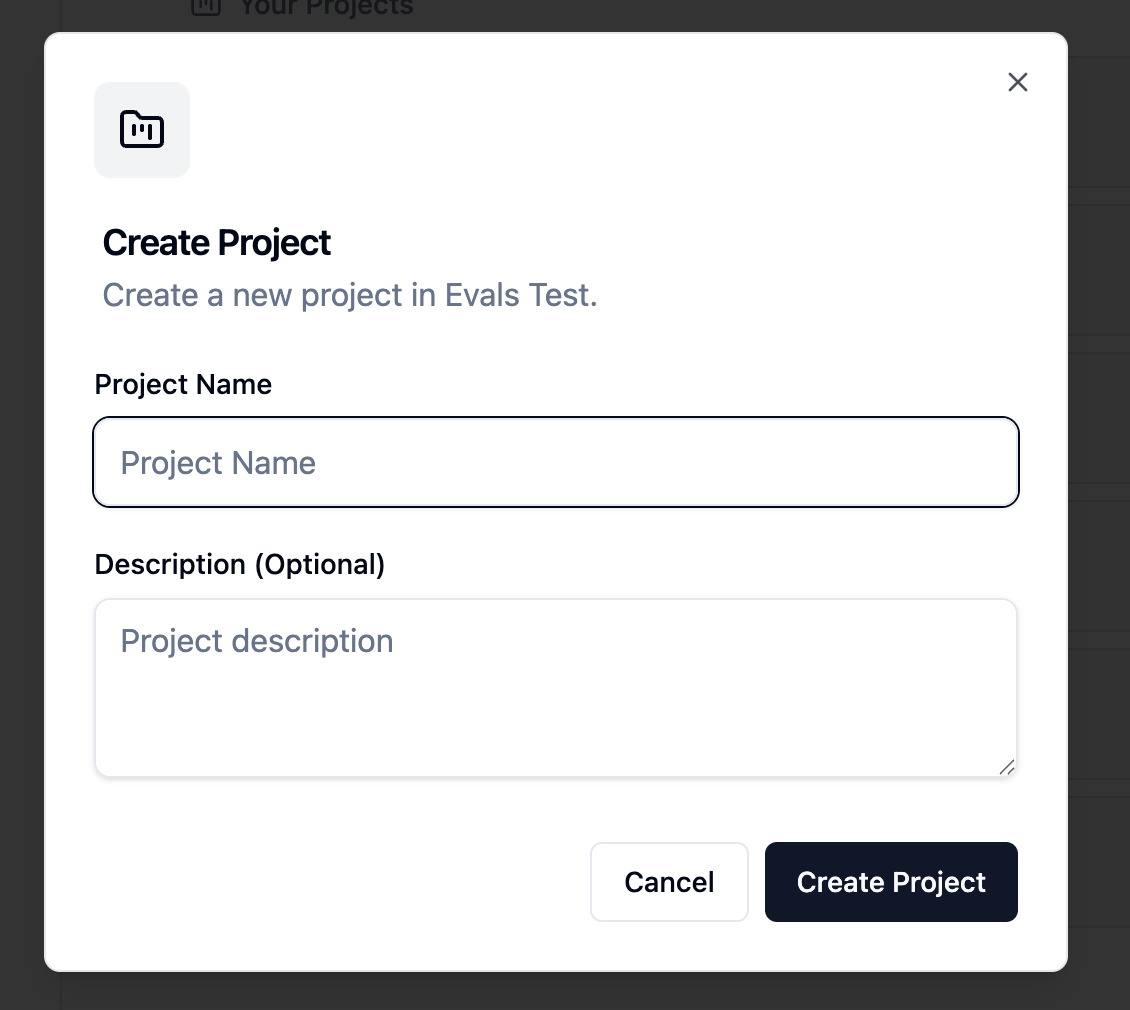
A project is the container for everything: your connection, data model, agent, and the organizations and users who will access it.- Go to the Projects section
- Click Create Project
- Enter a name (e.g., “Customer Analytics”)
- Click Create
Step 2: Add a connection
Connections link your project to a database. Every data model, agent, and application in the project draws from it.- Click Add Connection in your new project
- Choose Try Demo Data to explore with sample data, or connect your real database
- For real databases, select your database type, enter credentials, and test the connection
- Click Save

Step 3: Create and configure your data model
The data model defines exactly what the agent can see and how it should interpret your schema. This is worth spending time on — a well-annotated data model is the foundation of agent accuracy.- Go to the Data Models tab
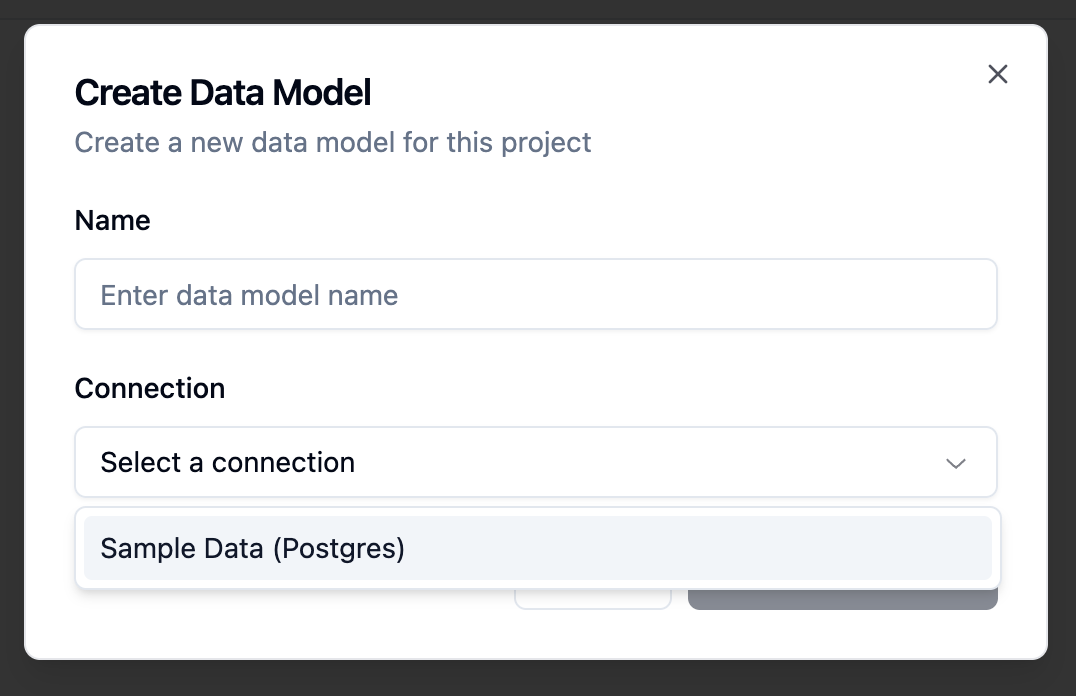
- Click Create Data Model
- Select your connection and enter a name
- Click Create
- Select tables — Uncheck tables that aren’t relevant to this agent’s use case
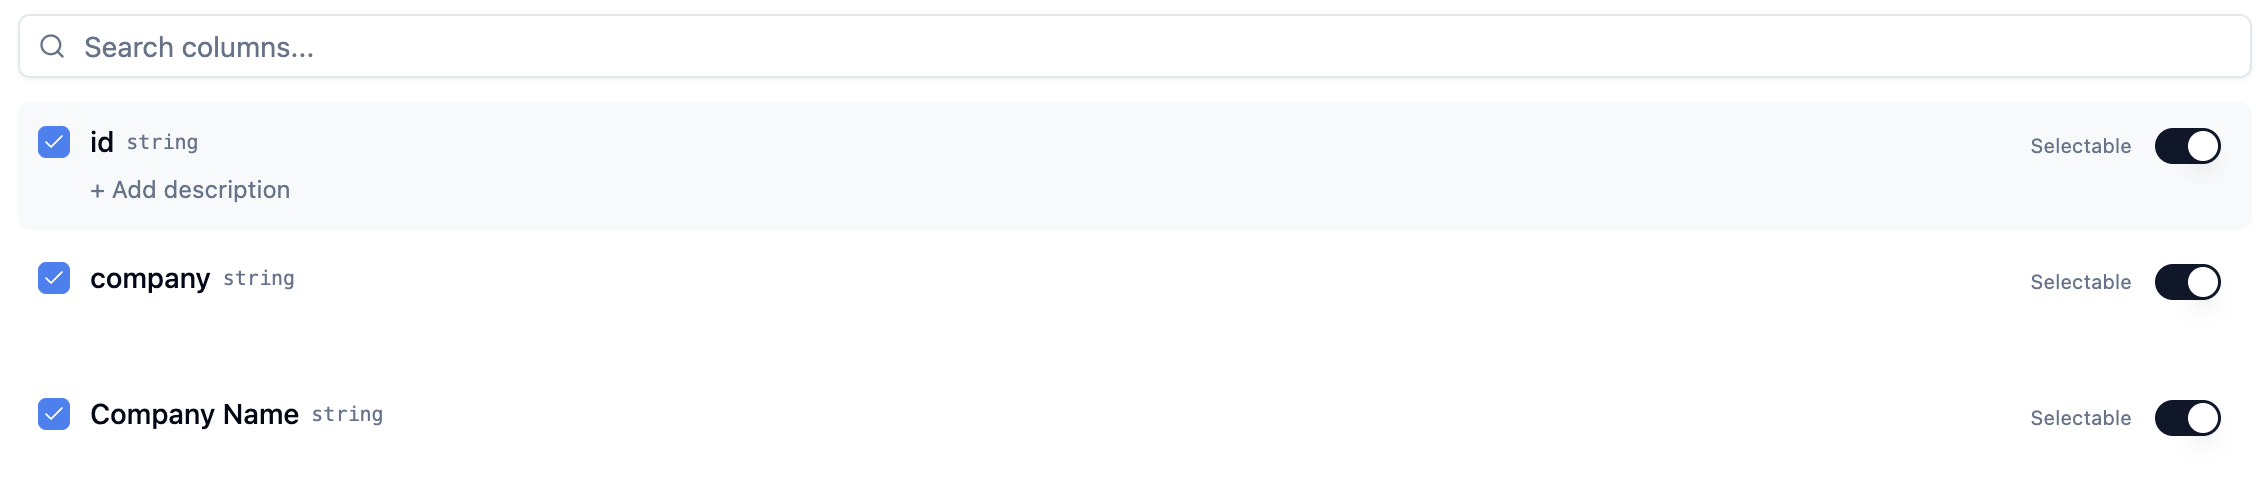
- Select columns — Uncheck sensitive or irrelevant columns within each table
- Add descriptions — Annotate tables and columns with plain-English context so the agent understands what the data means, not just what it’s named
- Mark selectables — Flag categorical columns (region, status, owner) so the agent can enumerate valid filter values at query time
- Click Save
Configure data security
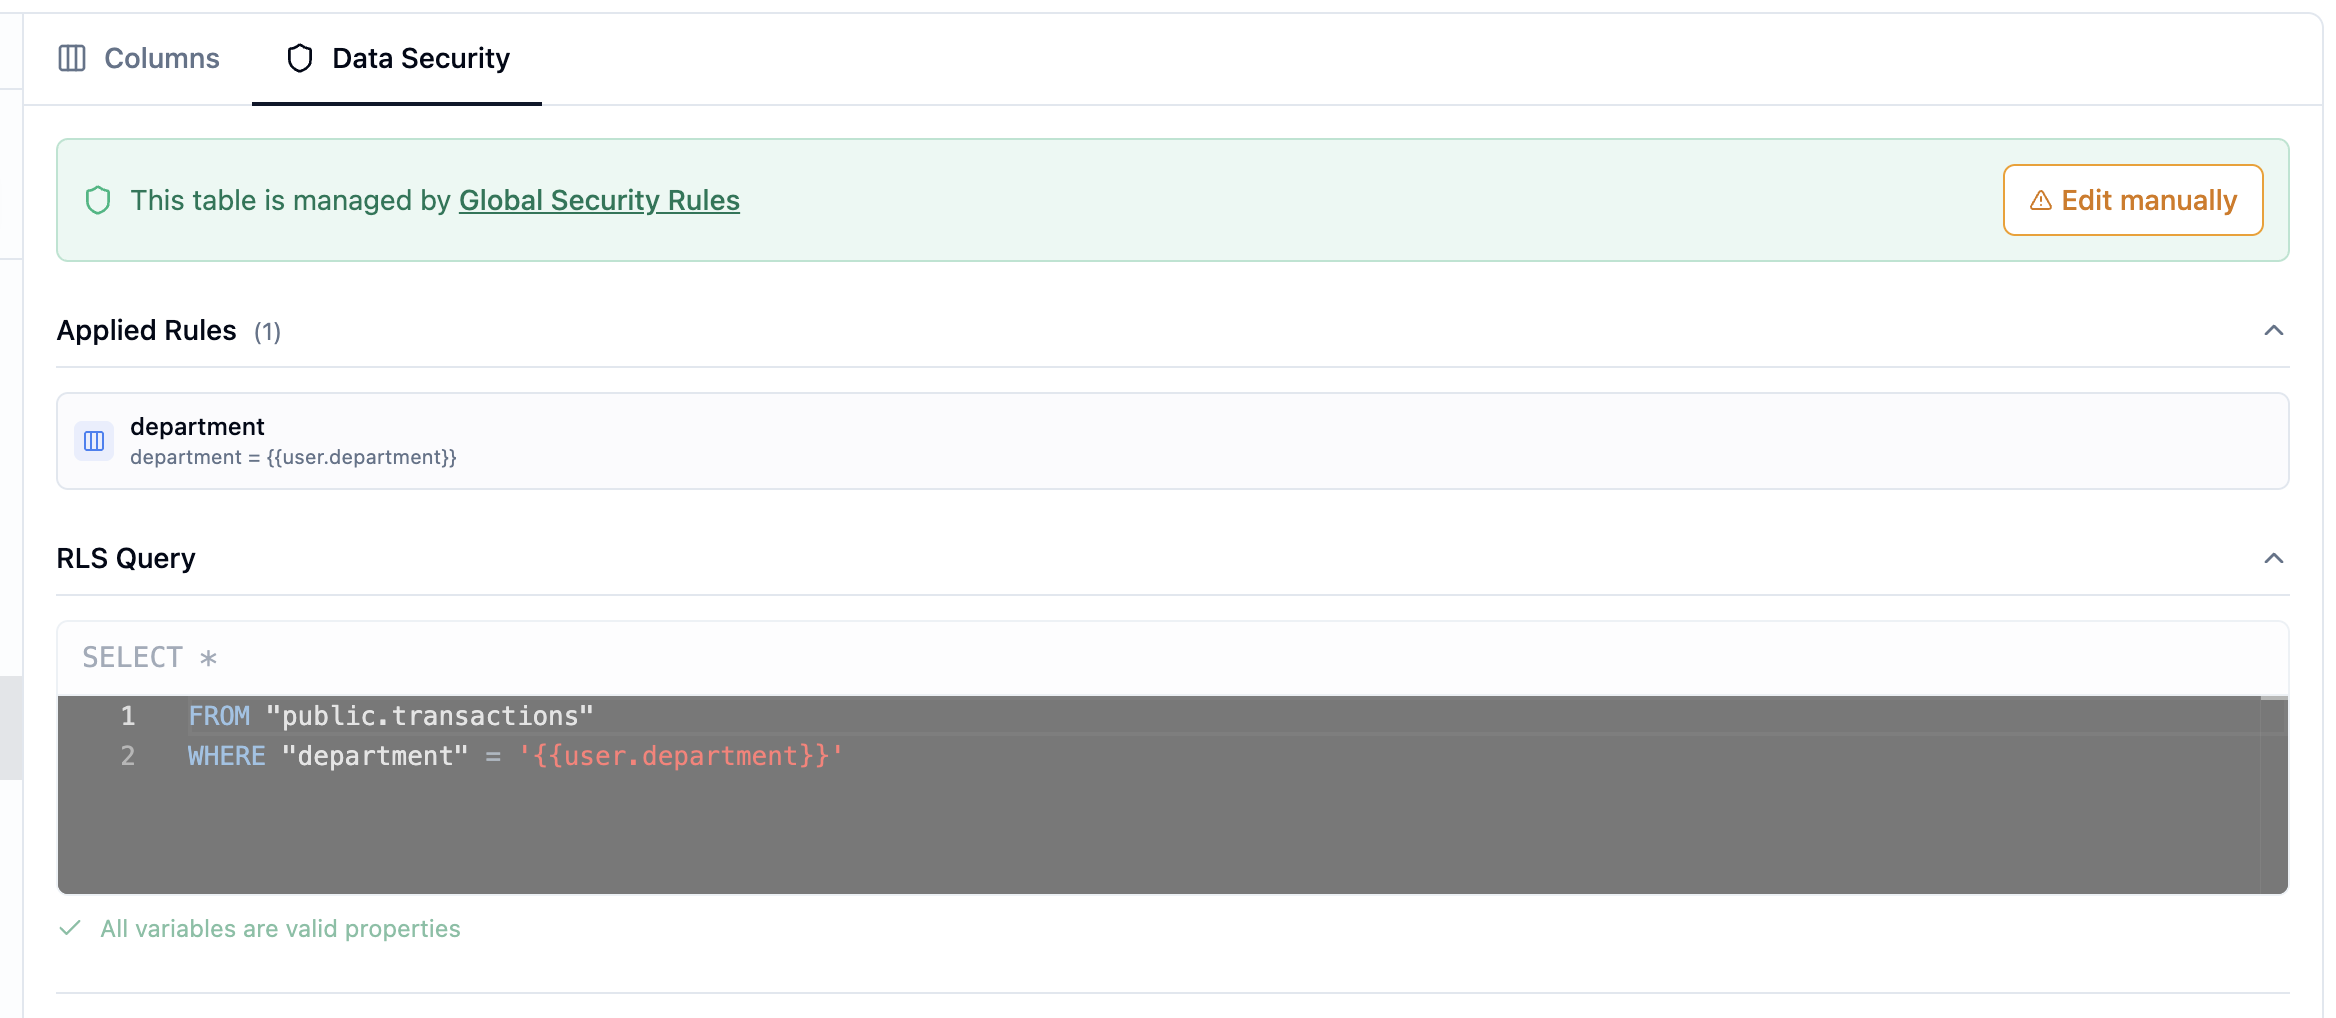
If you’re building for multiple customers or need to restrict what data each user sees, configure row-level security rules on your tables now.- Click on a table in the data model
- Go to the Data Security tab
- Write a filter rule using
{{organization.*}}or{{user.*}}placeholders: - Click Save
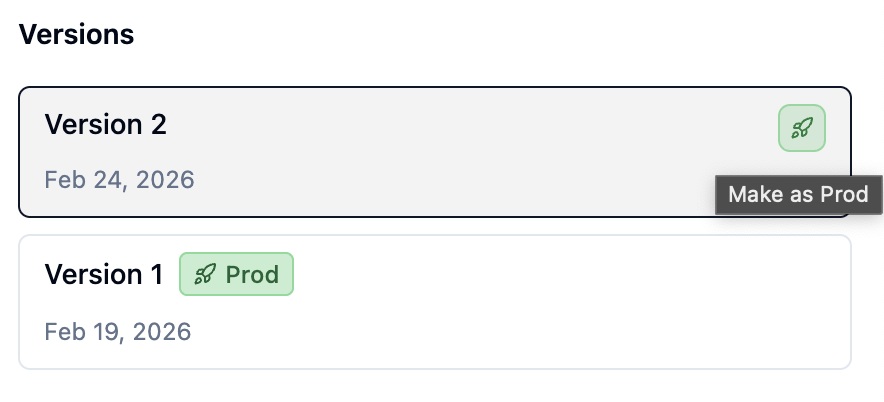
Step 4: Set the data model to production
Agents and applications can only use a data model once a version has been marked as production. This validates the schema against your live connection before exposing it.- Open your data model and go to the Versions tab
- Click Set as Production on the latest version
- Wait for validation to pass
Step 5: Create an agent or application
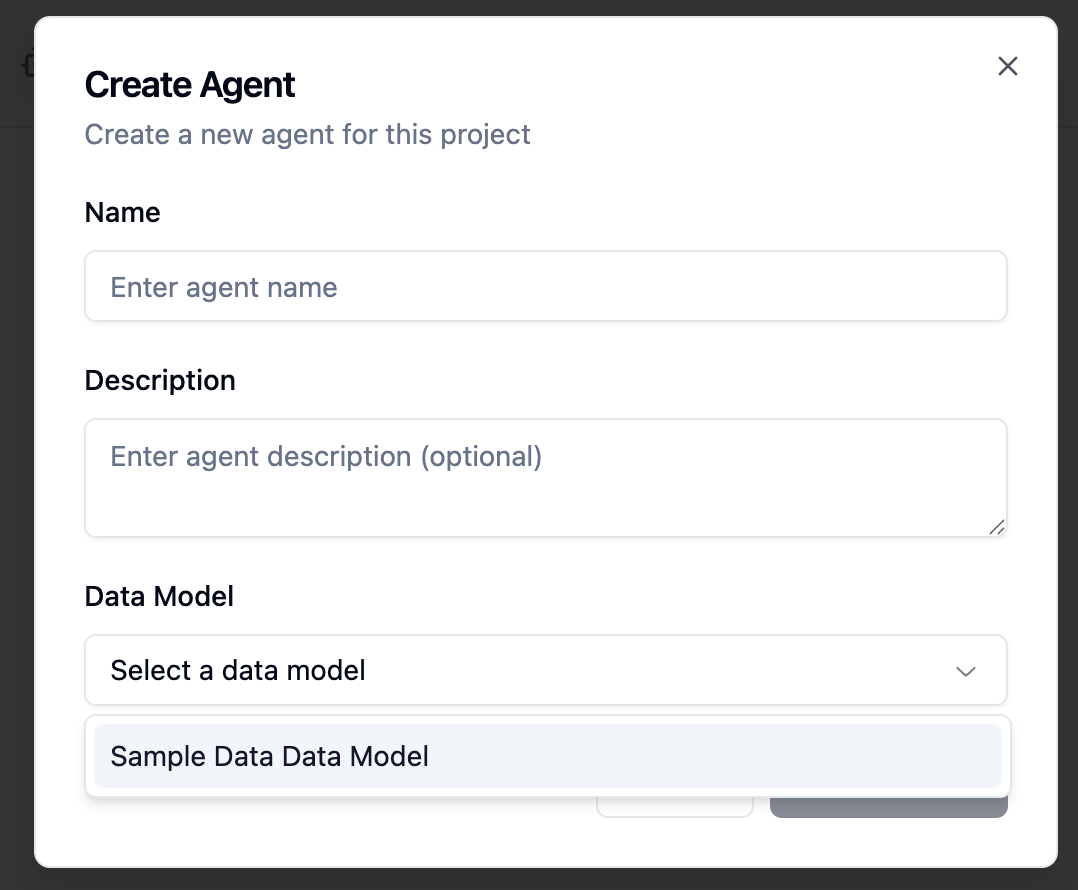
You can create either or both — they share the same data model.Option A: Create an agent
- Go to the Agents tab
- Click Create Agent
- Select your production data model
- Click Create
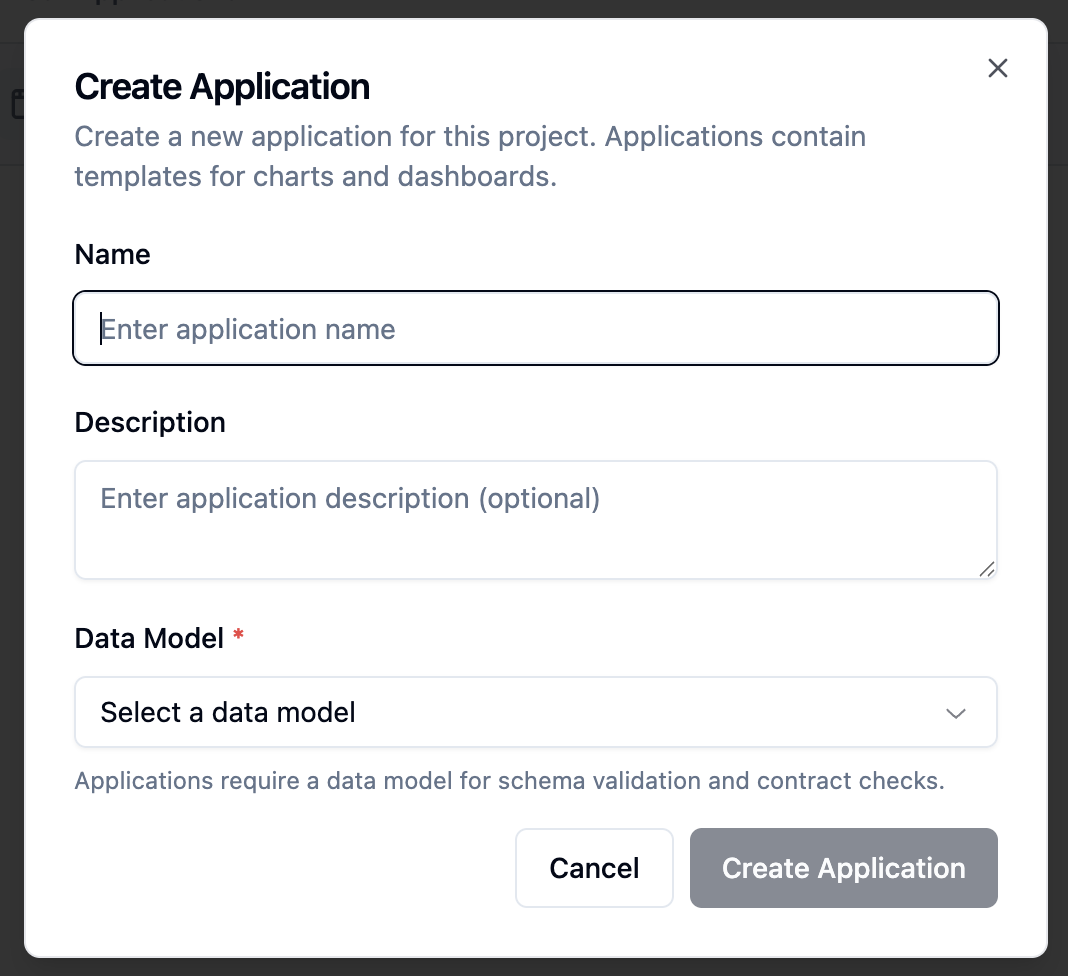
Option B: Create an application
- Go to the Applications tab
- Click Create Application
- Select your production data model
- Click Create
Step 6: Encode your context
This is the core work that determines agent quality. Before setting your agent to production, work through the three encoding steps: System prompt — Write the business rules, KPI definitions, and behavioral guardrails the agent should always follow. See System Prompts. Golden Assets — Add 10–20 examples covering your highest-frequency question patterns. Golden Queries pair a natural language question with the correct SQL; Golden Charts go further and include a chart configuration too. The agent retrieves these as reference when answering similar questions. See Golden Assets.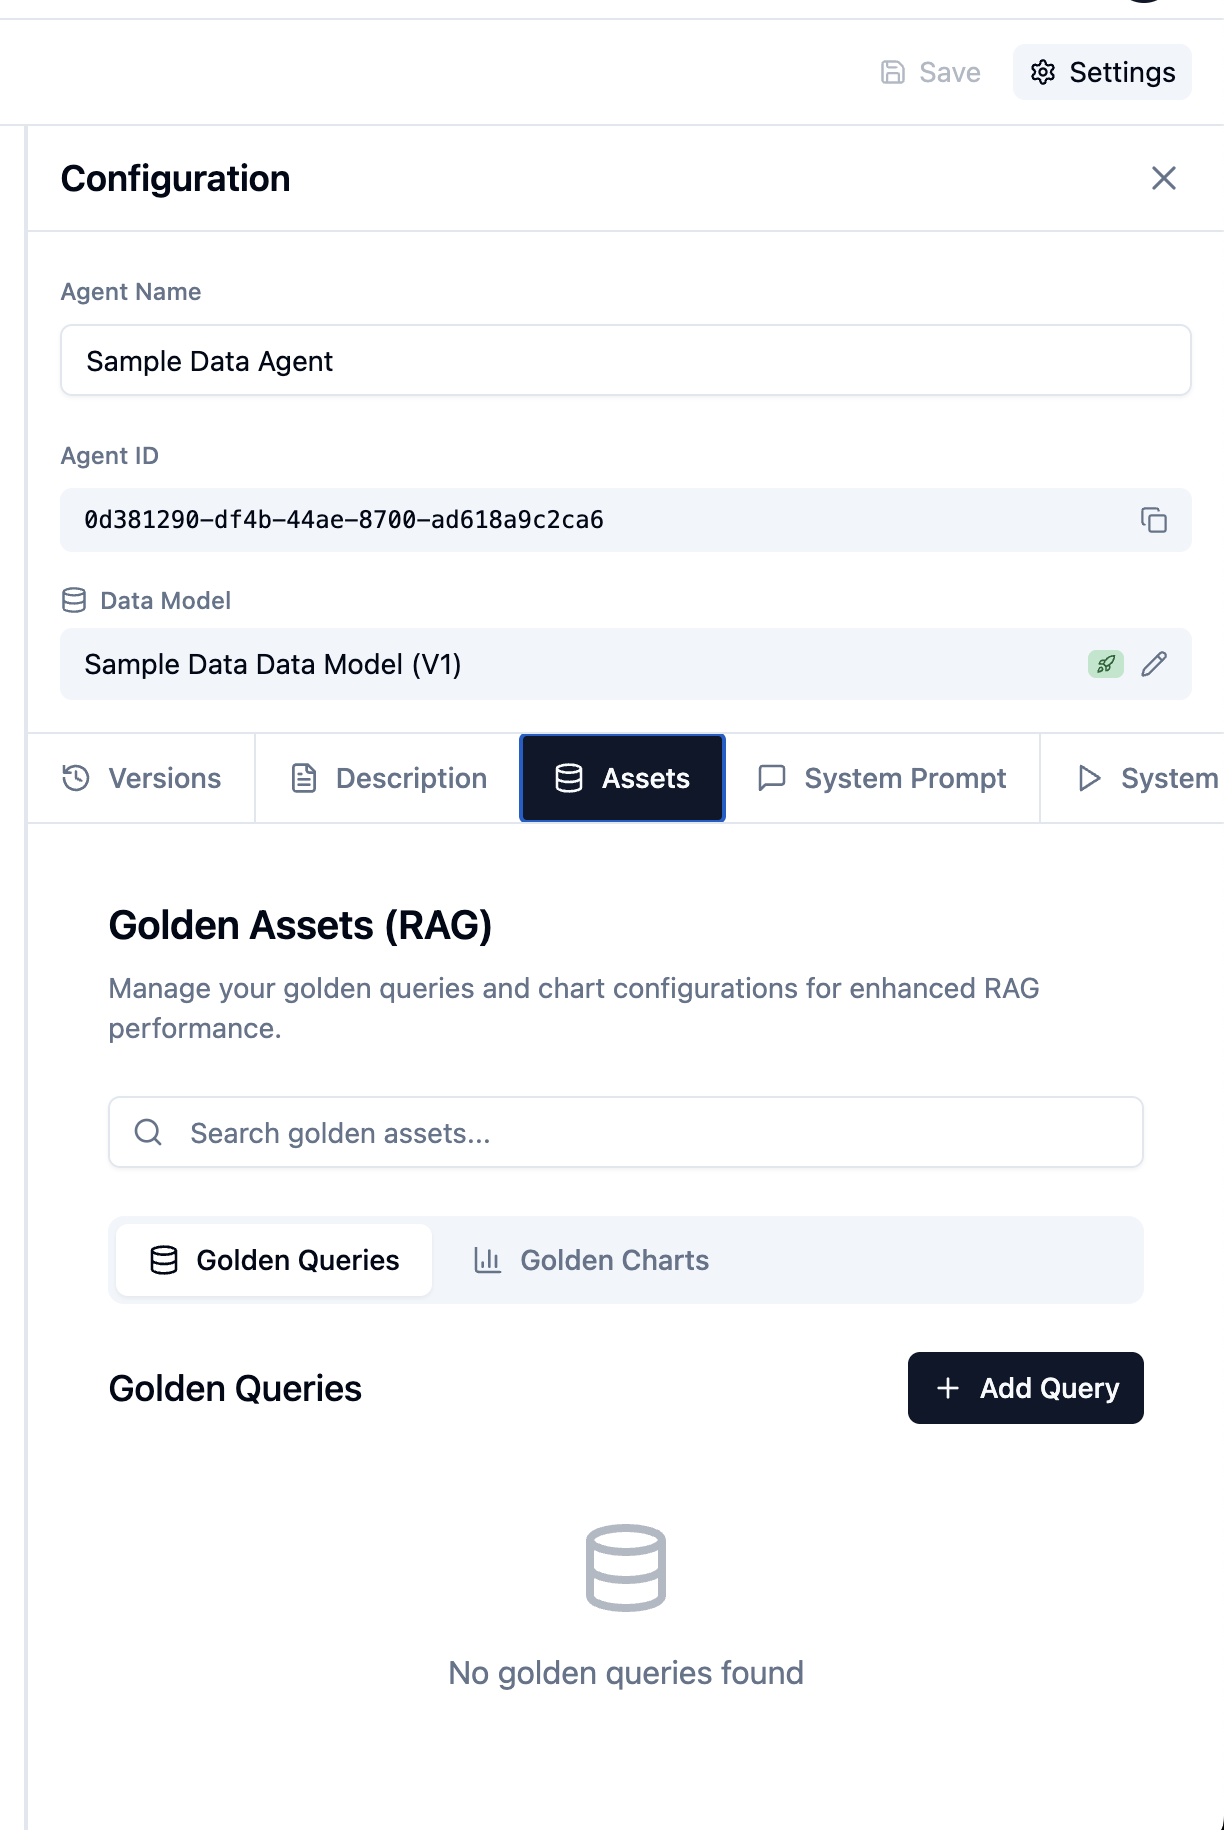
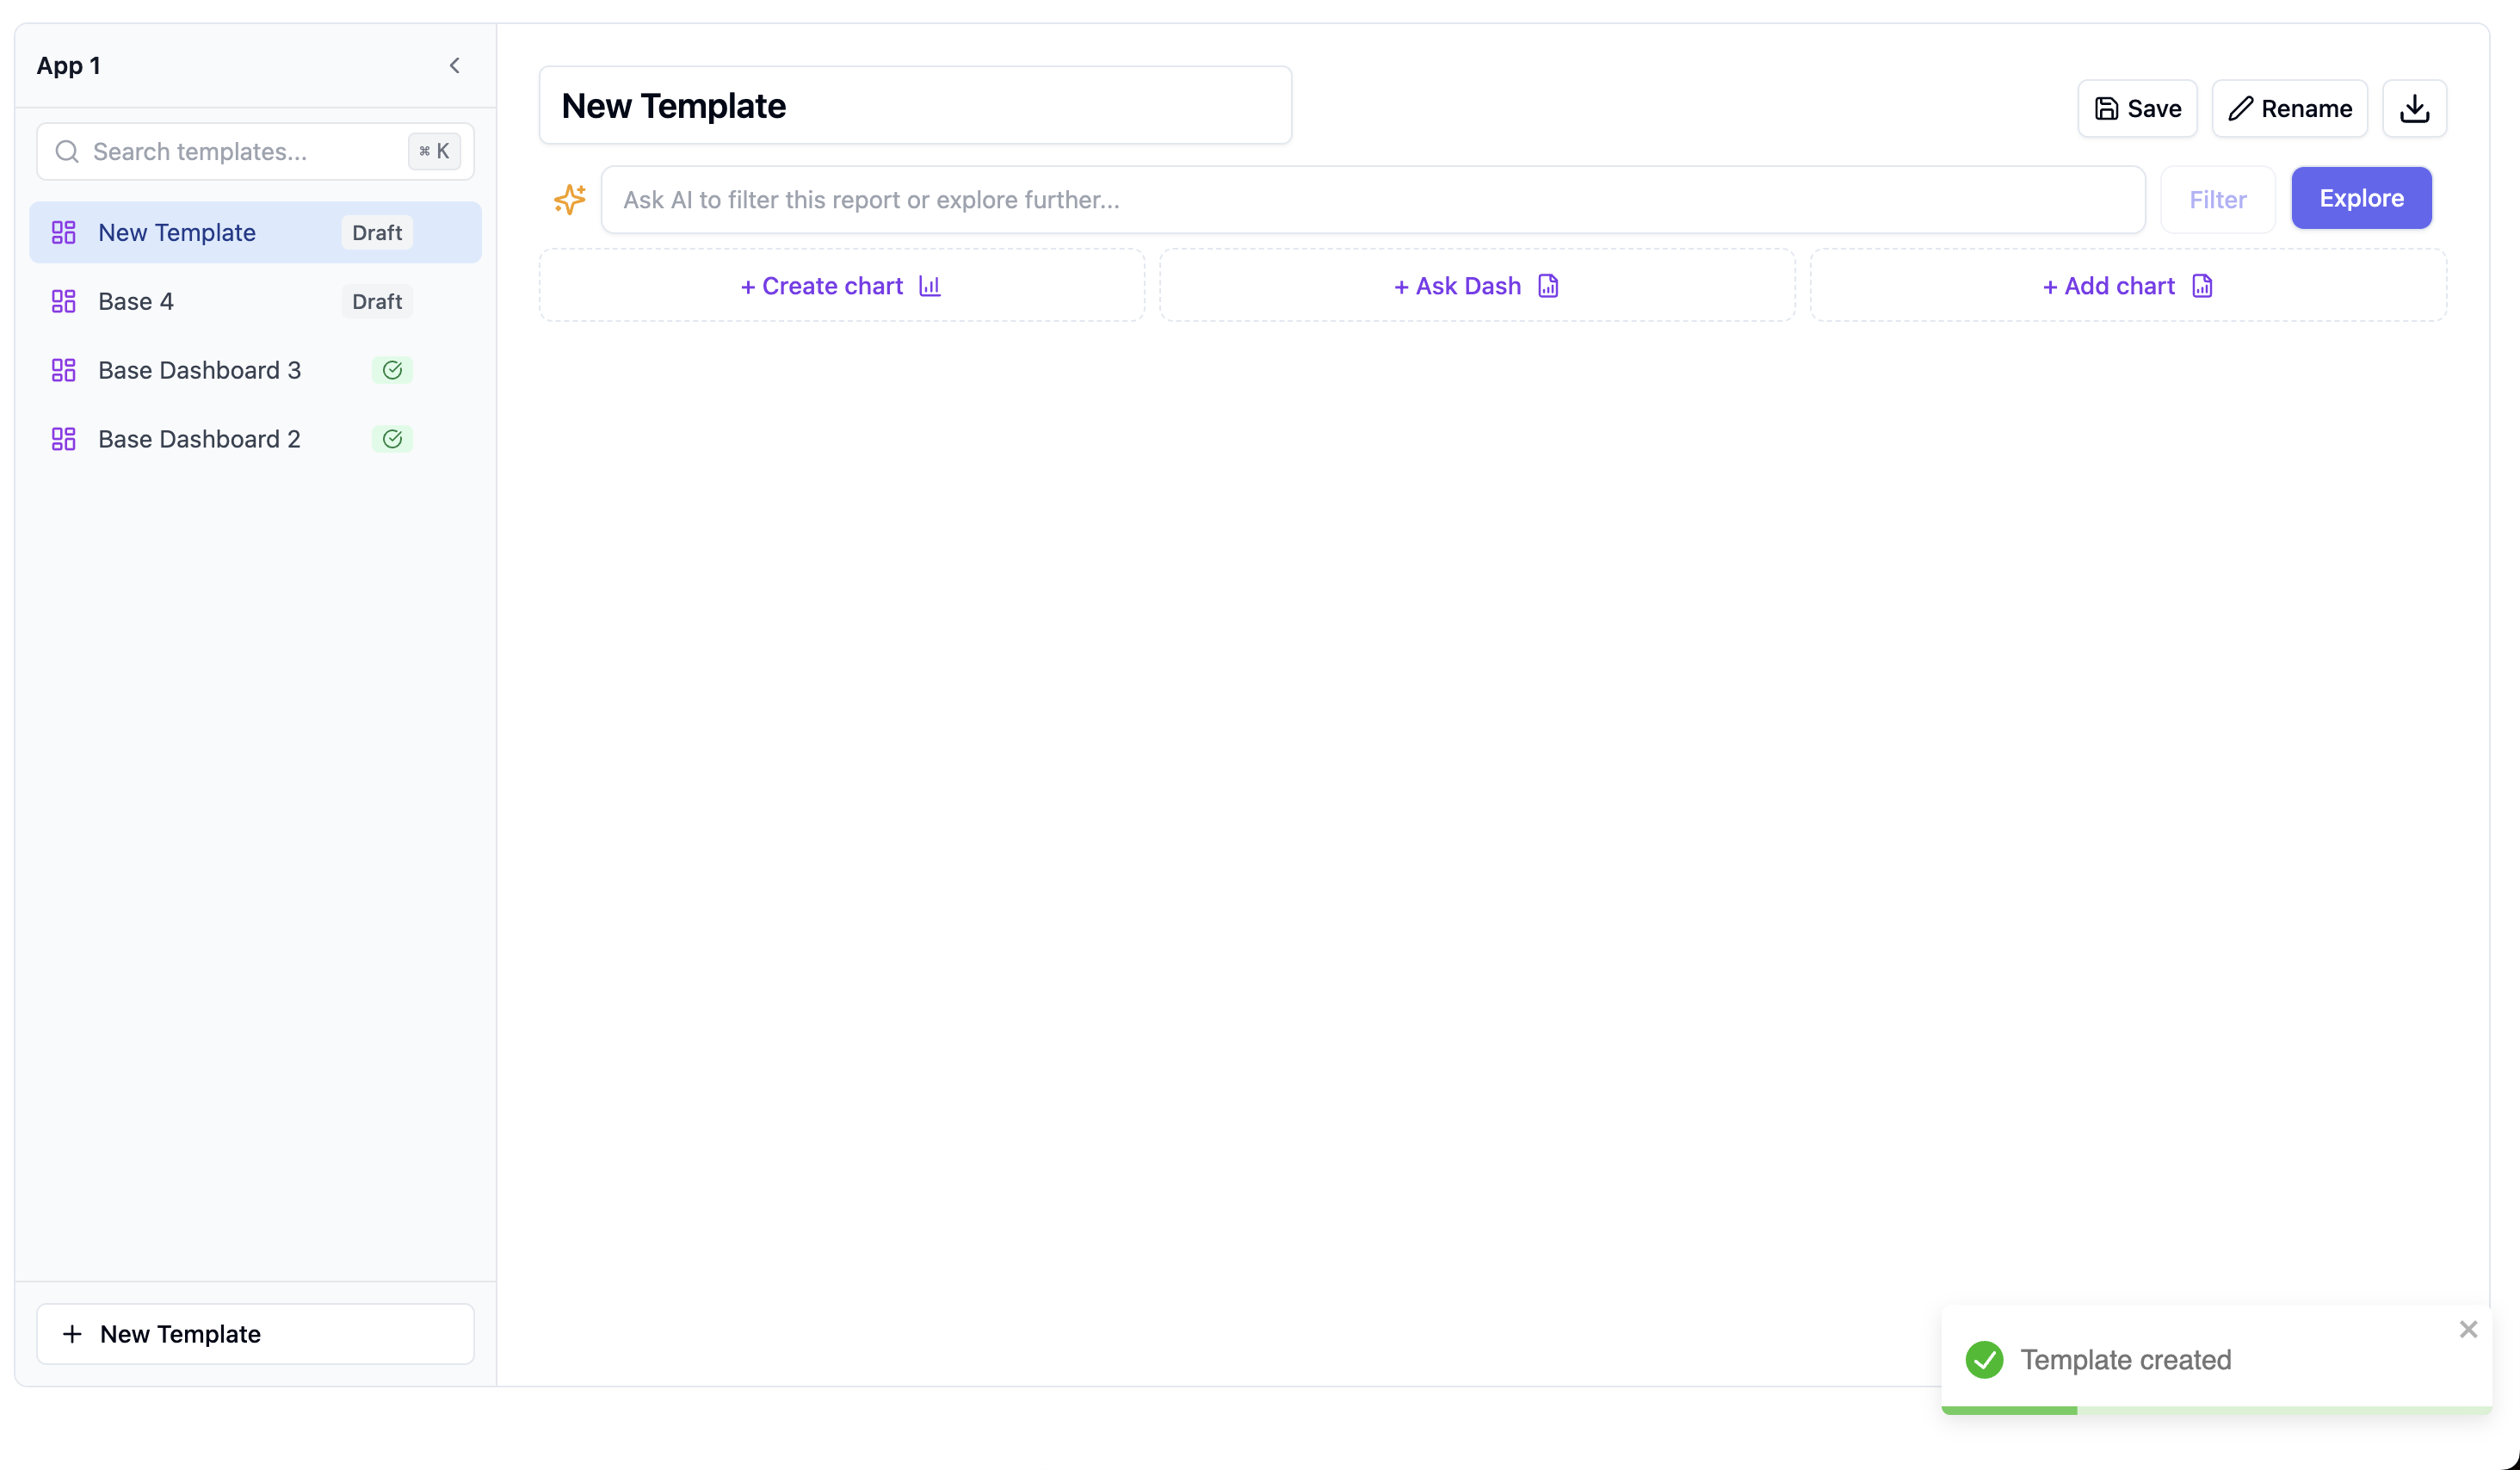
For applications: build templates
- Click Add Dashboard in your application
- Name it and add charts by clicking Add Chart
- Configure each chart with your data and arrange the layout
- Click Save
Step 7: Go to production
For agents
- Test the agent in admin view — check the observability trace on a few responses to confirm the SQL and logic are correct
- Go to the Versions tab
- Click Set as Production
For applications
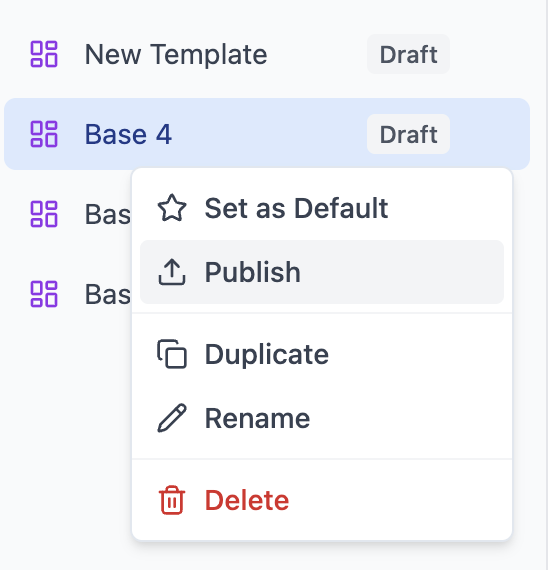
- Preview each template as a test user to confirm RLS is working
- Click Publish on each template — this propagates copies to all spaces
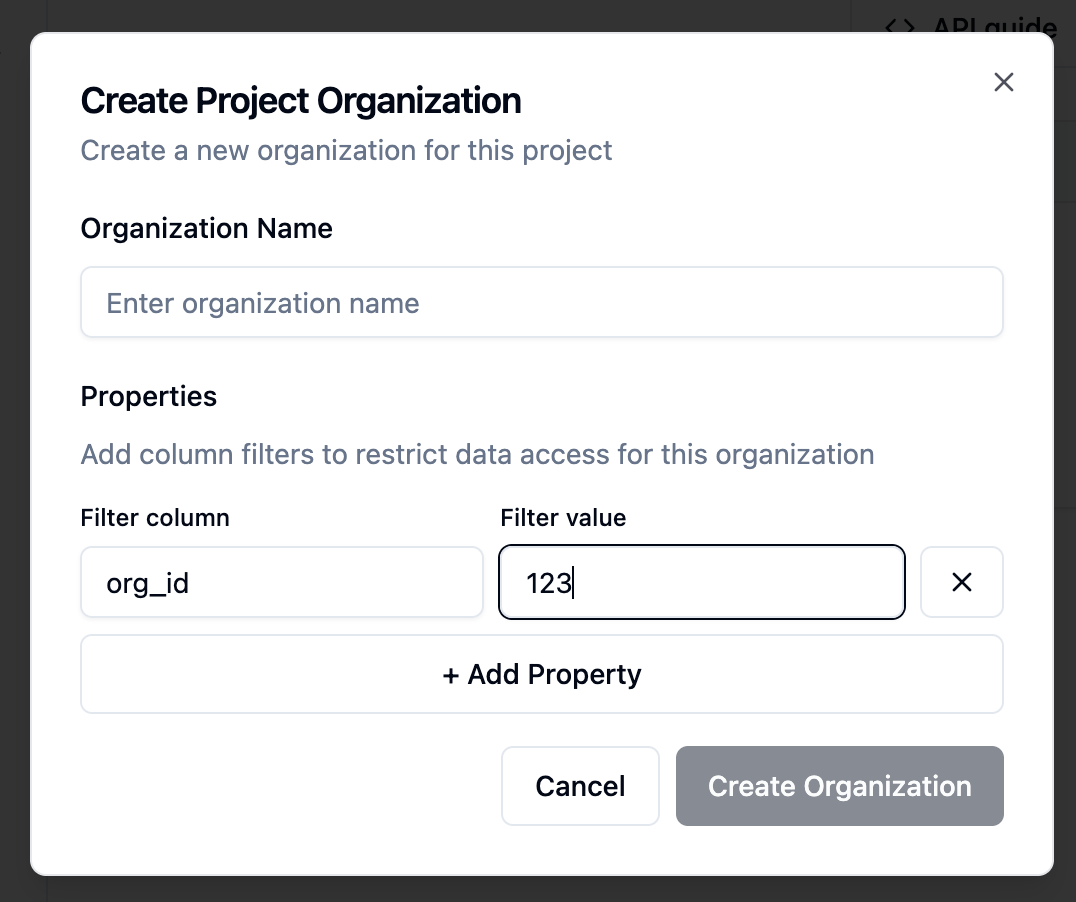
Step 8: Add project organizations
Organizations represent your customers or tenants. Each one gets isolated access to their own data, governed by the security rules you configured in the data model.- Go to the Organizations tab
- Click Add Organization
- Enter the organization name (e.g., “Acme Corp”)
- Add properties that your security rules reference:
- Click Create
Step 9: Register end users
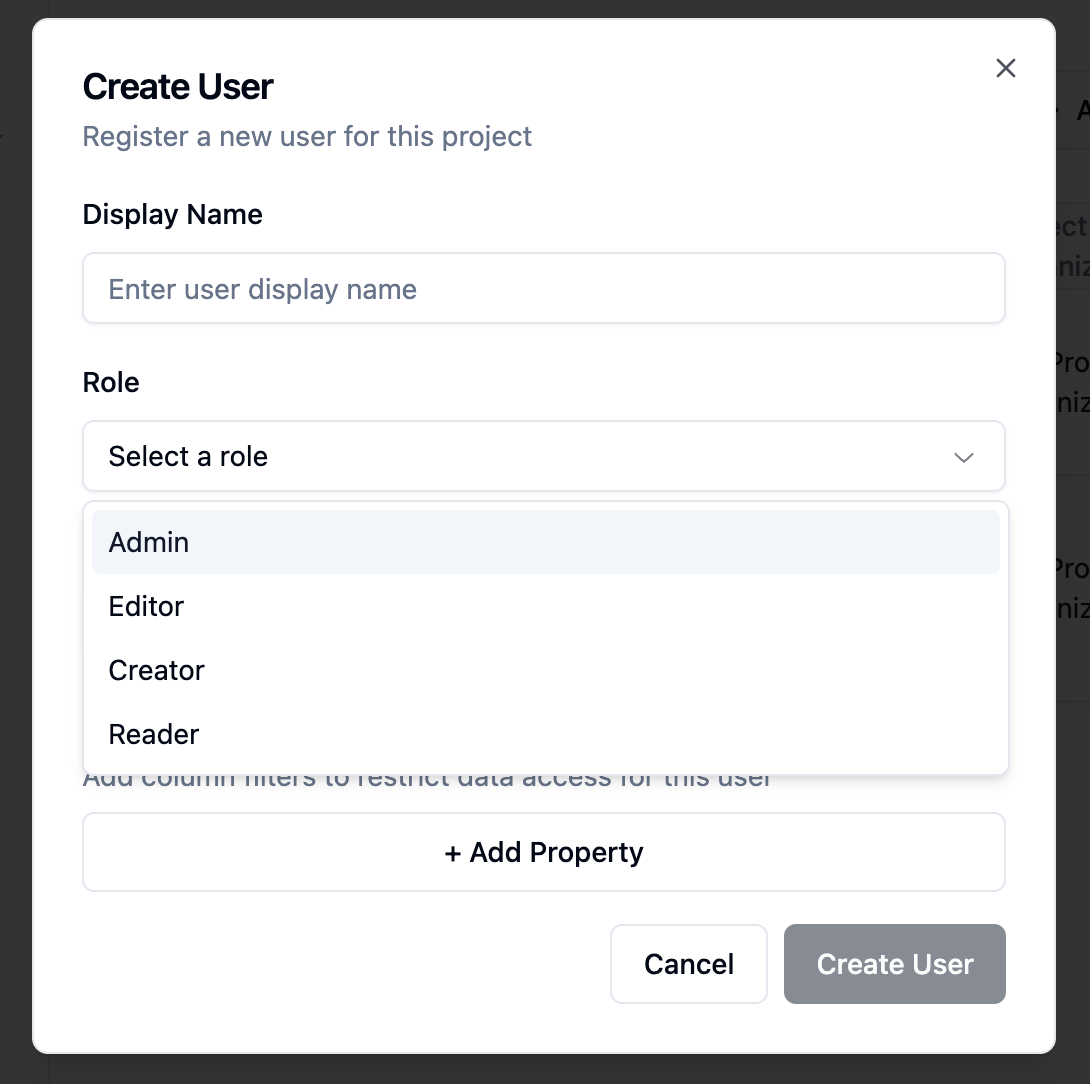
Users can be added via the UI or programmatically via API. Each user belongs to an organization and is assigned a role that controls their permissions.Via the UI
- Go to the Users tab
- Click Add User
- Enter the user name, select their organization and role
- Add any user-level properties needed for security rules
- Click Create
Via API
Step 10: Generate user tokens
Users authenticate with short-lived JWT tokens generated server-side from your API key. These tokens are how Upsolve knows who is accessing the agent and which security rules to apply.You’re done!
Users can now:- Chat with agents using natural language
- View dashboards with their filtered data
- Create their own charts and dashboards in their space
Setup checklist
| Step | Required for |
|---|---|
| Project created | Everything |
| Connection added | Data access |
| Data model created and configured | Agents & applications |
| Data model set to production | Going live |
| Data security configured | Multi-tenant isolation |
| Agent created | AI chat |
| Context encoded (prompts + Golden Assets) | Agent accuracy |
| Agent set to production | User access to agent |
| Application created | Dashboard features (embeddable) |
| Dashboard templates published | User access to dashboards |
| Organizations added | Tenant isolation |
| Users registered | End-user access |
Next steps
Encode Your Context
Deep dive into data model configuration, system prompts, and Golden Assets.
Deploy & Expose
Embed your agent in your product with the backend and frontend setup guides.