Prerequisites
Before you start, you will need the following information from Amazon Redshift.- Port
- Host
- User name
- Password
- Database name
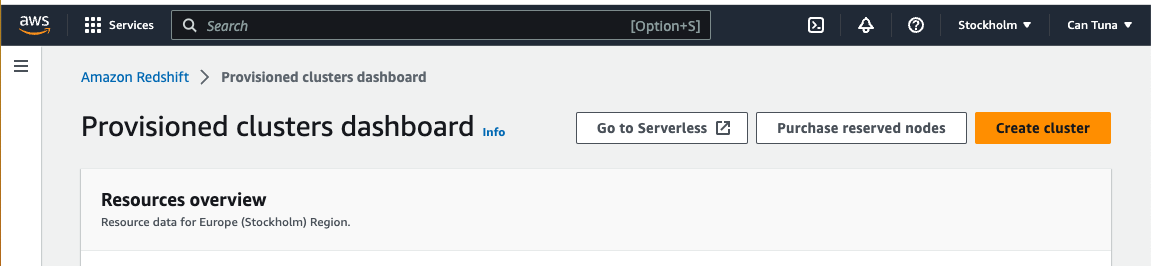
- Go to Amazon Redshift.
- After accessing Amazon Redshift, create your cluster.
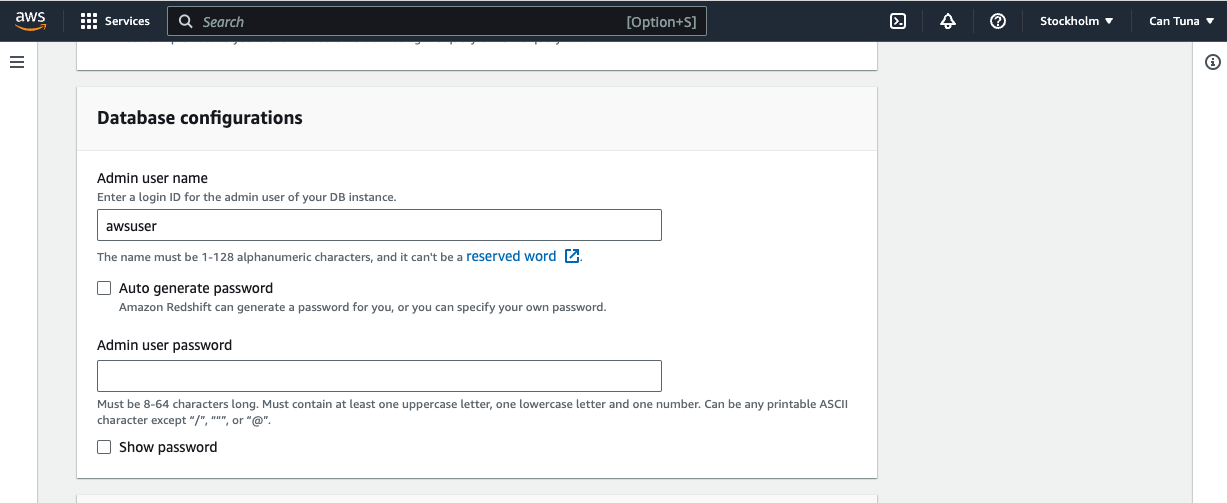
- After clicking the “Create Cluster” button, you will be redirected to provide some information. Your password and username should match the details shown in the image below.
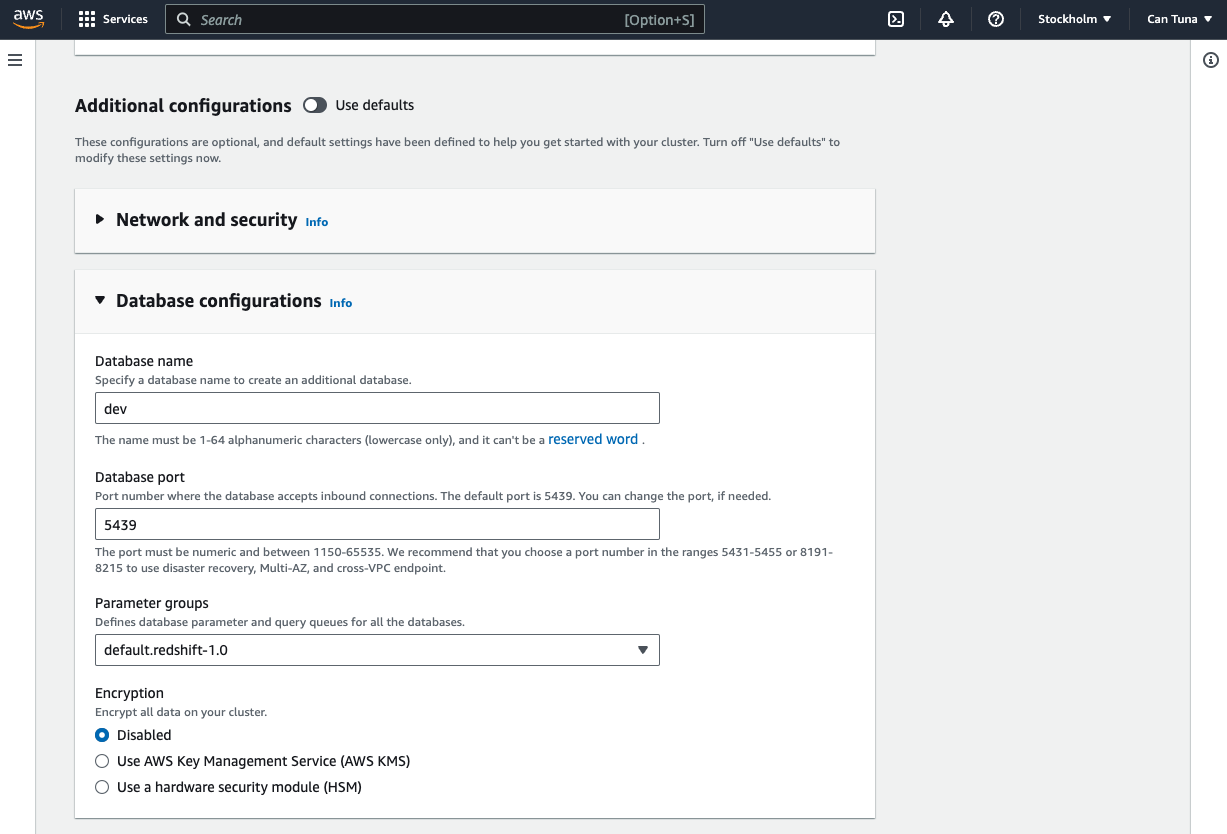
- If you choose to customize the Additional Configurations settings, you have the flexibility to modify your database name. However, if you prefer to stick with the default settings, your database name will be set to “dev” and the port will remain at the default value of 5439. Once you’ve finished inputting your desired configurations, simply click the “Create Cluster” button located at the bottom of the page. Please be patient as the creation process may take a few minutes to complete.
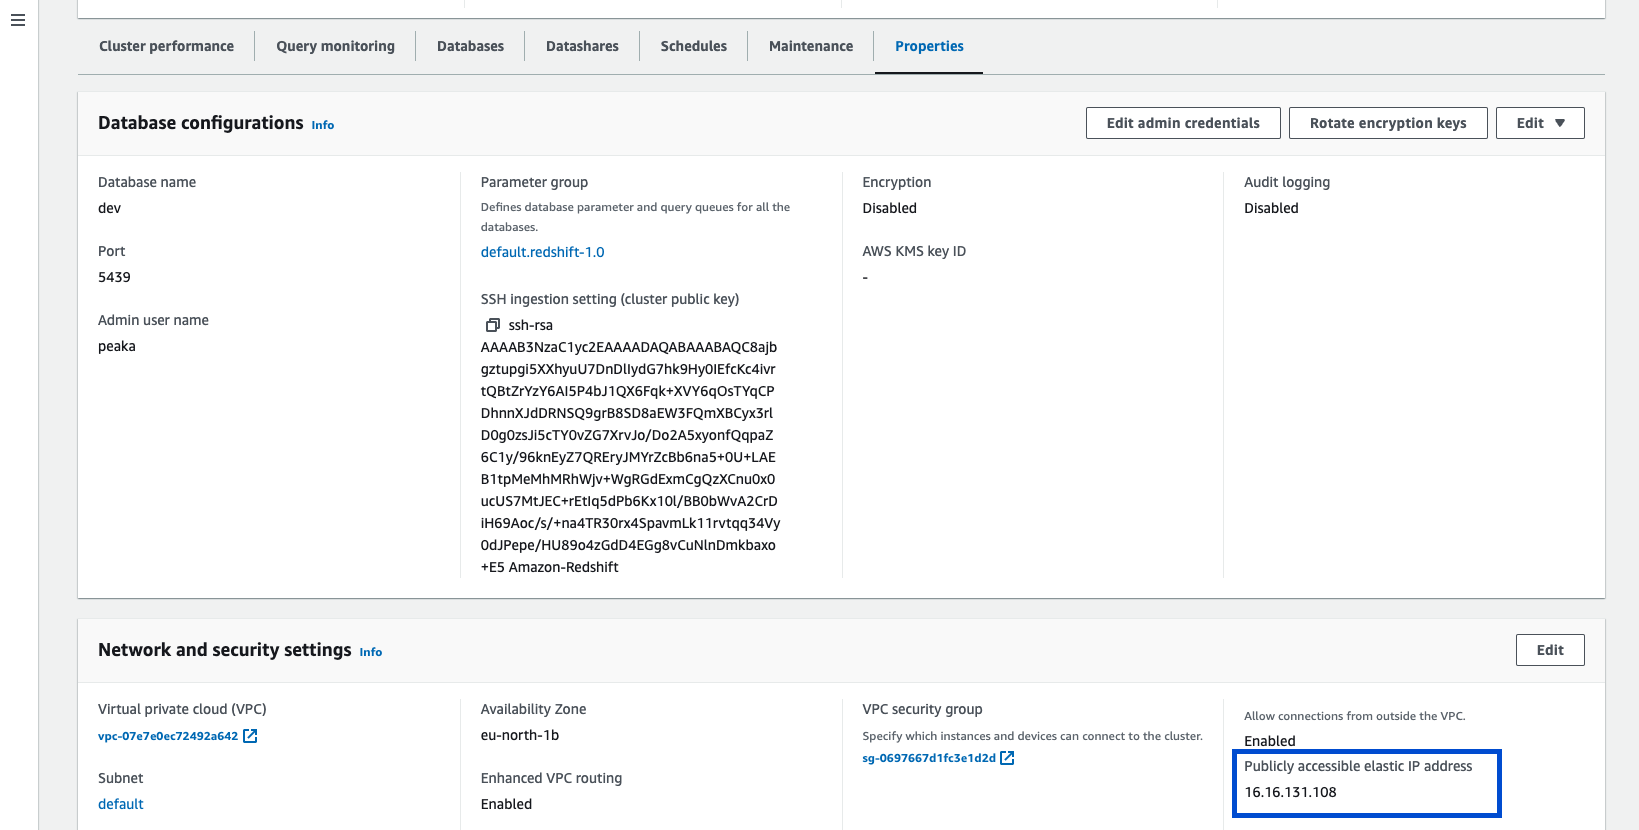
- Accessing your host’s knowledge can be done through the “Properties” tab.
Connecting Amazon Redshift to Upsolve
Now that you have your requirements, you can connect it to Upsolve using the following steps:- Navigate to the data model page in Upsolve.
- In the side menu bar, click the “New Data Source” button to initiate the connection process.
- In the modal that appears, select “Amazon Redshift” as your data source type.
- Enter a name for your data source name and data source details below:
- User name
- Password
- Port
- Host
-
You can enable the “Connect through TLS” option if SSL is active.
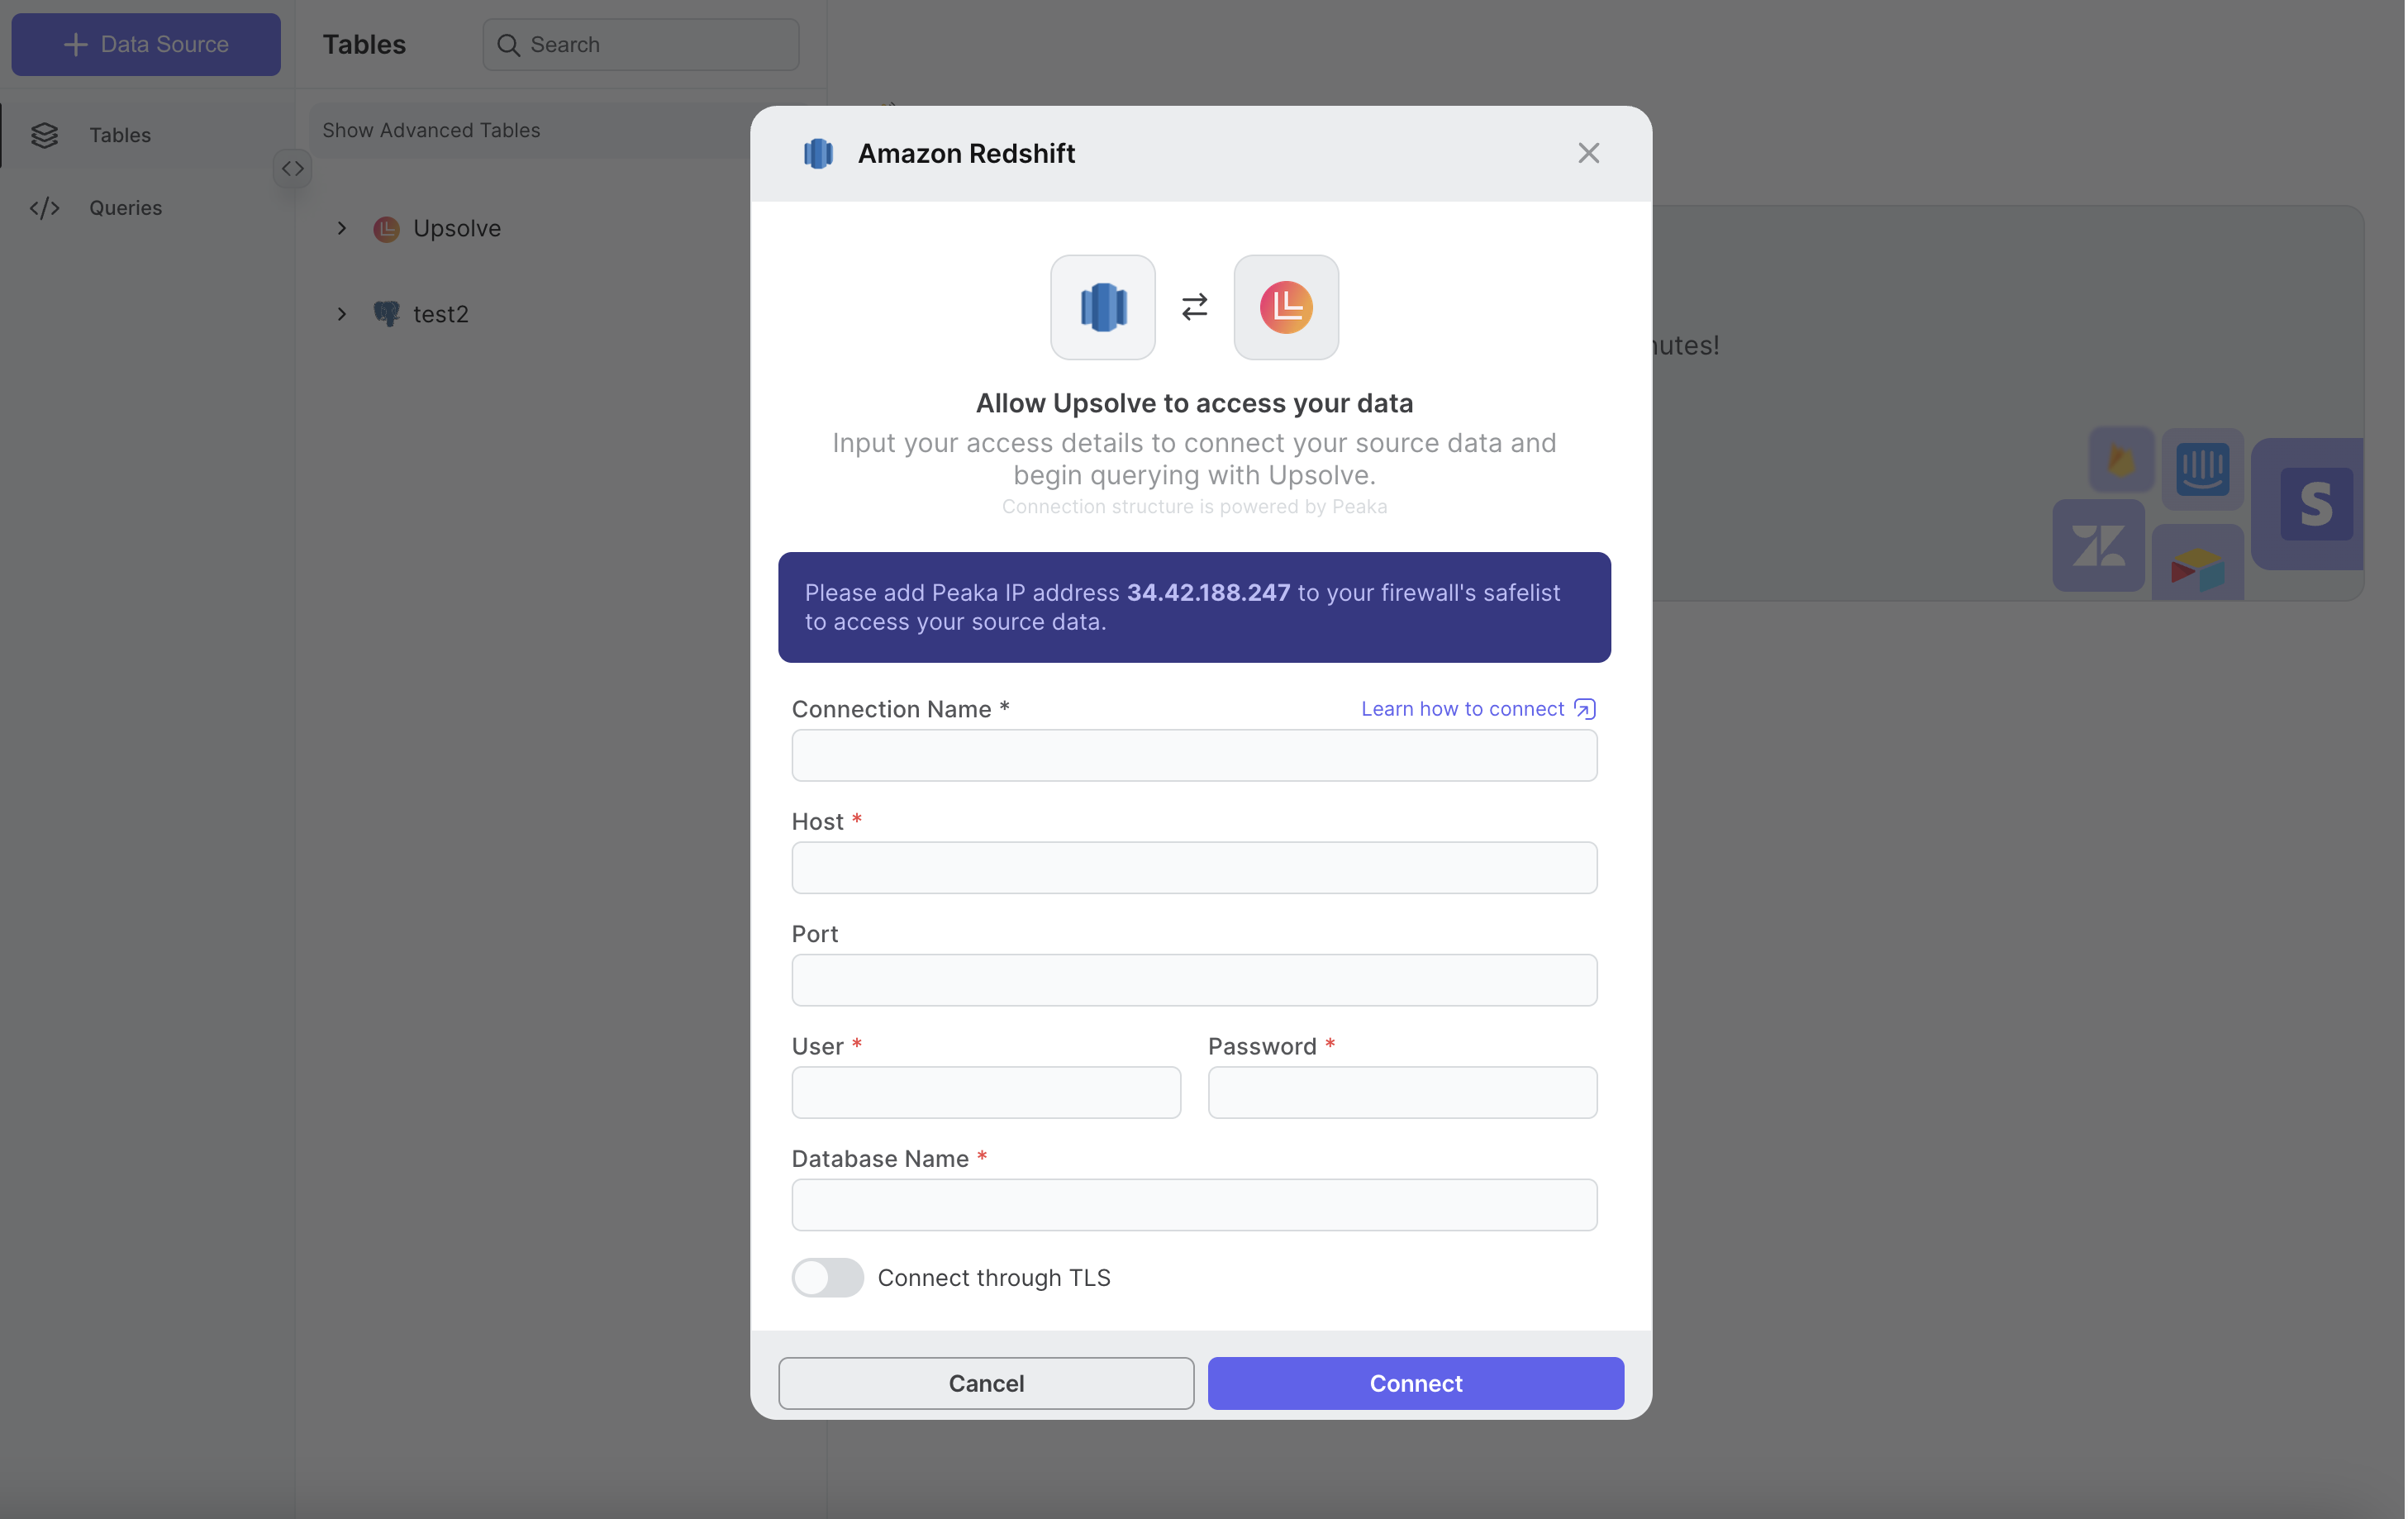
- Click “Connect” to create your Amazon Redshift data source.
The specific steps for connecting Amazon Redshift may vary based on your
unique setup. If you encounter any difficulties or have questions, please
don’t hesitate to contact our Support Team for assistance.